
Quick Fix
• What: Get a smooth finish on your wood craft
• Time: Varies, plan for at least 30 min
• Skill: Beginner
• Tools & Materials: Different grits of sandpaper (coarse 60 grit, medium 120 grit, fine 220 grit), a clean cloth or tack cloth, and a dust mask
• Cost: Around $10–$30
• Safety: Work in a well-ventilated space and wear a dust mask and eye protection
- Clear your workspace and set up your tools so you can work safely.
- Start with a coarse sandpaper (60 grit) and gently sand the wood to remove rough spots.
- Switch to a medium grit (120 grit) to smooth out the surface further.
- Finally, use fine sandpaper (220 grit) to give your project a neat, smooth finish.
- Wipe the wood with a clean cloth to remove dust.
Following these steps will help you cut down on extra sanding and get a cleaner finish on every project. Enjoy your smooth wood craft!
Step-by-Step Guide to Sand Wood Crafts for a Smooth Finish
Quick Fix:
• What: Get a smooth wood surface for a neat craft finish
• Time: 15–30 min
• Skill: Beginner (a steady hand helps)
• Tools & Materials: Sanding block, sponge, or small orbital sander; sandpaper in coarse (40–60 grit), medium (80–150 grit), and fine (180–320 grit); tack cloth
• Cost: $5–$15
• Safety: Wear a dust mask and work in a well-ventilated area
-
Pick the right tool and grit.
- Choose a sanding block, sponge, or orbital sander based on your project size.
- Use the correct sandpaper grit to remove old finishes and even out rough spots.
-
Start with coarse sandpaper (40–60 grit).
- Use coarse paper to remove deep scratches, old finishes, or rough marks.
- Keep your hand steady as you sand.
-
Move to medium and then fine grit.
- Use medium grit (80–150) to smooth out the surface after coarse sanding.
- Finish with fine grit (180–320) to create a silky-smooth surface ready for stain or paint.
-
Sand in the direction of the wood grain.
- Follow the natural lines of the wood to avoid scratch marks.
-
Wipe the surface with a tack cloth.
- Use a tack cloth to remove dust and debris before moving to the next grit.
- This step helps you achieve a smooth, clean finish.
Essential Sanding Tools for Smooth Wood Crafts
Quick Fix:
• Outcome: Get smooth, even wood surfaces.
• Time: Varies.
• Skill: Beginner.
• Tools & Materials: Sanding block, sponge, random orbital sander, belt sander, sanding disc.
• Cost Estimate: Parts $3–$30.
• Safety: Wear a dust mask and eye protection.
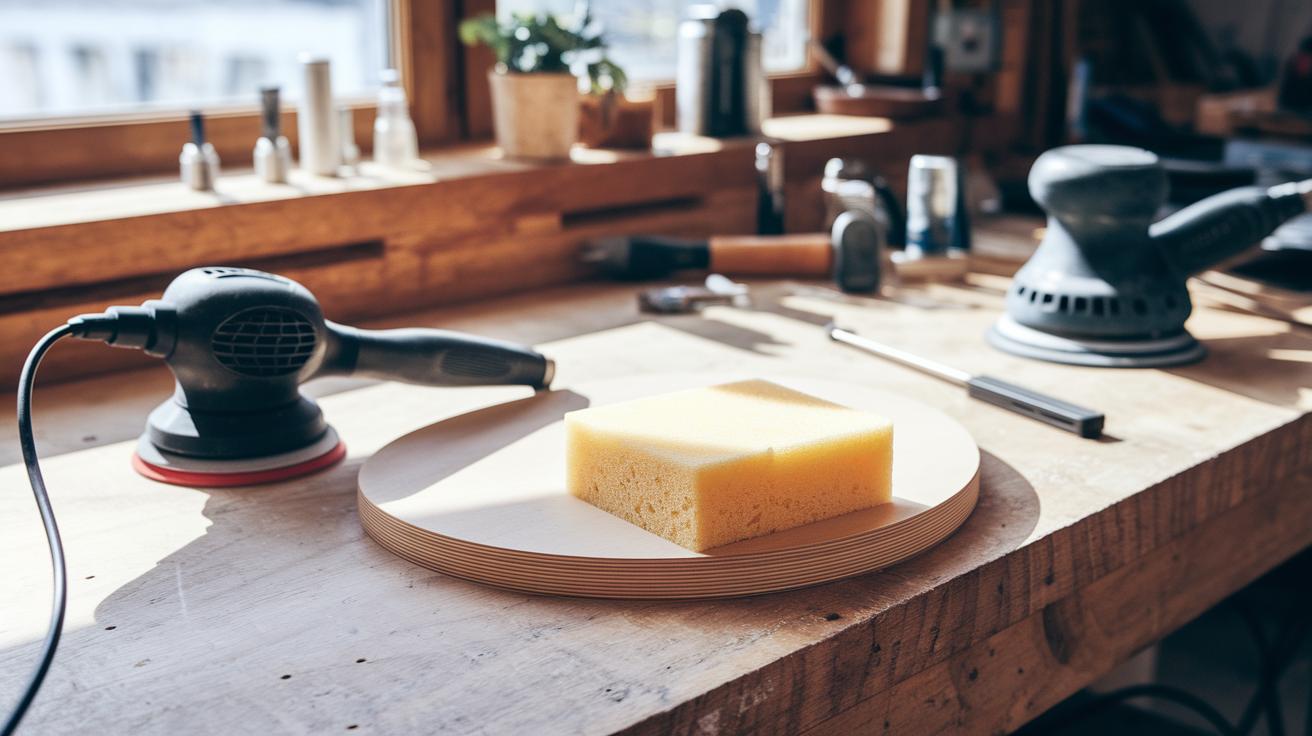
- For curved edges and fine details, grab a sanding block or sponge. Hold it steady and work along the shape.
- When you face large, flat spots, use a random orbital sander. It smooths the wood quickly and evenly.
- Need to remove old finishes fast? Use a belt sander. Options include an 8 in (20 cm) by 19 in (48 cm) aluminum oxide belt or a 2 in (5 cm) by 72 in (183 cm) ceramic belt. Just be careful with delicate pieces.
- For extra detailed work, use a sanding disc (usually about 4-1/2 in or 11.4 cm) that fits on an angle grinder.
For example, when using a sanding block, hold it steady and follow the curve like you’re smoothing a small wooden bowl. This way, you get clean, even results every time.
| Tool | Use | Recommended Grit Range |
|---|---|---|
| Sanding Block/ Sponge | Hand sanding curves and edges | 80-320 |
| Random Orbital Sander | General smoothing and finishing | 80-320 |
| Belt Sander | Quick removal of old finishes | 40-80 |
| Sanding Disc | Detail work with an angle grinder | 80-320 |
Sandpaper Grit Progression for Even Wood Craft Smoothness
Quick Fix
• What: Get your wood crafts smooth and ready for a finish.
• Time: Varies with your project size.
• Skill: Beginner to intermediate.
• Tools & Materials: A block of wood, varied grit sandpaper (40–2000), and a sanding block.
• Cost: Very low.
• Safety: Wear a dust mask and safety glasses.
-
Coarse Grit (40–60)
Start with 40–60 grit sandpaper to tackle deep scratches, old finishes, and rough saw marks. Sand with the grain to avoid gouges and test a small spot first. -
Medium Grit (70–150)
Once the heavy marks are gone, switch to 70–150 grit. Sand in even, steady strokes along the wood grain to smooth out ridges and level the surface. -
Fine Grit (180–320)
Next, use 180–320 grit sandpaper to get a silky-smooth finish. Keep your strokes gentle and follow the grain so the texture is even and ready for sealers, stains, or paints. -
Extra Fine Grit (400–2000)
For the final polish, use 400–2000 grit sandpaper. Give the wood a gentle pass to achieve a glass-like smoothness. This last step refines details and lends your craft a professional look.
Preparing Wood Surfaces for Effective Craft Sanding
Quick Fix:
• What: Get your wood ready for a smooth, even sand.
• Time: 10–15 min
• Skill: Beginner
• Tools & Materials: Soft brush, vacuum, tack cloth, water (for wet sanding)
• Cost: Low – most tools are common in your toolbox.
• Safety: Wear a dust mask if you’re sensitive to dust.
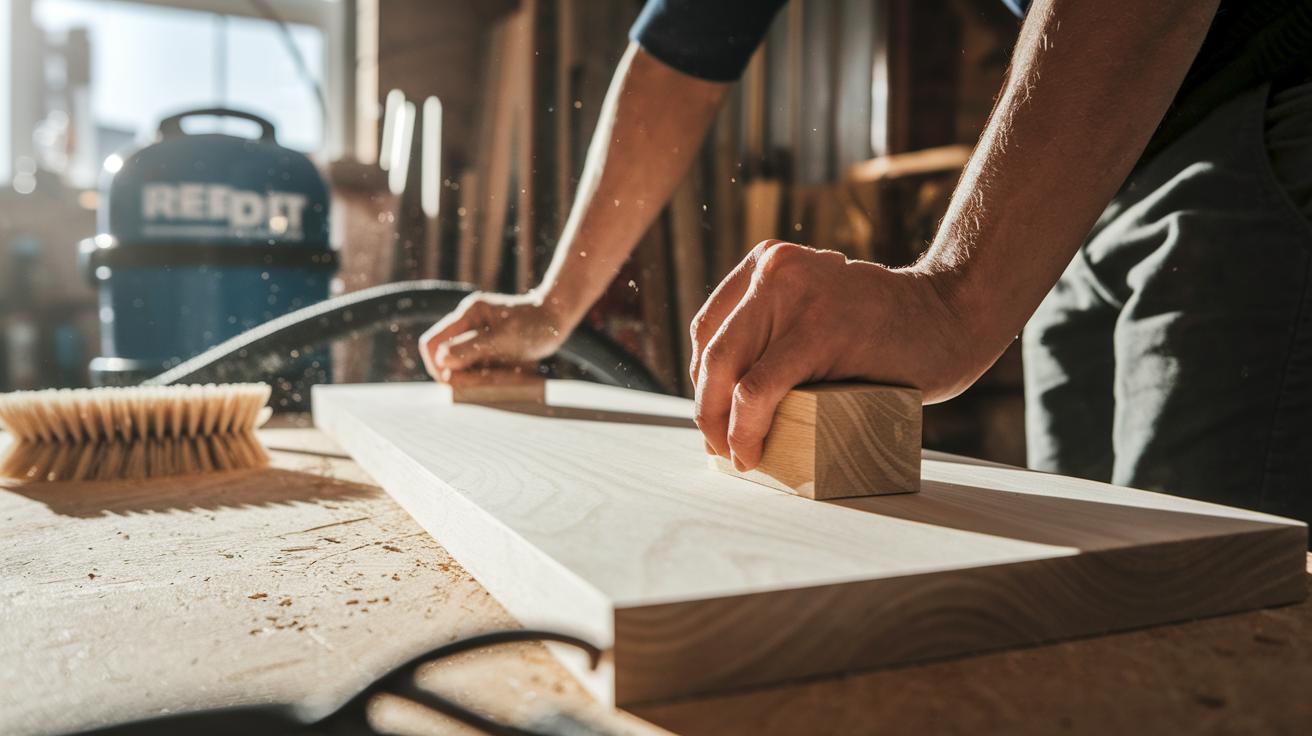
- Check the wood. Look for knots, cracks, or marks left by machines. Fill these in or trim them off so you have a flat, even surface.
- Remove loose debris. Use a soft brush or vacuum to clear away dust. This stops dust from clogging your sandpaper and keeps your finish even.
- Make sure the wood is dry. Wood with too much moisture can warp. If it feels damp, let it dry completely before you start sanding.
- Try wet sanding if you want a cleaner workspace. Mix a little water with your sanding to catch fine dust particles. This keeps dust from flying around and helps you get a smoother surface.
- Before switching grit levels, wipe the wood with a tack cloth. This small step clears off any extra debris and stops tiny particles from scratching the surface during sanding.
Follow these steps to prep your wood properly. It helps the sanding go smoother and gives you a better finish in the end.
Fixing Common Sanding Mistakes on Wood Crafts Smoothly
Quick Fix:
• What: Get a smooth, even wood surface
• Time: Varies
• Skill: Basic woodworking
• Tools: 120 grit, 150 grit (sandpaper for smoothing), tack cloth, compressed air
• Cost: Low
• Safety: Wear a dust mask and safety glasses
-
Check for Over-Sanding and Gouging
Look for spots where the wood looks too thin or has small dips. When you see a gouge, try a test spot with a slightly coarser sandpaper (like 120 grit) to fix the dip without removing too much wood. -
Work with the Grain
If you see scratch marks after sanding, re-sand the area following the wood’s natural lines. Align your strokes with the grain to erase the marks and keep the surface smooth. -
Don’t Skip Grit Steps
If you find scratch lines, it might mean you skipped a sandpaper grade. Run an extra pass with an intermediate grit (for example, 150 grit) to blend the scratches before moving to a finer grit. -
Control Dust
Dust can make surface problems worse. Wipe down the wood with a tack cloth or blow it off with compressed air before you switch to a finer sandpaper. This helps prevent clogging and keeps the finish even.
| Troubleshooting Issue | Quick Fix |
|---|---|
| Gouges and dips | Test a small area with 120 grit to fill the dip carefully. |
| Scratch marks against the grain | Resand along the wood’s grain to smooth out the marks. |
| Skipped grit step | Use 150 grit in between to blend the scratch lines. |
| Dust problems | Clean the surface with a tack cloth or compressed air before sanding again. |
Care and Finishing Techniques to Preserve Smooth Wood Crafts
Quick Fix:
• What: Keep wood crafts smooth and shiny
• Time: 10–15 min
• Skill: Beginner
• Tools & Materials: Extra-fine sandpaper, finishing oil (tung or linseed), microfiber cloth, ultra-fine steel wool (0000)
• Cost: <$15
• Safety: Work in a ventilated area; wear gloves if needed
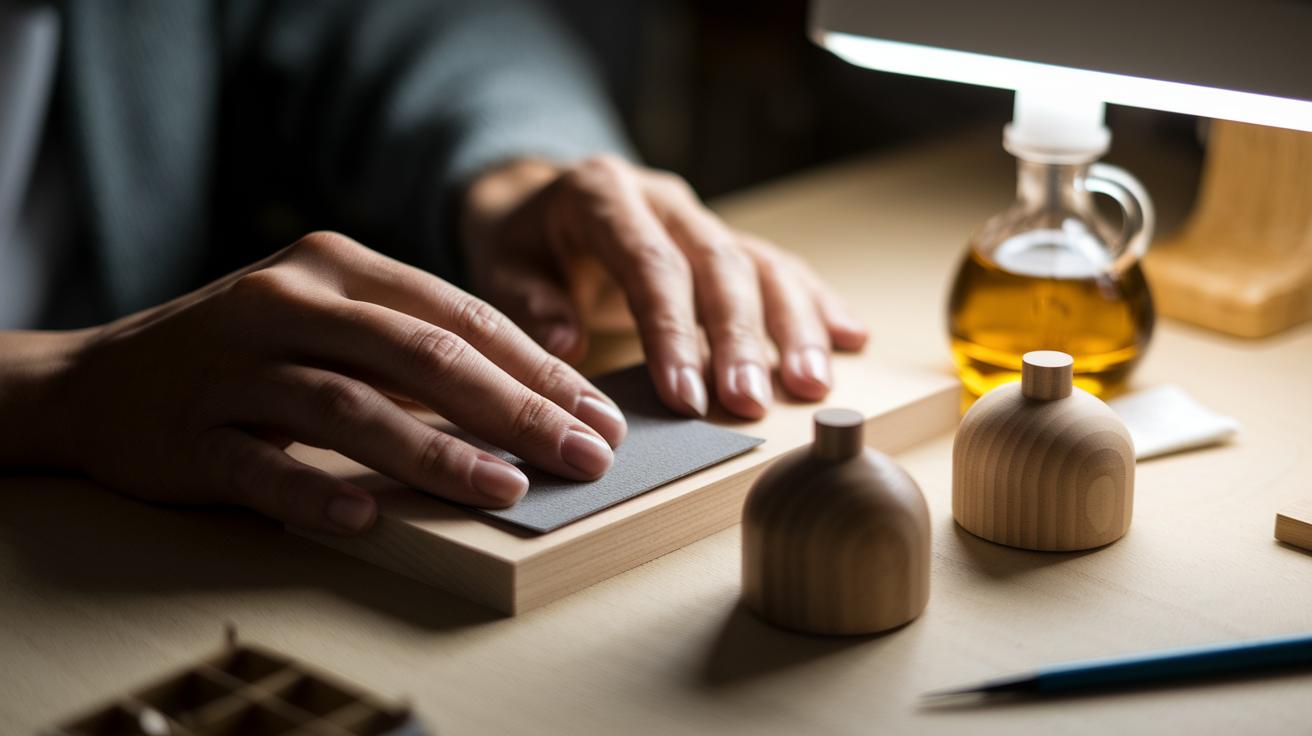
- After sanding with extra-fine grit, apply a thin layer of finishing oil. Dab a microfiber cloth with a few drops of tung or linseed oil and smooth it evenly over the wood.
- Gently rub the oil with a clean microfiber cloth. This removes extra oil and brings out a natural, silky shine.
- For painted or varnished pieces, lightly buff the surface with 0000-grade steel wool before applying another coat. This evens out rough spots for a uniform finish.
- Every 6 to 12 months, give your craft a light re-sand with extra-fine grit. This regular care keeps the surface flawless and extends the life of your project.
- Store your crafts in a room with stable humidity and away from strong sunlight and heat. This helps prevent damage and keeps the finish intact.
Final Words
In the action, you now know how to sand wood crafts smoothly by following clear steps. Start with the right tools and work through grit levels from coarse to fine. Spend time prepping the wood surface with a tack cloth to avoid dust. Next, fix any missteps like uneven strokes or skipping grits before finishing with proper care. This method gives you a smooth, long-lasting finish and saves you money on extra work. Keep it up, and your wood projects will shine.
FAQ
How to sand wood crafts smoothly by hand for beginners without a sander?
Sanding wood crafts by hand for beginners means starting with coarse grit and progressing to finer grits. Sand along the grain using a sanding block, and clean with a tack cloth between stages to remove dust.
How does sanding wood with an electric sander work?
Using an electric sander smooths wood quickly. It’s best to follow the grain and maintain firm, even pressure while progressing through the proper grit sequence and cleaning the surface between changes.
What is the correct way to sand wood?
Correct sanding involves using coarse grit to remove rough spots, moving gradually to a finer grit, sanding along the grain, and wiping down the surface with a tack cloth before advancing to the next grit.
How does one properly sand and finish wood?
Sanding and finishing wood require following a grit progression from coarse to fine, sanding with the grain, cleaning the surface between steps, and then applying a suitable finish like oil or varnish for a smooth surface.
How is the clear coat on wood sanded?
To sand clear coat on wood, gently work with fine grit sandpaper, always following the wood grain. This soft approach minimizes damage and smooths the finish while removing minor imperfections.
How should polyurethane be wet sanded?
Wet sanding polyurethane involves using water with high-grit sandpaper, keeping both surface and paper wet, and applying light pressure. This technique helps capture fine particles for a uniform, smooth finish.
How can you achieve a perfectly smooth wood surface through sanding?
Achieve perfectly smooth wood by using a step-by-step grit progression, sanding with the grain, and thoroughly cleaning off dust between stages. This method prepares the wood evenly for finishing.
How do you stop dust from spreading everywhere during sanding?
To stop dust from spreading while sanding, use a vacuum or dust extractor, wear a mask, and consider wet sanding or using a tack cloth between grit changes to capture particles effectively.
Do you sand in circles or straight lines, and why?
Sanding in straight lines that follow the wood grain minimizes swirl marks. Circles can create uneven textures, so keeping strokes straight ensures a more consistent and smooth finish.
What is the golden rule of sanding wood?
The golden rule of sanding wood is to sand along the grain. This practice prevents visible scratches and ensures a smooth, even surface, which is key for a long-lasting, attractive finish.