
Quick Fix
• What: Stop your dripping kitchen faucet
• Time: 15 min
• Skill: Beginner
• Tools & Materials: Small wrench, screwdriver, replacement parts (washers or cartridges), towel
• Cost: About $3–$10
• Safety: Turn off the water before you start
- Shut off the water at the sink. Find the valve under the sink and turn it off.
- Remove the faucet handle. Use a screwdriver to take out any screws holding it in place.
- Check the inner parts. Look for worn washers or cartridges that may cause the drip.
- Replace any bad parts. Bring your new washers or cartridge to ensure the fit.
- Reassemble the faucet. Put the handle back and secure it with the screwdriver.
- Turn on the water and test the faucet. Make sure there is no more drip coming out.
A steady drip can waste water and raise your bills, so fixing it fast is a smart move. With a little time and the right tools, you can have your sink working like new.
Diagnosing and Fixing Common Kitchen Faucet Leaks
Quick Fix:
• What: Stop your kitchen faucet leak
• Time: 15 min
• Skill: Beginner
• Tools & Materials: Towel, rubber mallet (if needed), basic screwdriver
• Cost: Parts $0–$10
• Safety: Turn off water at the under-sink valves
-
Spot the Leak
Look for a drip or change in water pressure. Small leaks can waste water and even lower your bill by about 10%. -
Shut Off and Drain
Turn off the valves under the sink. Then, open the faucet to drain the remaining water. This step stops further damage and makes the fix easier. -
Check for Common Causes
Drips often mean worn parts inside the faucet. Low pressure may point to a clogged aerator or mineral buildup. Loose handles might come from stripped or loose screws. -
Make Simple Adjustments
Before buying new parts, try tightening or cleaning the faucet. For stuck parts, use a gentle force or tap with a rubber mallet. Take care not to hit too hard.
Following these steps early can save you money and hassle, getting your faucet back to normal fast.
Identifying Your Kitchen Faucet Type and Key Components
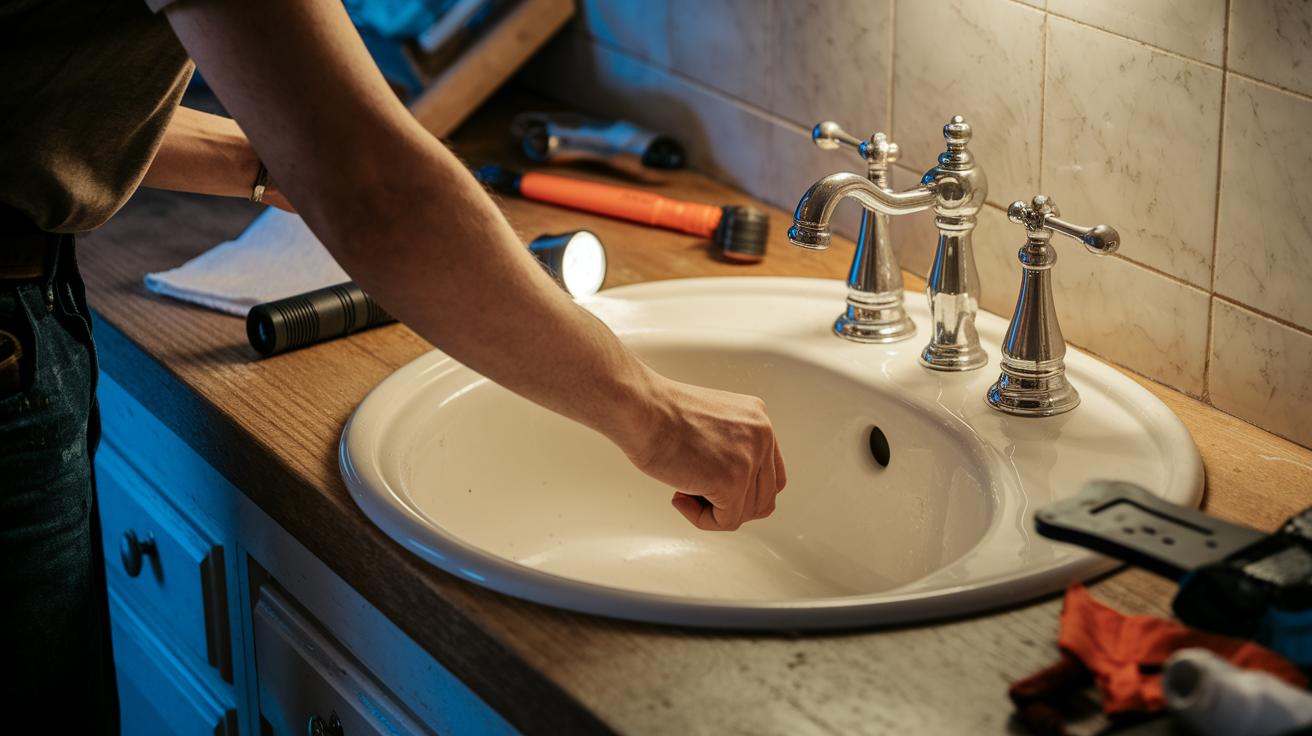
Quick Fix:
• What: Identify your faucet style fast
• Time: 5–10 min
• Skill: Beginner
• Tools: A flashlight and a cloth
• Cost: Free
• Safety: Work on a dry sink
• Steps:
- Look at your faucet design.
- Check for a cartridge, separate washers, sliding ceramic plates, or a ball mechanism.
- Use your observations to find the right parts.
Knowing your faucet style is key. Each type needs its own parts and fix methods. Spot the design early to save time and money, and to target the worn parts behind leaks or low water flow.
Cartridge faucets use one part inside to control both hot and cold water. They work well until the cartridge wears out or cracks, which can lead to drips. Check your faucet type to get the right replacement cartridge.
Compression faucets use separate stems and washers for each hot and cold handle. Over time, the washers can wear down and cause leaks, and loose handles might show that screws are stripped or worn. Look at these parts carefully to catch issues before they cause more damage.
Ceramic disk faucets work with two sliding ceramic plates to control water flow. Mineral buildup or damaged seals between the plates can make water flow uneven. A good look at these disks and seals can help spot the problem quickly.
Ball-type faucets use a ball with O-rings, springs, and a cam to manage water flow. When several parts wear out at once, leaks happen more often. Knowing you have a ball-type lets you buy a complete replacement kit to swap out all the worn parts together.
Essential Tools and Materials for Kitchen Faucet Repair
Before you start fixing your kitchen faucet, gather all the tools and parts you need. Having everything ready will help you fix leaks, low water pressure, or loose fittings without any extra hassle. With your supplies on hand, you can work faster and avoid delays that might cause more damage. This handy repair kit speeds up the repair and makes sure each part fits right, so you can get back to using your faucet quickly.
- Phillips-head or Allen wrench: Remove handle screws easily.
- Basin wrench or adjustable wrench: Loosen cartridge retainer nuts that are hard to move.
- Rubber mallet: Tap on stuck cartridges gently to free them.
- Replacement cartridge or valve stem: Use a complete kit like the ifixit repair kit for an exact match.
- Packing nuts and seat washers: Install new seals to keep things watertight.
- O-rings: Swap out worn rings that often cause drips.
- Plumber’s grease: Lubricate parts during reassembly and protect against wear.
- Plumber’s tape: Wrap threads to create a leak-proof seal.
Kitchen faucet repair: Quick fixes that work wonders

Quick Fix:
• What: Fix a leaky kitchen faucet by replacing the cartridge
• Time: 20 min
• Skill: Beginner to Intermediate
• Tools & Materials: Phillips screwdriver, Allen wrench, basin wrench, rubber mallet, new cartridge
• Cost: Parts $5–$15
• Safety: Turn off the water before starting
- Turn off the water. Locate the valves under the sink and close them. Then, open both hot and cold handles to drain the water.
- Remove the handle. Pop off the decorative cap and use a Phillips screwdriver or Allen wrench to take out the hidden screw. Wiggle the cap gently if it’s stuck.
- Loosen the nut. With the handle out, use a basin or adjustable wrench to loosen the cartridge retainer nut. Don’t overtighten when putting it back.
- Remove the old cartridge. Pull it out gently; if it’s hard to move, tap lightly with a rubber mallet to free it.
- Match the new cartridge. Line up the cartridge tabs with the slots in the faucet body to make sure water will flow correctly.
- Insert the new cartridge. Push it straight in until it’s secure.
- Tighten by hand. Screw the retainer nut by hand to hold the cartridge in place without overdoing it.
- Reassemble the faucet. Put the handle back on, secure it with the screw, and snap the decorative cap in place.
- Turn the water on. Slowly open the valves and check the faucet and spout for leaks.
- Final check. Make sure the water pressure is good and tighten any loose parts for a leak-free finish.
Repairing Compression, Ceramic Disk, and Ball-Type Kitchen Faucets
Compression Faucet Repair
Quick Fix:
• What: Stop a leaking compression faucet
• Time: 15 min
• Skill: Beginner
• Tools & Parts: Adjustable wrench, flathead screwdriver, replacement washers, packing nut
• Safety: Turn off water if needed
- Remove the decorative cap.
- Lift the handle carefully.
- Use your wrench to unscrew the packing nut.
- Check the washer; if it is worn, swap it with a new one.
- If the leak still happens, replace the valve stem.
- Handle every part gently to avoid damage.
Ceramic Disk Faucet Repair
Quick Fix:
• What: Fix uneven flow and leaks in a ceramic disk faucet
• Time: 20 min
• Skill: Beginner
• Tools & Parts: Flathead screwdriver, replacement O-rings and seals
• Safety: Shut off water before starting
- Push the faucet handle back to reveal the set screw.
- Remove the set screw using your screwdriver.
- Lift the handle and unfasten the disk cylinder.
- Replace the worn O-rings and seals.
- Before reassembling, clean off any mineral buildup from the disk cylinder.
- Reinstall each part and check that the disk aligns properly for smooth water flow.
Ball-Type Faucet Repair
Quick Fix:
• What: End leaks in a ball-type faucet
• Time: 30 min
• Skill: Intermediate
• Tools & Parts: Wrench, screwdriver, and a full replacement kit (ball, cam, springs, and O-rings)
• Safety: Follow all kit instructions and work carefully with small parts
- Purchase a full replacement kit that covers the ball, cam, springs, and O-rings.
- Follow the diagram provided with your kit.
- Remove all worn parts (ball, cam, springs, and O-rings) at once.
- Compare the new parts to ensure they fit snugly
Preventive Maintenance and Leak Prevention for Kitchen Faucets

Quick Fix:
- What: Prevent leaks and extend faucet life
- Time: 15–20 min per session
- Skill: Beginner
- Tools & Materials: Aerator cleaning tool or replacement, light grease, wrench
- Cost: Parts $3–$10
- Safety: Shut off water if needed
- Clean or replace the aerator every 3 months (about 90 days) to stop mineral buildup.
- Check your O-rings and seals once a year and add a little grease to keep them smooth.
- Tighten any loose handles or fittings as soon as they start to wobble.
- Flush the supply lines twice a year to remove any sediment.
- Consider using a water softener to cut down on scale formation.
- Do a quick drip test each month so you can spot small leaks early.
- Never overtighten the handles; too much force can damage the parts.
Taking these simple steps saves you time, money, and water while keeping your kitchen running smoothly every day.
When to Call a Professional for Kitchen Faucet Repair
Quick Fix:
• What: Stop a leaky faucet from causing more damage.
• Time: A 15-30 min call to a pro.
• Skill: DIY fixes have limits.
• Tools & Materials: Your phone; a reliable plumber.
• Cost: $100–$200.
• Safety: Shut off the main water valve before any work.
- If your faucet still leaks after two repair tries, stop and think twice.
- Look for heavy rust on valves or pipes. Multiple leaks or flooding under the sink are red flags.
- If you use parts that are unknown or feel unsure with plumbing tools, play it safe.
- Turn off the main water valve immediately.
- Call a licensed plumber to fix the faucet right.
A pro will install parts correctly, follow local codes, and help stop future leaks. Their work minimizes risks like burst pipes or more water damage. If you ever feel uneasy or the problem gets worse, don’t hesitate to reach out for professional help. Paying for a pro now can save you from bigger problems later.
Final Words
In the action, you sharpened your kitchen faucet repair skills by learning to diagnose leaks, disassemble the faucet, and replace damaged parts across various models. You saw firsthand how early detection and proper tools make all the difference.
Your guide walked you through basic cartridge fixes, addressing compression, ceramic disk, or ball-type issues. With these quick tips under your belt, you’re well-equipped to handle minor repairs, save money, and keep your sink working smoothly.
FAQ
What does a kitchen faucet repair kit include?
A kitchen faucet repair kit typically includes replacement parts like cartridges, washers, O-rings, and valve stems along with basic tools to help you fix leaks and restore proper function.
How do I repair a single handle kitchen faucet with a spray hose?
Repairing a single handle faucet with a spray hose involves removing the handle, replacing the worn cartridge or seals, and reassembling the parts to stop leaks and restore water flow.
How do you fix a leaky kitchen faucet with two handles?
Fixing a leaky two-handle faucet usually means tightening or replacing the valve stems and seat washers, which are common culprits behind leaks when they become worn over time.
What should I do if my kitchen faucet is leaking from the neck?
A leak from the faucet neck often points to a worn or loose seal. Check the internal connections and replace any faulty seals or O-rings to stop the leak effectively.
How do I repair a Kohler kitchen faucet?
Repairing a Kohler kitchen faucet starts with identifying your specific model and following the manufacturer’s instructions to replace worn parts like cartridges, seals, or O-rings for a lasting fix.
Can a kitchen faucet be repaired?
Most kitchen faucets can be repaired by replacing worn components and tightening connections. If the parts are severely damaged, however, it might be better to consider a full replacement.
How do I identify my faucet type?
Identifying your faucet type involves examining its design; look for details such as the handle style, internal cartridge design, or whether it uses separate hot and cold handles to select the right repair parts.
How do you stop a dripping kitchen faucet?
To stop a dripping kitchen faucet, first turn off the water and remove the handle to inspect internal parts. Replace any worn-out washers, cartridges, or seals, then reinstall the parts and test the faucet.