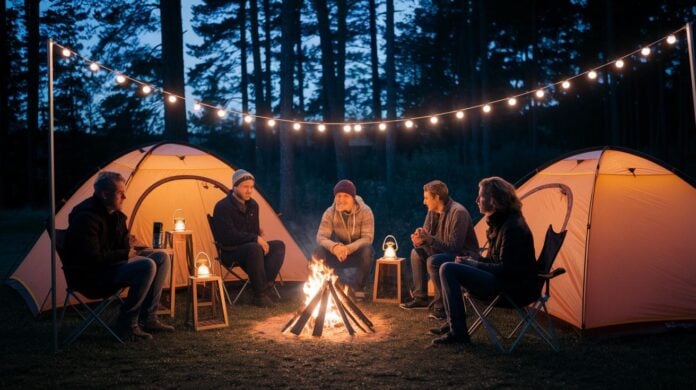

Turn Your Headlamp into a Soft Lantern
Quick Fix:
• What: Create a gentle lantern light from your headlamp
• Time: 10 min
• Skill: Beginner
• Tools & Materials: Your headlamp, a piece of clear plastic or fabric, tape
• Cost: Free (using your own gear)
• Safety: Keep the light aimed away from your eyes
Steps:
- Turn off your headlamp and remove the batteries if needed.
- Cut a square of clear plastic or fabric to cover the headlamp lens.
- Tape the diffuser over the lens so it fits snugly.
- Put the batteries back in and turn on your headlamp.
- Enjoy a soft, warm glow that lights your campsite safely.
This simple hack transforms your headlamp into a cozy lantern, perfect for those evenings under the stars.
Convert Your Headlamp into a Lantern Camping Lighting Hack
Quick Fix:
• What: Turn your headlamp into a soft, all-around lantern.
• Time: 10 min
• Skill: Beginner-friendly
• Tools & Materials: Headlamp, clear sturdy container (big enough for light to spread), tape or a simple bracket
• Cost: Free if you already have these items
• Safety: Make sure the container stays steady
- Put your headlamp into a clear, durable container. The container should be large enough so the light can spread in every direction.
- Point the headlamp’s beam upward so it shines on the container’s inner wall. This makes the light soft and even, much like a lantern.
- Fasten the headlamp and container together with tape or a bracket. Turn on the headlamp to ensure the glow is smooth and steady.
This trick is great for camping, backpacking, or family trips when you need safe, ambient lighting. It uses gear you probably already own, so you don’t have to spend extra money. Enjoy a warm, inviting glow that brightens your outdoor nights with ease.
Solar-Powered Lantern Camping Lighting Hack
Quick Fix:
• What: Light up your camp with solar lanterns for a warm, gentle glow
• Time: 5–10 min
• Skill: Beginner
• Tools & Materials: Affordable solar lanterns, clear access to sunlight
• Cost: Parts $3–$10
• Safety: Check that the lights get plenty of sun during the day
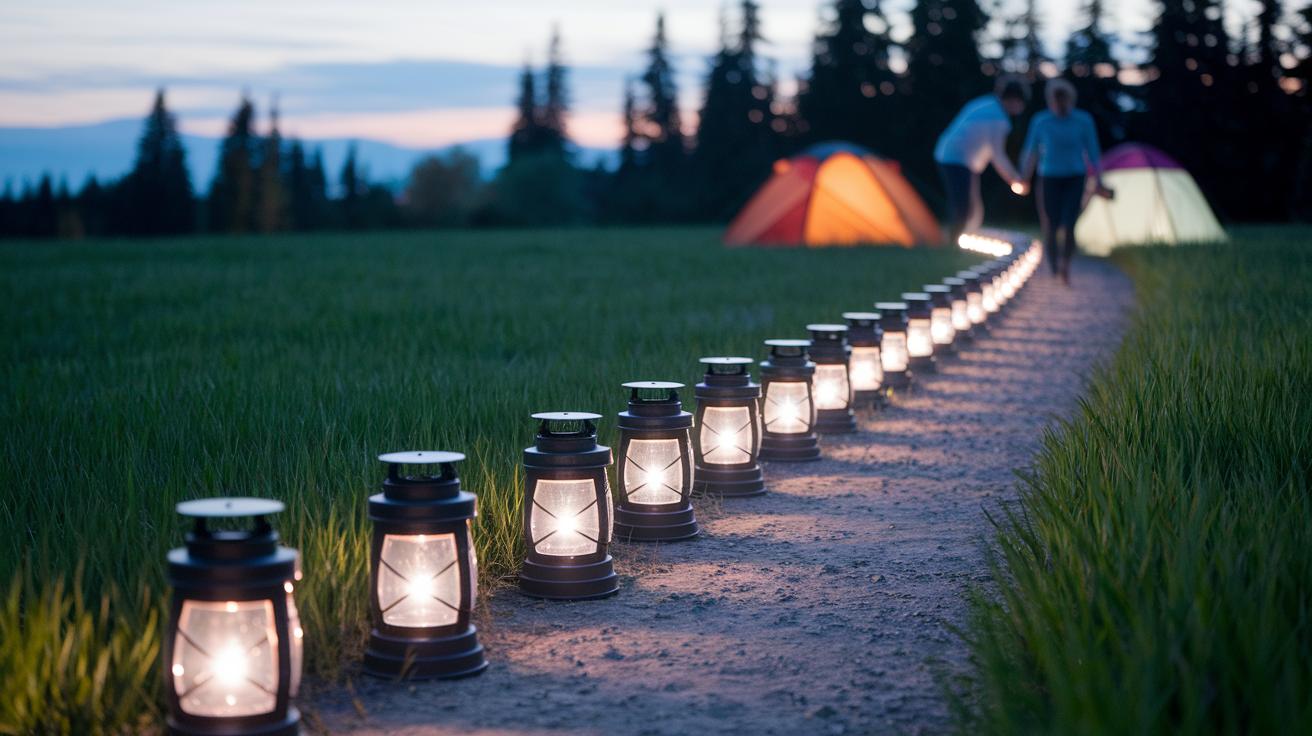
Solar lanterns are a smart, budget-friendly way to keep your campsite safe and inviting. These lights charge in the sun and give off a soft glow when night falls. They work great for marking where tents stand and lighting pathways without the hassle of swapping out batteries.
- Place the solar lanterns in spots that get full sun during the day.
- Set them near camp entrances and along the edges of your site for better safety.
- Position the solar panel so it directly faces the sky for quicker charging.
| Aspect | Details |
|---|---|
| Benefits | Cost-effective, no extra batteries, eco-friendly glow |
| Limitations | Not built for task lighting, needs good sunlight |
| Placement Tips | Use at entrances, along paths, and on campsite borders |
Following these simple steps will give you a bright, energy-saving setup that turns your camp into a safer, welcoming space at night. Enjoy your trip and stay safe!
Water Jug Camp Light Hack for Budget Campsite Lumens
Quick Fix:
- What: Turn a clear water jug into a soft, diffused light for your campsite.
- Time: 10 min
- Skill: Beginner
- Tools & Materials: A clear water jug, a headlamp or small lantern, tape or a bracket.
- Cost: $0–$5 (if you already have the items)
- Safety: Use a clean jug and handle electrical items carefully.
- Fill the jug with water. This helps soften the headlamp beam.
- Aim the headlamp so the light hits the jug’s side.
- Secure the light with tape or a bracket so it doesn’t move.
- Turn on the lamp and adjust its angle to spread a gentle, even glow over your campsite.
LED Rope Lighting Camping Lighting Hack
Quick Fix:
• What: Bright, waterproof LED rope lighting for your camp.
• Time: 15–30 min
• Skill: Beginner
• Tools & Materials: Waterproof LED rope light (rated IP67 or IP68), outdoor clips or hooks, an outdoor-rated extension cord or battery pack
• Cost: $10–$50
• Safety: Keep power sources dry and secure to avoid hazards
Steps:
- Choose your LED rope light. Look for high-lumen models with waterproof ratings like IP67 or IP68 to handle splashes. Check the wattage (for example, 10 W/10 watts) to know it’s bright enough.
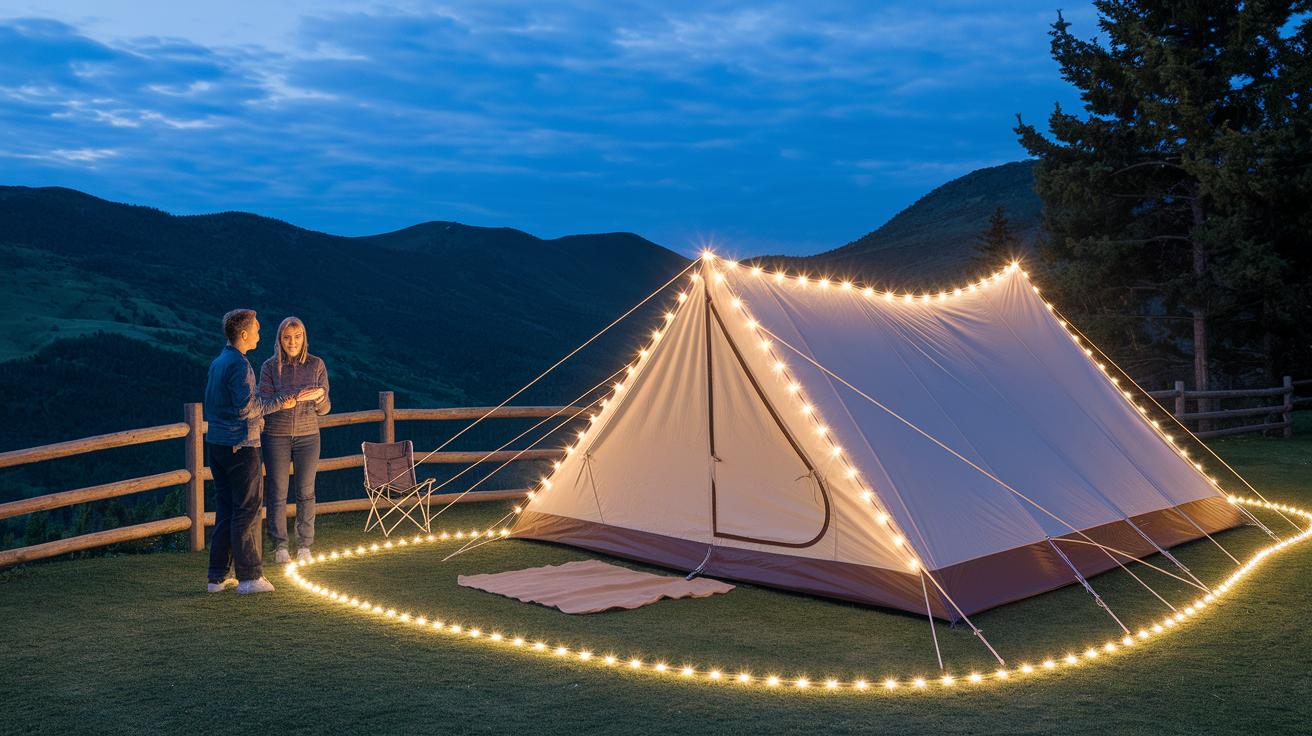
- Plan your layout. Decide where you want the light, around fences, along tree trunks, or over the tent canopy, and mark the spots where the rope will go.
- Attach the rope light. Use sturdy outdoor clips or heavy-duty hooks to snap the light onto solid surfaces like beams or fence posts.
- Protect your power setup. Place batteries, rechargeable units, or an outdoor extension cord in a dry spot so water won’t reach them.
- Tidy up the cables. Run them along beams or fence posts to keep the area neat and prevent tripping hazards.
Tip: Adjust the rope’s placement so the light spreads evenly over cooking areas or gathering spots. Enjoy your bright camp nights!
Glow-In-The-Dark Trail Camping Lighting Hack
Glow in the dark paints mark trails with natural light. They do not require batteries. You can paint tent stakes, guy lines, rocks, or sticks to guide you on dark trails and in campgrounds. These markers show you where to step, which cuts down on trips and falls. Best of all, they are an affordable and reliable safety option.
Glow in the dark paints come in several types. Some are water-based and non-toxic (safe for outdoor use), while others keep glowing for several hours after soaking up sunlight. They absorb light during the day and slowly release it at night, keeping your path lit and safe.
Get creative with your markings by painting fun shapes or unique designs on your markers. Let kids join in by adding their own touches to tent stakes or nearby rocks. This hands-on activity not only brightens your campsite but also creates a fun and memorable space for family and friends.
Power Management and Safety for Camping Lighting Hacks
Quick Fix:
- What: Keep your camp lights bright and safe.
- Time: 10 min
- Skill: Beginner (no special skills needed)
- Tools & Materials: Check your lights, spare rechargeable batteries or a power bank, sturdy hooks/clips
- Cost: $0–$20
- Safety: Keep lights away from flammable items and secure any loose gear
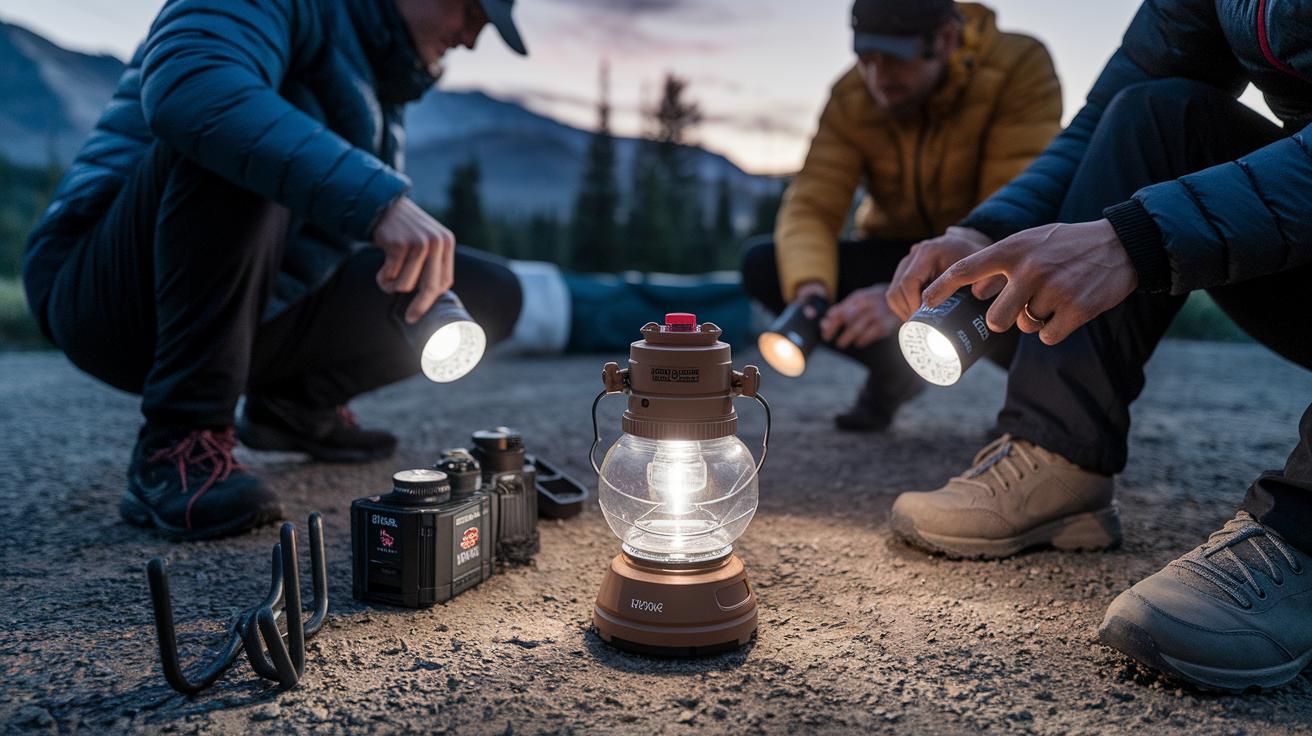
- Check your battery and brightness before you head out. Look at the battery life and how bright your light is (in lumens). Match the light with your needs so you don’t waste power.
- Pack spare batteries or a power bank. Running out of light in the dark isn’t safe, so be prepared.
- Test your lights before leaving. Make sure your device gives off a clear beam without draining power too fast. A headlamp with 200 lumens may work well near a tent, but it might not last all night.
- Secure your lights to avoid hazards. Use hooks, brackets, or clips to hang them up so they won’t tip over. Keep lights away from flammable items like tents or dry leaves.
- Store battery packs in a dry, safe spot away from damp areas and things that can catch fire.
- Share and swap your lights with your group. This way, no single light runs all night and you can exchange batteries to keep the glow steady.
Keep these tips handy to enjoy safe and bright camping nights.
Final Words
In the action, this post showed easy ways to brighten a campsite without extra cost. You learned how to convert a headlamp into a lantern, set up solar lights, repurpose a water jug, and use LED rope lights, each proven to work on quick camping lighting hacks. The guide also stressed checking battery life and securing your gear for safety. Experiment with these ideas to light your outdoors with minimal tools and time. Enjoy your bright nights and stress-free setup!
FAQ
What is a DIY camping lighting hack?
The DIY camping lighting hack converts a headlamp into an ambient lantern using a clear container. It gives a 360° glow and uses gear you already own for hands-free light on your campsite.
What is an outdoor camping lighting hack?
The outdoor camping lighting hack repurposes common gear—like a headlamp placed in a diffusing cover—to brighten your camp. It works well for illuminating pathways and tent perimeters.
What is a popular camping lighting hack on Reddit?
The camping lighting hack often shared on Reddit turns a headlamp into a lantern. It diffuses the light for an even glow and is a cost-effective way to boost campsite lighting.
What is the best camping lighting hack?
The best camping lighting hack involves converting a headlamp into a lantern for a full-circle glow. This trick offers easy assembly, low cost, and improved ambient light for various camping tasks.
What is the 200 rule for camping?
The 200 rule for camping means opting for a light source with around 200 lumens, providing enough brightness without draining power quickly, which helps balance efficiency and performance.
What is the best way to light a campsite?
The best way to light a campsite is to mix ambient and task lighting. Repurpose headlamps into lanterns, use solar-powered lights for perimeters, and install LED strips for focused illumination.
What are the 7 C’s of camping?
The 7 C’s of camping cover comfort, cooking, campfire, clothing, communication, cleanup, and conservation. They help ensure you have a safe, organized, and enjoyable outdoor experience.
What is the most forgotten item when camping?
The most forgotten item when camping is often a dependable headlamp. This light gear doubles as a lantern, offering versatile illumination that many overlook when packing.