
Quick Fix
What: Turn a plain wood slice into a cheerful holiday ornament
Time: About 2 days (only a few hours total)
Skill: Beginner
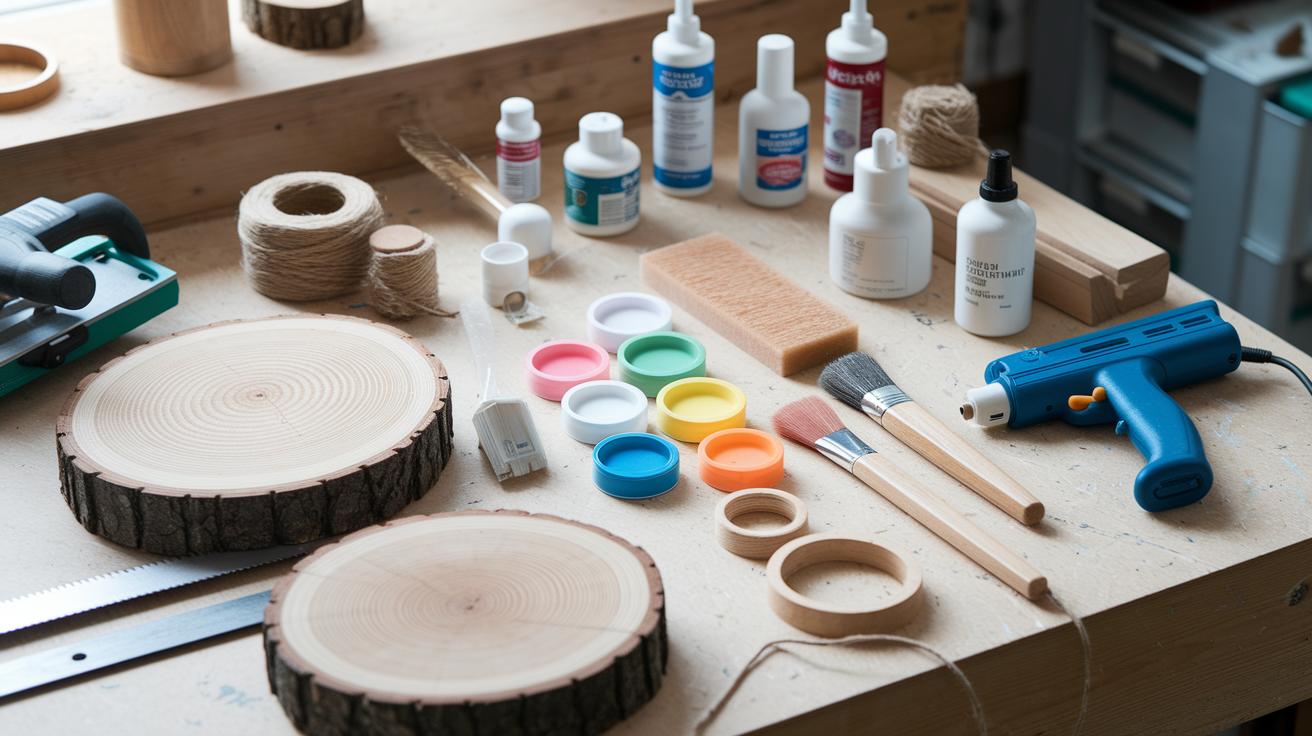
Tools & Materials:
- Wood slice
- Sandpaper
- Paint, stain, or finish
- Brushes
- Protective gear (dust mask, safety glasses)
Cost: $5–$15
Safety: Wear a dust mask and safety glasses when sanding
Steps:
- Gather your supplies.
- Sand the wood slice until the surface is smooth.
- Apply your choice of paint, stain, or finish.
- Add fun designs or personal touches.
- Let the ornament dry completely.
- Hang it up or give it as a thoughtful gift.
Customize your ornament to brighten your home or surprise a loved one with a handmade keepsake.
Quick Wood Ornament DIY Tutorial Overview
Quick Fix:
- What: Craft a custom wood ornament
- Time: 2 days (about 4 hours total work)
- Skill: Beginner to intermediate
- Tools & Materials: Pre-cut wood slices (1/4 in – 1/2 in / 6 mm – 13 mm thick), saw (scroll, table, or handsaw), 60-grit and 150-grit sandpaper, wood primer, acrylic paint or wood-burning pen, clear sealer, Mod Podge (for photo transfer, if desired), foam or paintbrush, twine or hanger supplies, hot glue gun
- Cost: Parts typically run low cost depending on supplies
- Safety: Make sure your wood is dry before working and always wear safety glasses during cutting and sanding
Steps:
- Dry your wood slices thoroughly to help prevent cracking.
- Cut the wood into your chosen shape with your saw.
- Start sanding with 60-grit sandpaper, then finish with 150-grit to get a smooth surface.
- Brush on a coat of primer to seal the wood before decorating.
- Add your design using acrylic paint or a wood-burning pen.
- Protect your work with a clear sealer once the design is dry.
- For a unique look, try a photo transfer using Mod Podge or add other fun details.
- Drill a small pilot hole and secure a hanger using twine or a hook.
- Let the ornament dry completely and give it a quick check before hanging or gifting.
Materials, Tools & Wood Preparation
Here's what you'll need to get your wood ready for your project:
- ¼ to ½ in (6–13 mm) tree-trunk slices (use reclaimed wood or buy pre-cut slices for a low-cost option)
- A saw (scroll saw, table saw, or handsaw; rent or borrow one if you don't have it)
- 60-grit sandpaper (around $3 per pack)
- 150-grit sandpaper (an affordable alternative)
- Primer (available at hardware stores for about $5)
- A variety pack of acrylic craft paints
- Clear varnish (a protective finish, roughly $5 per can)
- Mod Podge (an affordable adhesive and sealer)
- A foam brush (found at most craft stores)
- A hot glue gun and twine (cheap and multi-use)
| Step | Tool/Grit | Purpose |
|---|---|---|
| Drying | Air-dry area (bench or low-heat space) | Prevent cracks |
| Cutting | Saw (scroll, table, or handsaw) | Shape the slices |
| Rough Sanding | 60-grit sandpaper | Remove bark and even out edges |
| Fine Sanding | 150-grit sandpaper | Smooth the surface (check out sanding tips for help) |
Before you start your project, make sure to check the wood's moisture. Let the slices air-dry for 1–2 weeks in a warm, low-humidity spot to reduce the chance of warping or cracking. Cutting larger pieces into smaller ones can help them dry faster and make a more stable base for decoration. If you have one, use a moisture meter and avoid working on wood that is still too damp.
Creative Decoration Methods for Wood Ornament DIY
Painting & Staining
Begin by brushing a thin coat of primer over the wood to seal it. Let the primer dry completely. Next, apply thin layers of acrylic paint or stain to build rich color and depth. Use a foam brush or a paintbrush to gently feather the edges. Stir your paint well before you start so you get an even finish.
Photo Transfer & Decoupage
Cut your photo into a clean 2.75″ (7 cm) circle using a simple template and your favorite photo app. Brush a light coat of Mod Podge (a glue and sealant) onto the wood slice. Carefully place your photo, which is taped to a sturdy cardstock, onto the wood. Then, brush another coat of Mod Podge over the photo to secure it and smooth out the finish. Try this on a scrap piece first to get a feel for the process.
Wood Burning & Embellishments
Wear safety glasses and gloves before you start with the wood-burning pen. Hold the pen steady as you trace your design on the wood for a rustic, hand-crafted look. Add extra charm by placing small beads, ribbons, or a touch of glitter along the edges. Use a hot glue gun to firmly secure these accents. Practice on a spare piece of wood to adjust your pressure and ensure clean lines before working on your final piece.
Adding Hardware and Finishing Touches to Your Wood Ornaments

Quick Fix:
• What: Add a secure hanger and finish the surface
• Time: 10 min
• Skill: Basic DIY
• Tools & Materials: Hand drill, wood drill bit, twine/decorative ribbon/ornament hook, jute or leather cord, hot glue, clear varnish, foam brush, protective padding
• Safety: Keep fingers clear of the drill bit; use hot glue with care
- Use a hand drill with a wood bit to make a small pilot hole near the top center of your ornament.
- Choose your hanger, twine, decorative ribbon, or an ornament hook will work fine.
- Thread a jute or leather cord through the hole and secure the knot with a bit of hot glue.
- For heavier ornaments, add a small metal hook into the hole for extra support.
- Smooth over the area by brushing a light layer of clear varnish with a foam brush. Let the varnish fully dry.
- Finally, wrap your ornament in soft padding and pack it in a box to keep it safe and ready for gifting.
Personalizing Wood Ornament DIY with Creative Variations and Themes
Quick Fix:
What: Create unique wood ornaments with a personal touch.
Time: 15-30 min per ornament
Skill: Beginner to Intermediate
Tools & Materials: Wood blanks, carving tools, stencils, a Dremel (rotary tool), paints, glitter, beads
Cost: Parts $5-$20
Safety: Wear eye protection and work in a safe, well-ventilated area
- Pick a theme that fits the event or memory you want to celebrate, such as a family reunion, a special birthday, or the holidays.
- Mix classic ideas with creative twists. For example, use stencils to create tree shapes or a scroll saw to craft delicate snowflakes.
- Add a personal detail by carving initials or dates using a Dremel. This makes your ornament a keepsake.
- Try extra touches like pressed-flower inlays for natural beauty, or add beaded timber circles for a boho vibe.
- Layer pieces to create a 3D effect and experiment with seasonal paint paired with glitter or glass beads that catch the light.
- Blend different techniques to turn a simple wood piece into a unique decoration that tells your story.
Enjoy the process and let your creativity shine with every cut and stroke.
Safety Guidelines and Best Practices for Wood Ornament DIY Projects
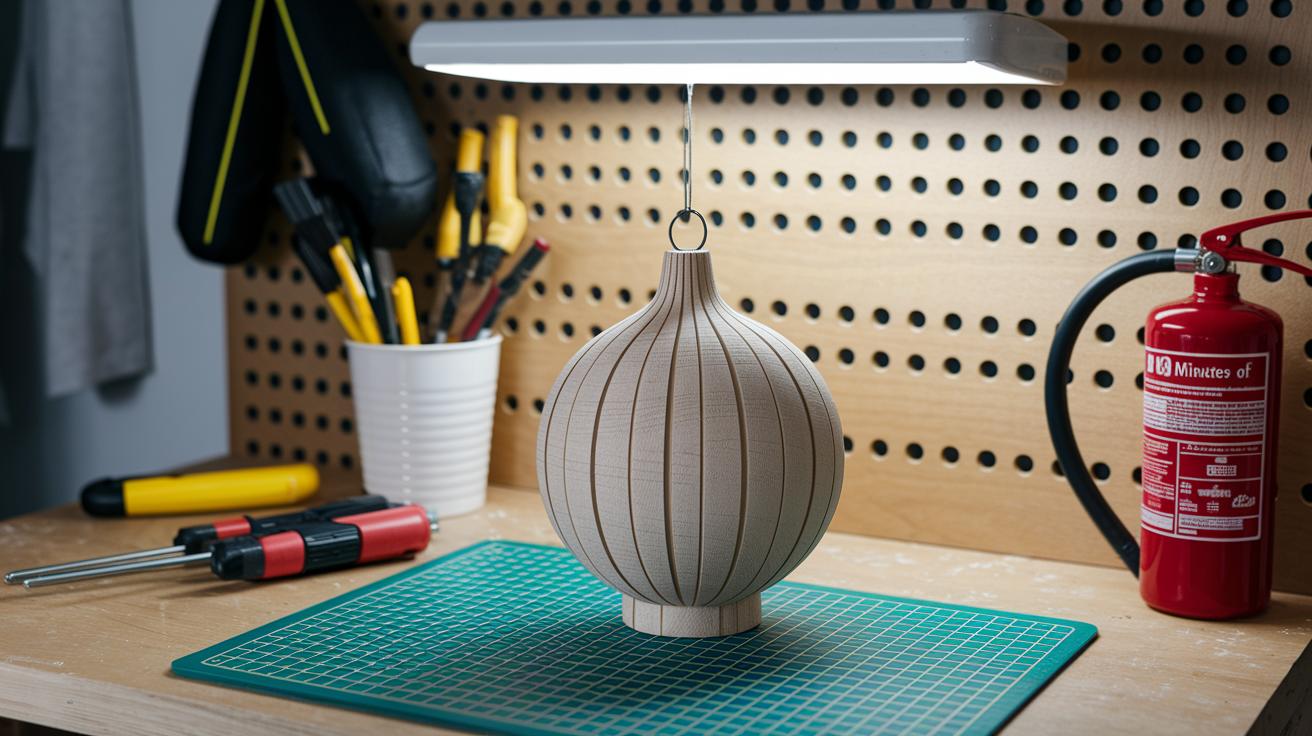
Quick Fix:
• What: Make your wood ornament project safe by setting up a secure, clear workspace
• Time: 10 min
• Skill: Beginner (a basic level of DIY safety)
• Tools & Materials: Safety glasses, dust mask, sturdy workbench, good lighting, clamps, protective mat or old newspapers, first-aid kit, fire extinguisher
• Cost: Parts $5–$15
• Safety Snapshot: Unplug power tools before changing blades or bits
-
Put on your safety glasses and dust mask every time you work.
-
Set up your workspace in a well-ventilated spot away from heat and open flames.
-
Use a sturdy workbench with good lighting so you can see clearly.
-
Keep a first-aid kit and a fire extinguisher nearby in case of mishaps.
-
Protect your work area by covering it with a mat or old newspapers to catch debris.
-
Always unplug power tools before changing any blades or bits to avoid accidental starts.
-
Clamp your wood firmly when drilling or cutting to prevent slips and uneven cuts.
-
Test your finishes on a scrap piece of wood to be sure the color and reaction are right.
-
Store solvents away from heat and any sparks to keep things safe.
Follow these steps and tips to create a safe, clear space that keeps you protected while you let your creativity shine with your wood ornament project.
Final Words
In the action, you built a custom wood ornament using simple wood slices, cutting, sanding, and painting techniques. You followed clear steps to choose materials, shape your wood, and add your own creative touches with decoration methods and finishing hardware.
You tackled safety guidelines and personalized details along the way. Enjoy making your wood ornament DIY project and add a bright, handmade touch to your space.
FAQ
What is a simple wood ornament DIY?
A simple wood ornament DIY means a basic project using readily available wood slices, basic sanding, and easy decoration techniques like painting or wood burning. The guide shows step-by-step instructions for quick assembly.
How can I create a wood ornament DIY on a tight budget, like a Dollar Tree version?
A wood ornament DIY on a tight budget uses low-cost wood slices and inexpensive supplies. The guide includes steps for basic sanding, painting, and adding simple hangers without expensive tools or materials.
What makes a wood ornament DIY project easy to follow?
A wood ornament DIY project is easy to follow when it features clear, concise steps, common tools, and straightforward decoration methods such as priming and basic embellishments designed for beginners.
How do I tackle a large wood ornament DIY project?
A large wood ornament DIY project emphasizes selecting thicker wood slices, proper drying and sanding, and careful application of decorative layers. The step-by-step guide ensures a sturdy, attractive finished piece.
How can I create wood photo ornaments using a DIY approach?
A wood photo ornament DIY involves transferring photos onto prepared wood slices with Mod Podge and cardstock. The process includes cutting, painting, and sealing, resulting in personalized and decorative photo displays.
What are some easy wood slice ornaments DIY ideas?
An easy DIY for wood slice ornaments includes using pre-cut wood slices, smoothing surfaces with 60- and 150-grit sandpaper, priming, and applying simple decorative touches for a clean, refined finish.
What wood slice ornament ideas work well for kids?
Wood slice ornament ideas for kids feature fun shapes, vibrant paint, and minimal embellishments. The project is designed with safe tools and simplified steps so children can enjoy crafting without complications.
How can I create acrylic photo ornaments through DIY methods?
An acrylic photo ornament DIY uses a clear acrylic finish combined with photo transfer techniques. The guide explains how to apply Mod Podge and layer the photo onto wood, followed by sealing for a sleek, modern look.