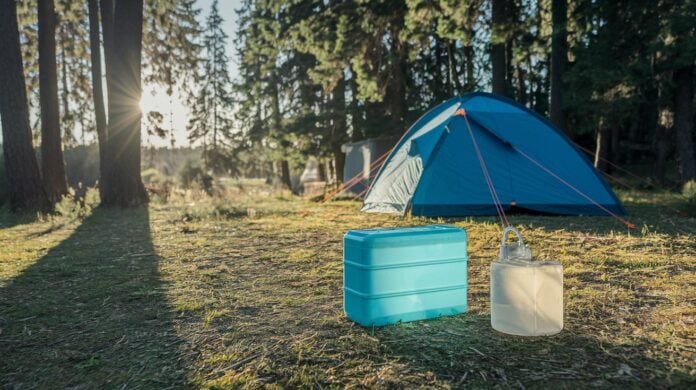

Quick Fix: Build a Lightweight Camping Water System
• What: Replace heavy water jugs with an easy, compact storage setup
• Time: About 15 min
• Skill: Beginner (no special skills needed)
• Tools & Materials: A foldable bladder, collapsible jugs, and a pump that works with a garden hose
• Cost: Varies – generally low-cost
• Safety: Make sure your pump and connections are secure before use
- Gather your parts: a foldable bladder, a couple of collapsible jugs, and a garden-hose-compatible pump.
- Lay out your items so you can see all the pieces clearly.
- Connect the pump to the bladder using the tubing, ensuring you follow the pump’s instructions.
- Snap the pump into place near the collapsible jugs, which will hold your water securely.
- Turn on the pump and fill the system. Check all connections for leaks.
- Enjoy a mess-free water supply that is lighter and easier to transport on your camping trip.
This setup replaces heavy jugs with a smart system that cuts the hassle in half. With simple, clear steps and everyday items, you can keep your water supply safe and handy without breaking a sweat.
Step-by-Step DIY Camping Water Storage Hack with Common Gear
Quick Fix:
• Outcome: Set up a secure water supply for your camping trip.
• Time: About 60–90 min (plus an 8–10 mile drive).
• Skill: Beginner – simple steps with common camping gear.
• Tools & Materials: 50–60 gallon bladder (folds to 12"x12"x4"), 2.5–5 gallon collapsible jugs, pump with garden-hose fittings, water thief adapter, and a trustworthy potable water source.
• Cost Estimate: Parts around $20–$50.
• Safety: Always use a clean water source and drive carefully.
-
Gather Your Gear
Collect a large, foldable water bladder (50–60 gallons), a pair of small collapsible jugs (2.5–5 gallons each), a pump that works with garden hoses, and a water thief adapter (this helps when spigots lack threads). Also, plan for a short drive (8–10 miles) to a safe water source. -
Set Up Your Water Storage
Place the bladder inside your RV or at your campsite. This bladder is your main water container. Use the collapsible jugs to move water quickly. If your spigot is missing threads, the water thief adapter will let you hook up your jug and fill smoothly. -
Fill Your Bladder
Drive to a nearby potable hydrant. Let gravity help fill your bladder, and use the pump with your jugs if you need to speed up the flow. A simple setup like this keeps your water moving steadily. -
Plan for Daily Water Needs
Figure one gallon per person per day for drinking, cooking, and cleaning. Keep extra water in your collapsible jugs as a backup for when you don’t have access to a tap.
| Item | Specification |
|---|---|
| Bladder | 50–60 gallons; folds to 12″x12″x4″ |
| Collapsible Jugs | 2.5–5 gallons each |
| Pump | Garden-hose fitting compatible |
- Store and Monitor
Once your system is ready, keep an eye on water levels during your trip. This simple setup helps you enjoy a worry-free camping experience with a steady water supply.
Selecting the Best Portable H2O Container for Your Camping Water Storage Hack
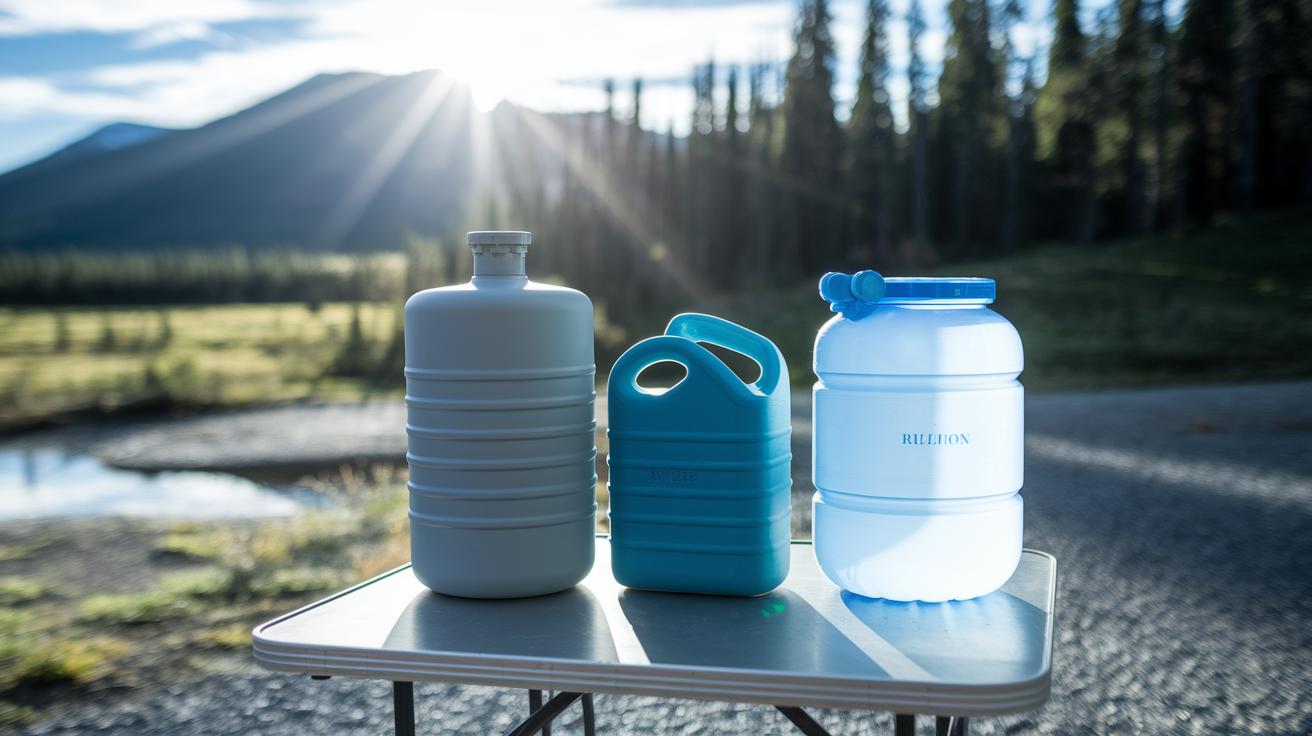
Quick Fix:
- Choose a container type: rigid tanks, collapsible jugs, or bladders.
- Check if you need extra space or extra toughness.
- Fill carefully and enjoy safe, clean water at camp.
When you plan your water storage for a trip, you mainly have three choices. Rigid tanks handle rough treatment and resist punctures, but they don’t change shape and can take up extra space. Collapsible jugs shrink down when empty, which is great if you need room for gear. Bladders fold flat too, but you must fill them gently so they don’t tear.
For example, a collapsible jug can shrink almost completely when empty. This is very handy if you have a small space.
Each container type has its own mix of strength, room-saving design, and ease of use. A 1.5-gallon jug (about 5.7 liters) is a smart choice for your base camp. It lets you store and use water while keeping it safe from nature’s germs like Giardia or Cryptosporidium.
| Container Type | Advantages | Disadvantages |
|---|---|---|
| Rigid Tanks | Resists punctures; tough | Fixed shape; takes up space |
| Collapsible Jugs | Shrinks when empty; saves space | Less rugged with rough handling |
| Bladders | Folds flat; lightweight | Needs careful filling |
Pick the container that matches your camping style and available space. Enjoy your adventure with safe water at your side!
Water Needs Calculation and Conservation in Your Camping Water Storage Hack
Quick Fix:
• What: Calculate and conserve your camping water supply
• Time: 5 min
• Skill: Beginner
• Tools & Materials: Pen, paper, calculator
• Cost: Free
• Safety: Ensure your water is safe to drink
- Start by planning for 1 gallon per person each day. This covers drinking, cooking, and cleaning.
- For example, 4 people on a 5-day trip need about 20 gallons (4 x 5).
- To lighten your load, swap out water-washed tasks. Use wet wipes for cleaning your hands and face.
- A single 16.9 oz (500 ml) bottle of wipes can last 4 to 5 days if you use it wisely.
- If you’re planning a longer trip, careful conservation can stretch your supply for up to 2 weeks.
- One camper mentioned that without water-saving steps, a 5-day trip used almost 75 gallons. Adjusting daily needs can cut that amount by a lot.
- Measure your actual needs and reserve water for only the most important tasks.
Plan smart, pack what you need, and conserve every drop!
Sanitization and Maintenance for Safe Camping Water Storage Hack
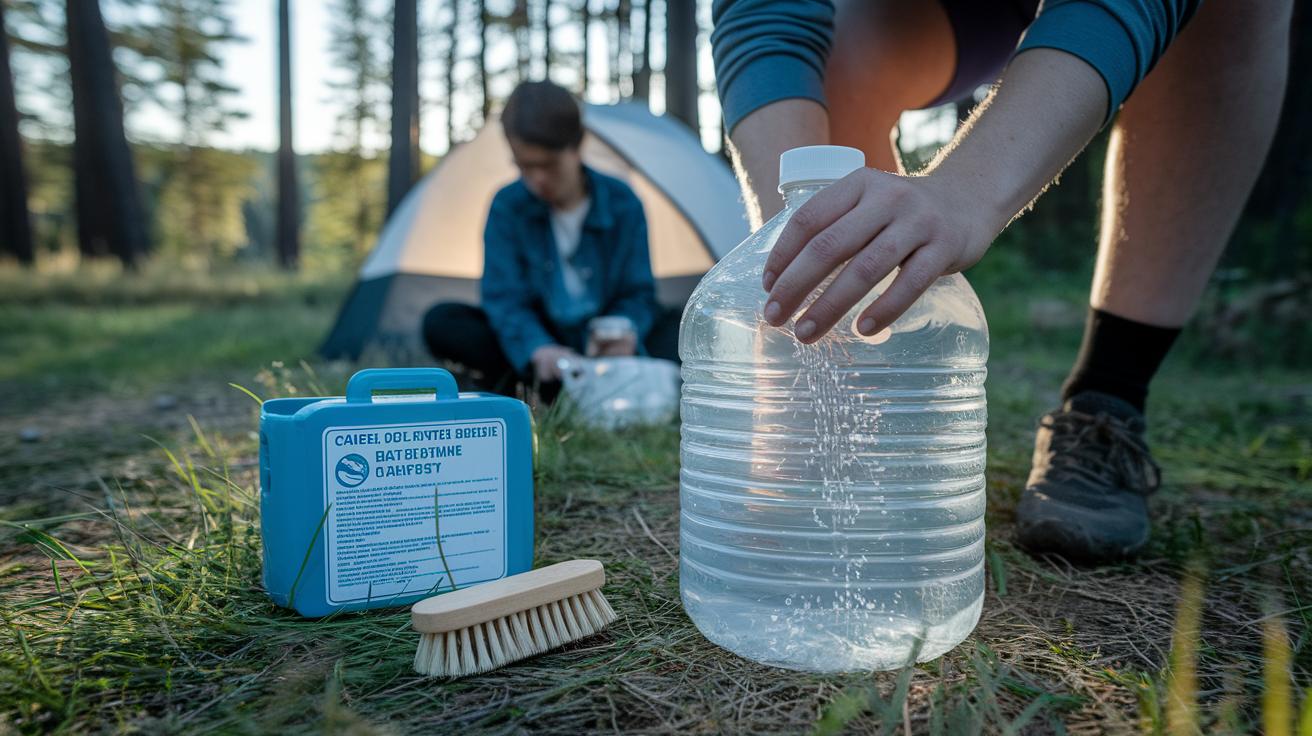
Quick Fix:
- What: Keep your camping water safe and fresh.
- Time: 15 min after each trip
- Skill: Beginner
- Tools & Materials: Mild detergent, water, scrub brush, and access to manufacturer instructions
- Cost Estimate: Parts $3–$10
- Safety Snapshot: Rinse thoroughly to avoid chemical residues
Steps:
- Clean your containers. Use a mild detergent to scrub them and rinse well to stop mold and off-flavors.
- Flush jugs and hoses. Follow the maker’s guidelines to clear away buildup, biofilm (a slimy layer of bacteria), and any unwanted bacteria.
- Sanitize tanks, valves, and connectors. This extra step keeps your water quality high over many trips.
- Handle flexible containers with care. If you use a water bladder or similar item, clean gently to prevent damage.
- Prepare for cold weather. Install extra valves on ports to make filling easier when it’s chilly. Once winter is over, remove or adjust these valves to resume normal use.
Enhancing Your Camping Water Storage Hack with Accessories and Tools
Quick Fix:
• What: Boost your water system with handy accessories
• Time: 15 min
• Skill: Beginner
• Tools & Materials: water thief adapter, garden-hose pump adapter, extra hoses and valves, inline filter (REI-style), hand pump, collapsible bladder
• Safety: Follow instructions and check all connections
- Attach a water thief adapter to a tap that lacks threads. Hook it up to a standard spigot so you can fill your jug with ease.
- Use a garden-hose pump adapter to move water from collapsible jugs into your bladder. This helps cut down on heavy lifting.
- Add extra hoses and valves to your RV’s winterizing ports. This tweak speeds up water fills and works well with seasonal changes.
- Install an inline filter on your jug to clean water while you fill up. This lets you use questionable taps or outdoor sources and still get drinkable water.
| Accessory | Purpose |
|---|---|
| Water Thief Adapter | Connects to taps without threads |
| Garden-Hose Pump Adapter | Transfers water easily |
Final Words
In the action from start to finish, this guide walked you through a practical DIY camping water storage hack. You learned how to set up a system using bladders, collapsible jugs, and pumps with clear steps. We broke down how to pick the best portable H2O container, calculate your water needs, maintain cleanliness, and add handy accessories. Each tip is designed so you can build a safe, reliable solution without extra service calls. Enjoy your outdoor adventures with confidence and smart planning.
FAQ
What is a DIY camping water storage hack and how does it work?
The DIY camping water storage hack involves setting up a system with a foldable rubber bladder, collapsible jugs, and garden-hose pumps to store and dispense clean water during your trip.
What is the best way to store water for camping?
The best way to store water for camping blends durable containers like rigid tanks, collapsible jugs, or bladders with spigot adapters and pumps to offer safe, efficient, and accessible water at your campsite.
What are the portable water container options for camping with spigots or taps?
The portable water containers for camping include water jerry cans, collapsible jugs, and bladders. Many of these options come with built-in spigots or taps, making dispensing water convenient on your trip.
How long will 500 gallons of water last for one person?
The estimate of 500 gallons of water assumes using one gallon per day for drinking, cooking, and cleaning, which means a single person could have water for roughly 500 days under ideal conditions.
How do Doomsday preppers store water effectively?
Doomsday preppers store water by using large-capacity bladders, water jerry cans, and home-made systems featuring spigots and pumps, ensuring they have secure, ready-to-use reserves during emergencies.
How long does water stay good in a 5-gallon container?
Water stored in a 5-gallon container remains good for several months if kept cool, dark, and sanitized properly; always check for any off-taste or cloudiness before using it.