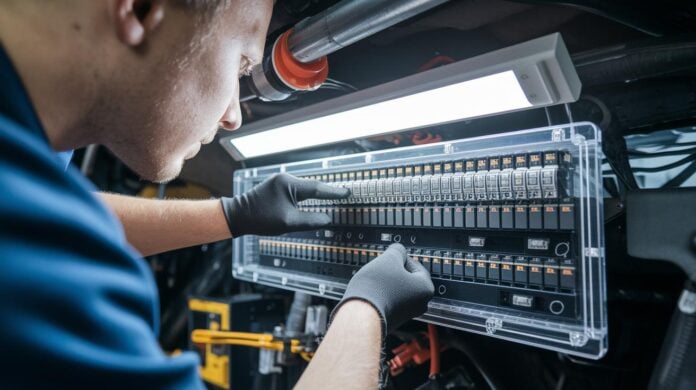

Quick Fix: Get Your AC Back to Cooling
• What: Replace a blown AC fuse so your AC cools again
• Time: 15 min
• Skill: Beginner
• Tools & Materials: Screwdriver, fuse puller, replacement fuse
• Cost: $3–$10
• Safety: Turn off power before you start
- Turn off the power to your AC unit to avoid any shocks.
- Find the fuse box on your AC unit.
- Open the fuse panel with your screwdriver.
- Remove the old, blown fuse.
- Insert the new fuse, making sure it sits snugly.
- Close the panel and restore the power.
- Check that your AC starts blowing cool air again.
By replacing the fuse yourself, you save money and don’t have to wait for a technician. Enjoy a cool, comfortable home all summer long.
DIY AC Fuse Replacement: Step-by-Step Guide
Quick Fix:
• Outcome: Replace a blown AC fuse
• Time: 15 min
• Skill: Beginner
• Tools: Screwdriver, multimeter
• Materials: Replacement fuse
• Safety: Shut off power first
-
Turn off power at the breaker.
Switch off the main circuit breaker or disconnect panel before working. This step keeps you safe from electric shock. -
Open the fuse panel.
Find the panel or disconnect switch that holds the AC fuse. Remove the cover by unscrewing it. Tighten the screws when you finish. -
Remove and inspect the fuse.
Gently pull the fuse from its slot. Look closely for any cloudy, blackened, or burnt marks. These signs show that the fuse is blown. -
Test the fuse with a multimeter.
Set your multimeter to continuity mode. Touch the probes to each end of the fuse. If the meter shows no movement or reads zero, the fuse has failed. -
Choose the correct replacement fuse.
Match the amperage (like 5 A or 10 A), voltage, and type (time-delay or fast-blow) to your AC unit’s specs. Using the wrong fuse can lead to more issues. -
Install the new fuse.
Firmly insert the replacement fuse into the slot. Then, put the panel cover back on and secure the screws. -
Restore power and test the AC.
Turn the breaker back on. Check that your AC cools properly. If it works, your fuse replacement is done.
Diagnosing AC Fuse Problems Before Replacement
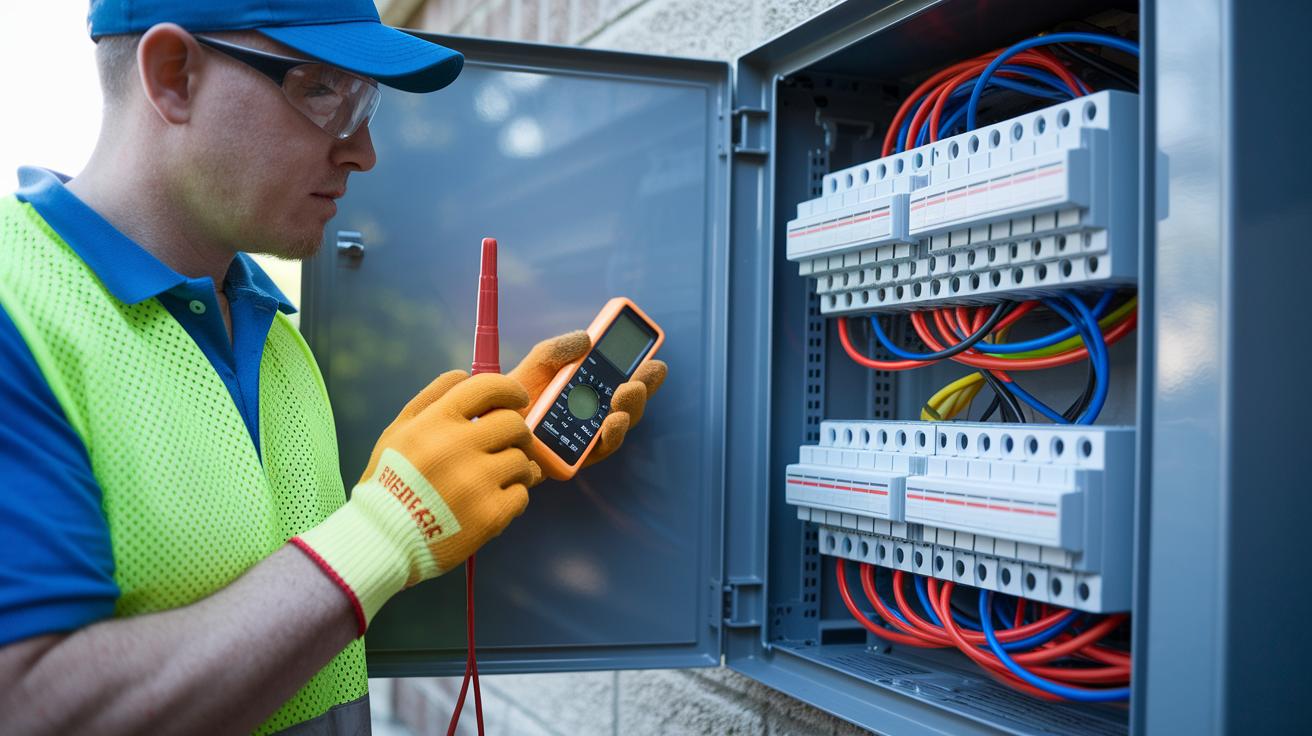
Quick Fix:
• What: Check your AC fuse for signs of failure
• Time: 5 min
• Skill: Beginner
• Tools: Multimeter, flashlight
• Cost: Free
• Safety: Turn off power before you start
- If your AC stops cooling while the blower runs, your compressor may not be getting power.
- Look at the fuse closely. A blown fuse might have a cloudy, black, or burned edge. If it looks like it has a scorched or uneven center, like a charred spot on bread, it’s likely bad.
- Notice if your breaker trips often or if the system acts up sometimes. These are clues that the fuse or wiring might be on the fritz.
Now, grab your multimeter and test the fuse:
- Turn off the unit’s power to keep things safe.
- Set your multimeter to continuity mode. This setting checks if electricity can pass through.
- Touch one probe to each end of the fuse.
- If the multimeter shows a zero reading or no change, the fuse is blown, even if it looks fine.
- Seeing both dark markings and a lack of continuity confirms that the fuse needs replacing.
By checking both the visual appearance and the continuity, you can avoid mistakes and fix your AC properly.
AC Fuse Replacement: Smart, Simple Fix
Quick Fix:
• Outcome: Replace your fuse safely and correctly
• Time: 10 min
• Skill: Beginner
• Tools/Materials: New fuse, user manual
• Cost: Low cost, parts usually under $10
• Safety: Turn off your device before you start
-
Check the Amperage
Look at your unit’s label or manual. If you need a 10 A fuse, get a 10 A fuse. Fuses typically come in a range of 5 A to 20 A. -
Verify the Voltage
Confirm the voltage rating. Standard AC fuses usually list 250 VAC. Some automotive systems need 32 VDC. Matching these numbers keeps your system safe. -
Choose the Right Fuse Type
Decide if you need a time-delay (slow-blow) fuse or a fast-acting fuse. Time-delay fuses work better with compressors (they handle short bursts of high current). Fast-acting fuses suit electronics that demand a quick response from a fault. -
Match the Physical Form
Fuses come in various shapes, such as cartridge or blade types. Ensure the new fuse fits your unit. -
Use Approved Parts
Always choose UL-listed or OEM-approved fuses. This shows they meet accepted safety and quality standards.
- Check the amperage rating (5 A to 20 A)
- Verify voltage (250 VAC or 32 VDC)
- Select time-delay or fast-acting as needed
- Match the fuse’s form factor to your unit
Safety Precautions for AC Fuse Replacement
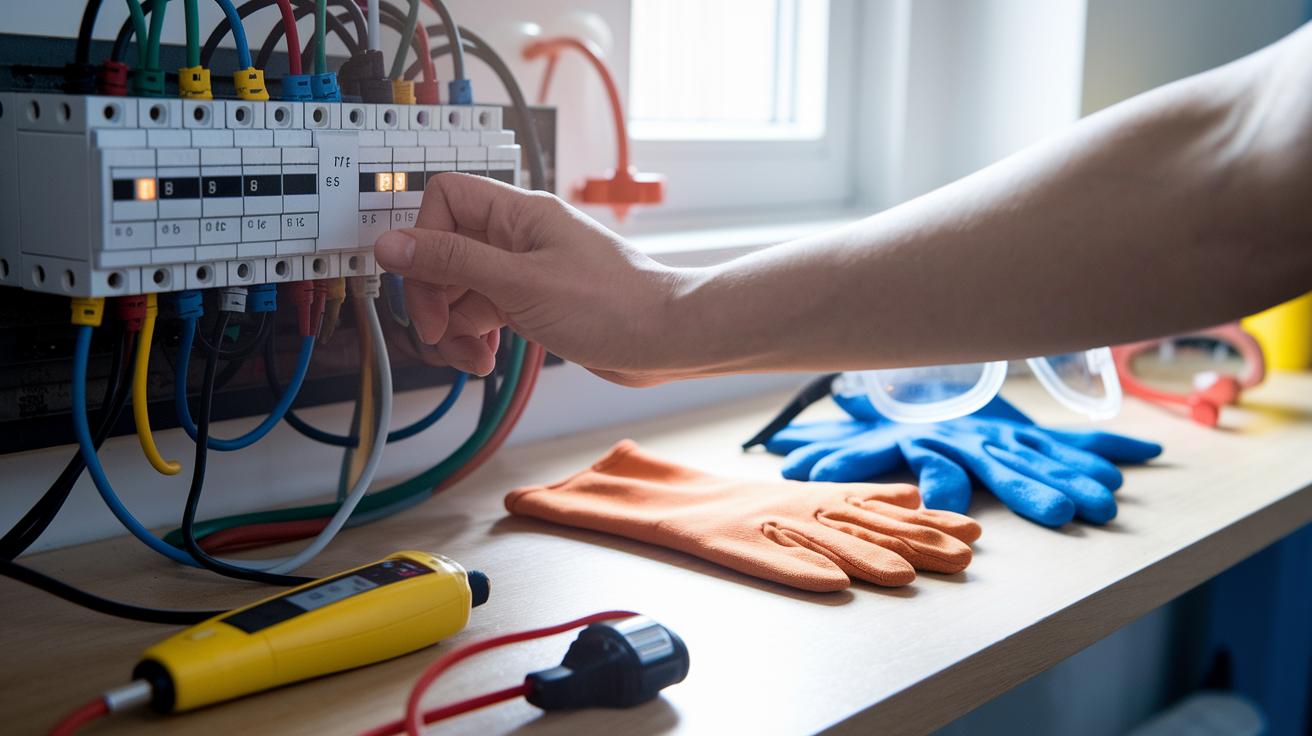
Quick Fix:
• What: Replace an AC fuse safely
• Time: 10 min
• Skill: Basic electrical safety
• Tools & Materials: Non-contact voltage tester, insulated gloves, safety goggles, insulated tools
• Cost: Minimal
• Safety: Turn off power and test for voltage first
- Turn off the power at your main breaker and any local disconnects. This cuts the flow of electricity and keeps you safe.
- Use a non-contact voltage tester at the fuse holder to be sure there is no live current.
- Put on your insulated gloves and safety goggles. Use tools with insulated handles to stay safe from live wires.
- Make sure the work area is dry. Check for water or damp spots before you start.
- Look over the wiring insulation and nearby parts for any heat damage or rust. If you see any problems, stop immediately and call a certified technician.
- Dispose of any blown fuses safely according to local rules. Before closing the fuse panel, double-check that no connections are loose, and no parts are damaged.
- Turn off all power sources
- Use proper PPE and insulated tools
- Verify no electrical current with a voltage tester
When to Seek Professional Help for AC Fuse Replacement & Circuit Repairs
If your AC fuse keeps blowing or the circuit breaker trips too often, it could be more than a one-off issue. It might signal bad wiring, a weak compressor relay (a small switch that controls the compressor), or clogged filters causing an overload. When you see these signs, it’s best to call a professional for a close inspection and testing.
A licensed technician has the right tools to run tests on your wiring, relay switches, and circuit board. They can spot hidden electrical issues that a simple fuse change might miss. While a new fuse might fix a small problem, recurring issues usually need a complete repair.
Professional repairs can cost between $100 and $300. This price includes labor, new parts like a fuse or relay, and any necessary panel fixes. Although a DIY fix might seem cheaper at first, getting a pro to handle it can prevent more damage and save money later on.
Regular maintenance can help too. Cleaning your filters and coils or getting an annual electrical check-up can reduce the risk of fuse problems. If your AC keeps showing odd electrical behavior or relay issues, consider scheduling a professional inspection.
Final Words
In the action of repairing your AC, you turned off power, inspected the fuse, and checked continuity with a multimeter. You selected the right replacement fuse and reassembled your unit safely. The guide broke down each step and discussed key safety precautions to follow. This ac fuse replacement process saves money and prevents further system issues. Stay confident and work smartly to keep your cooling system running smoothly. Enjoy the satisfaction of fixing it yourself and the cool air that follows.
FAQ
What does replacing an AC fuse cost?
The AC fuse replacement cost depends on whether you do it yourself or hire help. DIY parts range around $3–$10, while professional services can run from $100 to $300.
Where is the AC fuse located in a car and how do you replace it?
The car AC fuse is typically found in the fuse box located in the engine compartment or dashboard. Replacement involves turning off power, locating the correct fuse, and swapping it with an exact match.
What is the process for replacing a central AC fuse?
The central AC fuse is usually inside the disconnect panel or fuse block. To replace it, first shut off power, then remove the fuse, inspect it, and install a new fuse that meets the unit’s specifications.
How do you tell if an AC fuse is blown?
A blown AC fuse shows signs like a cloudy or blackened appearance. Testing it with a multimeter for continuity will confirm it’s blown if no reading is detected.
How do you determine if an AC breaker or fuse block is bad?
A faulty AC breaker or fuse block typically trips repeatedly or fails a continuity test. These symptoms indicate that further inspection or a replacement might be needed.
How long does it take to replace an AC fuse?
Replacing an AC fuse usually takes about 15–30 minutes when you follow proper safety steps and have the right tools and matching replacement part.
What does E fuse HVAC replacement involve?
E fuse HVAC replacement involves switching out the electronic fuse in your HVAC system. This means safely cutting the power, removing the defective fuse, and installing an OEM-approved replacement.