
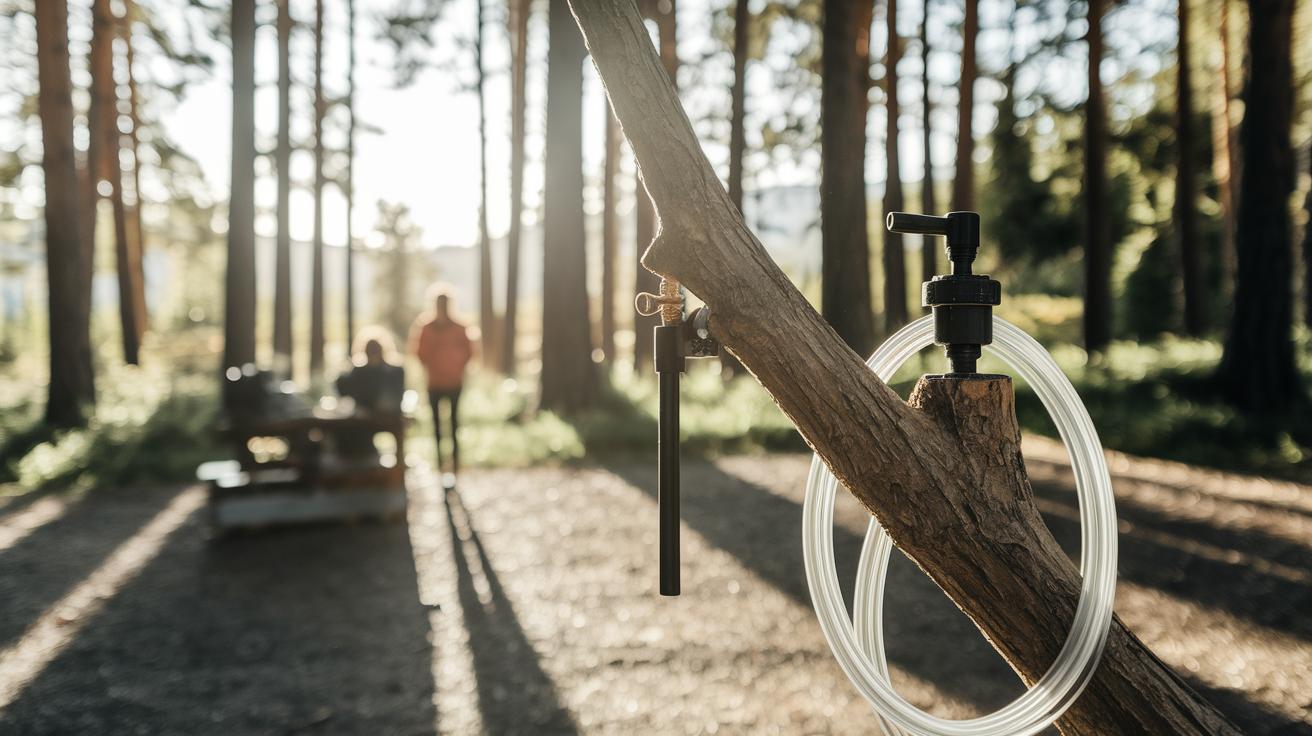
Quick Fix: DIY Camping Shower
• What: Turn a garden sprayer into a refreshing outdoor shower
• Time: 10 min
• Skill: Beginner (even if you’re new to camping hacks)
• Tools & Materials: Garden sprayer, basic hose connector, zip ties or hose clamps, water supply
• Cost: Around $5–$10
• Safety: Check water pressure and secure all fittings before you use it
Steps:
- Attach the garden sprayer to your water source.
- Secure any loose fittings with zip ties or hose clamps.
- Adjust the sprayer for a steady, comfortable spray.
- Enjoy a warm, chemical-free rinse outdoors.
If you’ve always thought camping meant roughing it without a shower, think again. With this simple hack, you can upgrade your camping comfort in just minutes. After a long day outdoors, a refreshing shower is now within reach thanks to a little creativity and smart planning.
Quick-Start Camping DIY Shower Hack Guide
Quick Fix:
• Outcome: Set up an outdoor camp shower
• Time: Under 10 min
• Skill: Beginner
• Tools & Materials:
- Chemical-free garden sprayer
- Shower head adaptor (or hose adaptor if needed)
- Rope or carabiner
- Warm water
• Safety: Use caution with hot water and make sure your hanging spot is strong
Steps:
- Pick a clean garden sprayer and give it a quick check.
- Screw on the shower head adaptor to the wand or attach the hose adaptor.
- Fill the sprayer with warm water and pump until you build pressure.
- Hang the sprayer securely from a strong branch or hook using a rope or carabiner.
- Turn the nozzle switch to your preferred spray setting.
This hack turns a regular garden sprayer into a handy camp shower. It holds 2–3 gallons (7.6–11.4 liters) of water, giving you about 2–5 minutes of rinse time per fill. Its lightweight design makes it perfect for backpacking or car camping. The built-in on/off nozzle lets you control the water flow easily, giving you a quick and portable rinse when you need it.
Key Materials for Your Camping DIY Shower Hack

You can set up an outdoor shower with a few smart, easy-to-find supplies. This guide gives you a list of parts for different camp shower ideas, from a handheld setup to gravity-fed or siphon systems. Each item was chosen because it is simple to use and works in many camping settings. Use the table below to quickly gather the parts for a portable rinse system that works for backpacking or setting up a campsite.
| Material | Quantity | Notes |
|---|---|---|
| Large sturdy container with lid | 1 | Great for handheld designs; easy to drill for a water outlet |
| Portable water tank | 1 | Ideal for gravity-fed showers to ensure steady water flow |
| Dry bag (3–6 L) | 1 | Light and perfect for setups on the go |
| Chemical-free garden sprayer | 1 | Holds 1–3 gal (3.8–11.4 L); can be retrofitted with a shower head |
| Standard garden hose nozzle | 1 | Keeps water flow in check with an on/off feature |
| Roof rack mounting kit | 1 | Useful for mounting on a car, like with the Yakima RoadShower |
| Flexible tubing and siphon setup | 1 set | Makes siphon flow and water routing more flexible |
7 Camping DIY Shower Hack Designs to Choose From
Handheld Camping Shower
Turn a sturdy container into a simple shower. Drill several small, evenly spaced holes in the container’s lid. This setup gives you a gentle spray that works great for a quick rinse on the go.
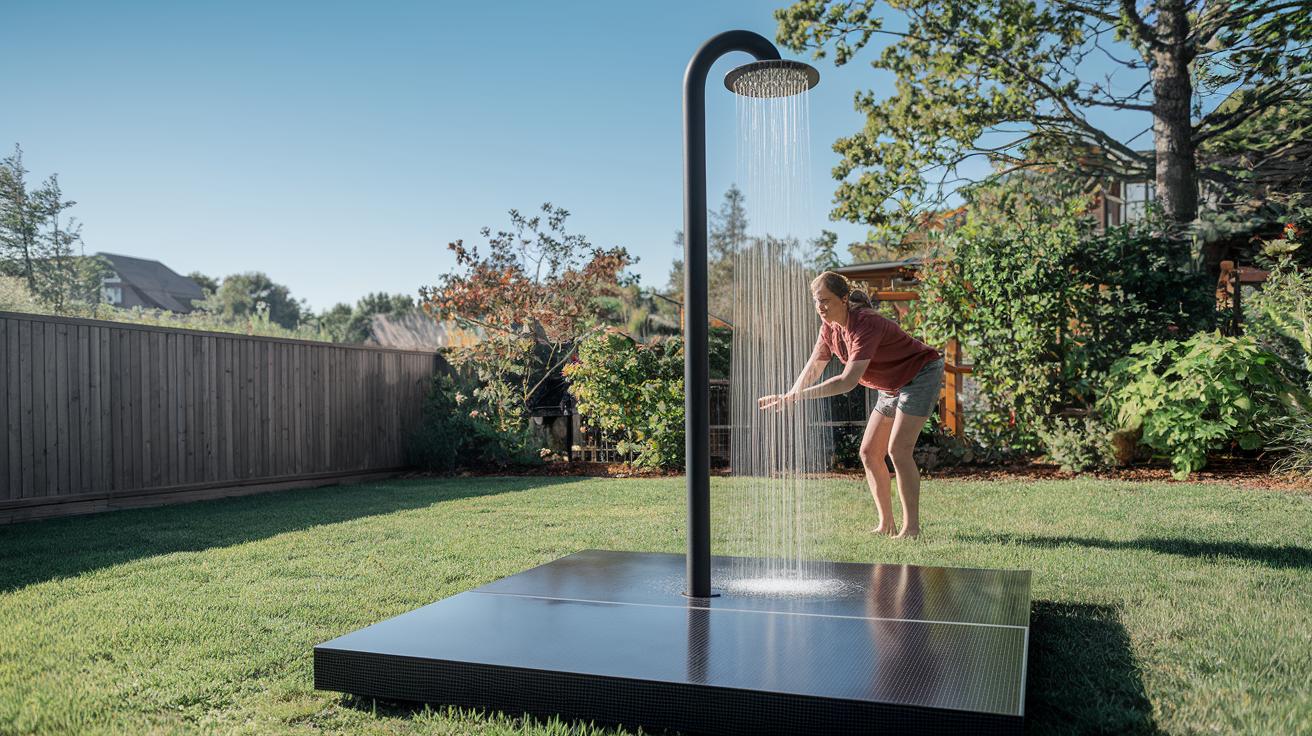
Gravity-Fed Camp Shower
Elevate a portable water tank above your head and let gravity do the work. Hang the tank from a strong branch or support so that water flows steadily and evenly for a refreshing rinse.
Dry Bag Camp Shower
Fill a 3–6 L dry bag with water and let the sun heat it up. Black dry bags absorb extra warmth, making your shower more comfortable. Just leave the bag in direct sunlight for a few hours before use.
Pressurized Garden Sprayer Shower
Convert a 1–3 gal garden sprayer into a pressurized shower. Replace the standard nozzle with a shower head and pump until you achieve the desired pressure. This hack quickly changes a common tool into a pressurized rinse system.
Garden Sprayer with Hose Nozzle
Swap out the normal nozzle of a garden sprayer with a hose nozzle that has an on/off switch. This lets you control the water flow without having to hold the sprayer. A simple flip of the switch sets the spray intensity.
Roof Rack Camp Shower
Mount a water tank on your car roof using a secure kit, similar to the Yakima RoadShower style. Pump air into the tank until it is pressurized and ready for use, so you can shower comfortably wherever you park.
Siphon Camp Shower
Start the shower by sucking on a tube to kick off a siphon effect. Once water begins to flow, hang the shower head to stop the siphon. It’s a fun, unconventional way to enjoy an outdoor rinse.
| Design | Key Feature | Best For |
|---|---|---|
| Handheld Camping Shower | Drilled container lid for a soft spray | Backpacking and light rinses |
| Gravity-Fed Camp Shower | Elevated water tank uses gravity | Campsites with a high anchor point |
| Dry Bag Camp Shower | Solar-heated water in a dry bag | Outdoor rinses on warm days |
| Pressurized Garden Sprayer Shower | Pumped water pressure via sprayer | Quick and efficient rinses |
| Garden Sprayer with Hose Nozzle | On/off switch for hands-free control | Portable and easy to use |
| Roof Rack Camp Shower | Mounted tank with pressurized pump | Car camping adventures |
| Siphon Camp Shower | Siphon action that stops with a hang | Those who enjoy quirky, fun showering |
Advanced Camping Shower Hack Tips and Troubleshooting
Quick Fix:
- Outcome: Enjoy a steady, warm camping shower
- Time: 10–15 min prep
- Skill: Beginner
- Tools & Materials: A sturdy branch or stand (rated for 5–10 lbs), manual pump, silicone sealant, flexible tubing, water source
- Cost: Minimal – use what you already have
- Safety: Test your mount and check for leaks before use
-
Test your mount.
- Find a flat, private spot with good drainage.
- Grab a branch or stand rated for 5–10 lbs and give it a quick tug. If it holds firm, you’re set.
- This prevents the shower from shifting while you shower.
-
Build pressure.
- Prime your pump by letting out any trapped air.
- If you have a gauge, keep an eye on it to make sure you build steady pressure.
- Test the nozzle to check that the spray is even.
-
Seal leaks and tighten fittings.
- After drilling or making any changes, dab a small amount of silicone over the holes.
- Tighten all hose connections.
- Wipe surfaces after each pump cycle to catch any drips early.
-
Warm your water.
- Pre-warm your water source if you can.
- Coil your flexible tubing under direct sunlight or place a water jacket in the sun for a few minutes.
- Warmer water makes your outdoor shower more comfortable during cooler mornings or evenings.
Troubleshooting Tips:
- If the spray is uneven, adjust the nozzle angle or reposition the hose.
- If pressure drops, add a few extra pumps and check for air leaks.
- If the water feels too cold, reposition your container in the sun
Camping DIY Shower Hack Water Usage Efficiency
Quick Fix:
• What: Save water on your camping shower
• Time: 5–10 min
• Skill: Beginner
• Tools & Materials: Low-flow nozzle (cuts water use), greywater catch bag, timer or watch
• Cost: About $5–$15
• Safety: Ensure your setup is secure to avoid slips
Steps:
- Install the low-flow nozzle. This nozzle limits water use to about 1.5–2 gal (5.7–7.6 L) per session. Adjust it for a steady rinse and make every drop count.
- Place a greywater catch bag under your shower. Use it to collect runoff water so you can reuse it for washing dishes or cleaning gear. This step stretches your water supply on long trips.
- Use timed spray intervals. Run the shower for 5–10 sec, then pause for 15–20 sec. This burst method gives you a refreshing rinse and prevents wasting water.
Follow these steps to enjoy an efficient, eco-friendly outdoor shower while camping.
Bonus: Solar Heating Add-On for Your Camping DIY Shower Hack
Quick Fix:
- What: Warm up your shower water using solar energy.
- Time: 1–3 hrs of sun exposure.
- Skill: Beginner.
- Tools & Materials: A 5 L solar shower bag or black poly tubing, a reflective board, and a thermometer.
- Cost: Parts ~$3–$10.
- Safety: Handle heated water with care.
- Pick your method. Use a 5 L solar shower bag or coil a piece of black poly tubing over a reflective board.
- Set up your system in full sunlight. Let it warm for 1 to 3 hours.
- Check the water temperature with the built-in gauge or a thermometer. Expect a rise of 20–30°F (approx. 11–17°C).
- Secure the bag or tubing properly so warm water flows out smoothly when you rinse off.
- Enjoy a quick, refreshing shower with heated water when needed.
Final Words
In the action, you set up your camping diy shower hack using a garden sprayer for a quick off-grid bath fix. You saw how a few everyday items become a pressurized camp shower with the right attachments, flow control, and water-saving tricks.
The guide broke down simple steps, materials, and troubleshooting so you can rinse off with ease. Enjoy your outdoor bathing innovation and feel confident to try new tweaks for an even better experience.