
Quick Fix:
• What: Stop a small shower leak
• Time: 15 min
• Skill: Beginner
• Tools & Materials: Wrench, screwdriver, replacement part
• Cost: $3–$10
• Safety: Turn off the water before you start
- Look under your shower. If water is pooling, you have a leak.
- Find where the drip comes from. Check for loose or worn parts.
- Tighten any loose fittings or swap out the damaged piece.
- Turn the water back on to see if the fix worked.
A small drip might seem harmless, but over time it can lead to water damage on your floors and ceilings. This simple fix helps you stop the leak quickly, save money, and keep your bathroom safe.
leaky shower drain pipe: Bright Fix Ahead
Quick Fix:
• What: Find and fix your leaky shower drain pipe
• Time: 15 min
• Skill: Beginner
• Tools & Materials: Flathead screwdriver, test plug (or pop-up wrench), water, camera
• Cost: Parts $3–$10
• Safety: Turn off water supply before you start
-
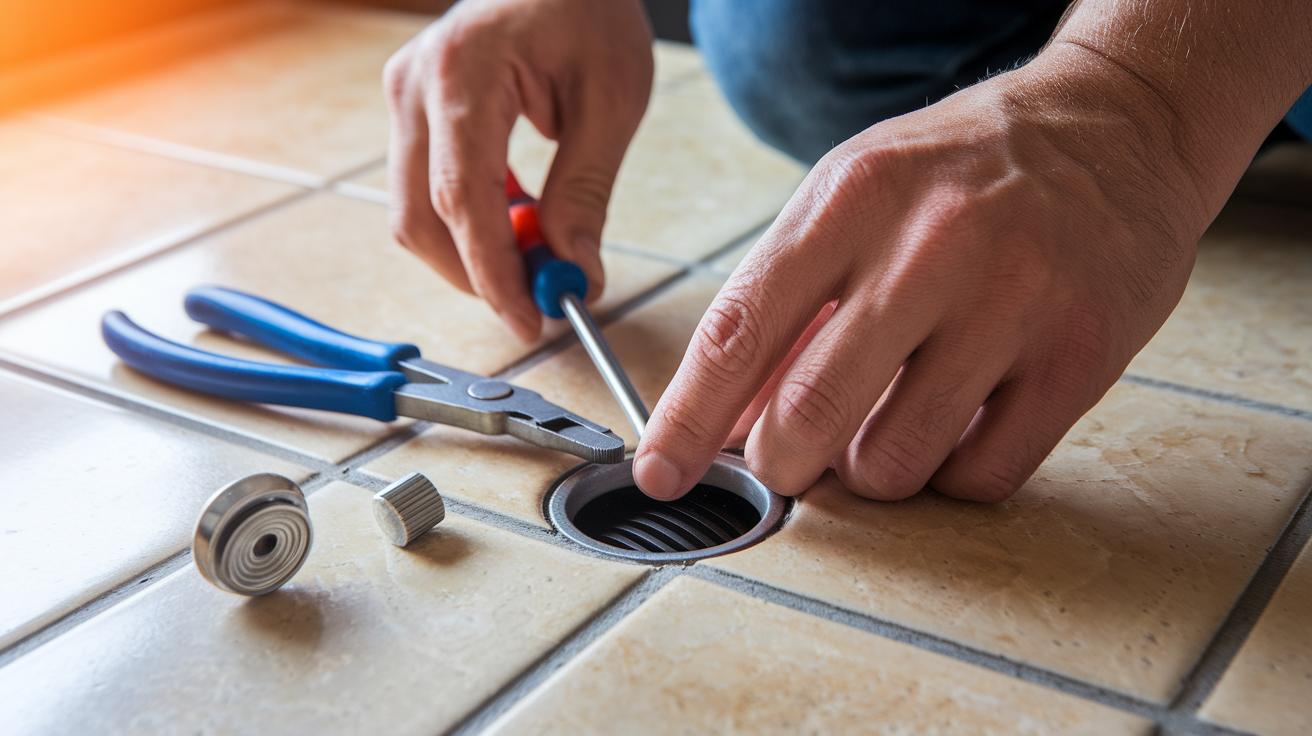
Remove the drain cover and plug.
Twist the cover counterclockwise by hand or gently pry off any hidden screws with a flathead screwdriver. -
Check the seals and gaskets.
Look for cracks, wear, or any gaps that let water escape. -
Block the drain with a test plug.
Use your test plug or pop-up wrench to keep the drain closed for the water test. -
Slowly fill the drain with water.
Pour water gradually so you can spot any drip early. -
Watch below for water spills.
Look at the ceiling or floor under the shower for signs of water seeping through. -
Turn up the water to stress the seal.
Increase water flow to show if the leak comes and goes. -
Inspect the grout around the drain.
Check for damp spots or discoloration that might mark where water is moving. -
Record where the leak is found.
Write down the location or snap a photo to help explain the problem to a repair pro if needed.
Common Causes of a Leaky Shower Drain Pipe

Quick Fix:
• What: Identify the cause of your shower drain leak
• Time: 10 min
• Skill: Beginner
• Tools & Materials: Flashlight, screwdriver, clean cloth
• Cost: Free or low-cost parts
• Safety: Dry any wet spots to avoid slips
-
Check the Sealant
Examine the putty or silicone around the flange. Over time, water and cleaning products weaken the seal so water can seep through, causing drips that may damage your ceiling or floor. -
Inspect the Drain Flange or Body
Look closely at the drain flange and its body. Constant water exposure and minor impacts during cleaning can create small cracks in metal or plastic parts. These cracks may allow water to escape slowly, making it hard to notice. -
Examine the Rubber Gasket
Make sure the rubber gasket under the flange is in place. It can dry out, tear, or slip out of position, and without it, water leaks become more likely. -
Tighten the Fasteners
Check the screws or bolts that hold the drain cover or flange. Over time, they can become loose or rust, which weakens the seal and lets water seep through. -
Consider the Age of the Components
With regular use and cleaning, materials naturally wear out with time. Age and material fatigue can slowly reduce the drain’s ability to hold water reliably.
Tools and Materials for Repairing a Leaky Shower Drain Pipe
You will need a flathead screwdriver or hex wrench. Use it to loosen fasteners and twist off the drain cover.
Next, grab a pop-up plug wrench. This tool helps you unscrew the flange so you can easily reach the leak path.
Have plumber's putty or 100% silicone sealant ready. Apply it around the flange to create a watertight seal.
Make sure you also have a replacement rubber gasket or O-ring. This small part makes a snug fit and stops water from leaking past the seal.
Clean the area with a wire brush and rag to remove rust, grime, and leftover debris. Clean surfaces help the seal stick better.
Optionally, use a drain extractor if the cover is stuck.
Keep a bucket nearby to catch any water that spills during your work.
Step-by-Step Guide to Repairing a Leaky Shower Drain Pipe
Quick Fix:
• What: Fix your leaky shower drain pipe
• Time: 30 min
• Skill: Beginner
• Tools: Flathead screwdriver, pop-up plug wrench, wire brush, rag
• Cost: Parts $3–$10
• Safety: Shut off the water before you start
-
Turn off the water supply.
-
Remove the drain cover by twisting it counterclockwise by hand. If the cover has hidden screws, gently use a flathead screwdriver to pry it loose.
-
Use a pop-up plug wrench to unscrew the flange. This helps lift the old drain parts without disturbing nearby items. Note how the pieces fit together for an easier reinstall later.
-
Clean the drain body and the flange. Use a wire brush and rag to scrub away old putty, silicone, rust, or grime. Removing all residue helps the new seal stick and keeps leaks from coming back.
-
Apply a thick bead of plumber’s putty or silicone sealant around the flange. If there is a rubber gasket in your kit, put it under the flange for extra moisture protection.
-
Place the flange back into the drain opening and hand-tighten it. Then, tighten it evenly by using a star pattern. Wipe off any extra putty or sealant so the finish looks neat.
-
Test your work. Slowly let water fill the drain and check for leaks at the seams and around the flange. Once you see no drips, use full water pressure to be sure your fix holds.
Resealing Versus Replacing a Leaky Shower Drain Pipe
Quick Fix:
• What: Fix a small leak by resealing or replace worn parts for a long-term repair.
• Time: 15–45 min for resealing; 1–2 hrs for full replacement.
• Skill: Beginner to intermediate.
• Tools & Materials: Plumber's putty or 100% silicone sealant for resealing; new drain assembly parts for replacement.
• Cost: Resealing parts cost about $5–$15; full drain replacement may run $20–$50.
• Safety: Wear gloves, work in a well-ventilated area, and clean the area before starting.
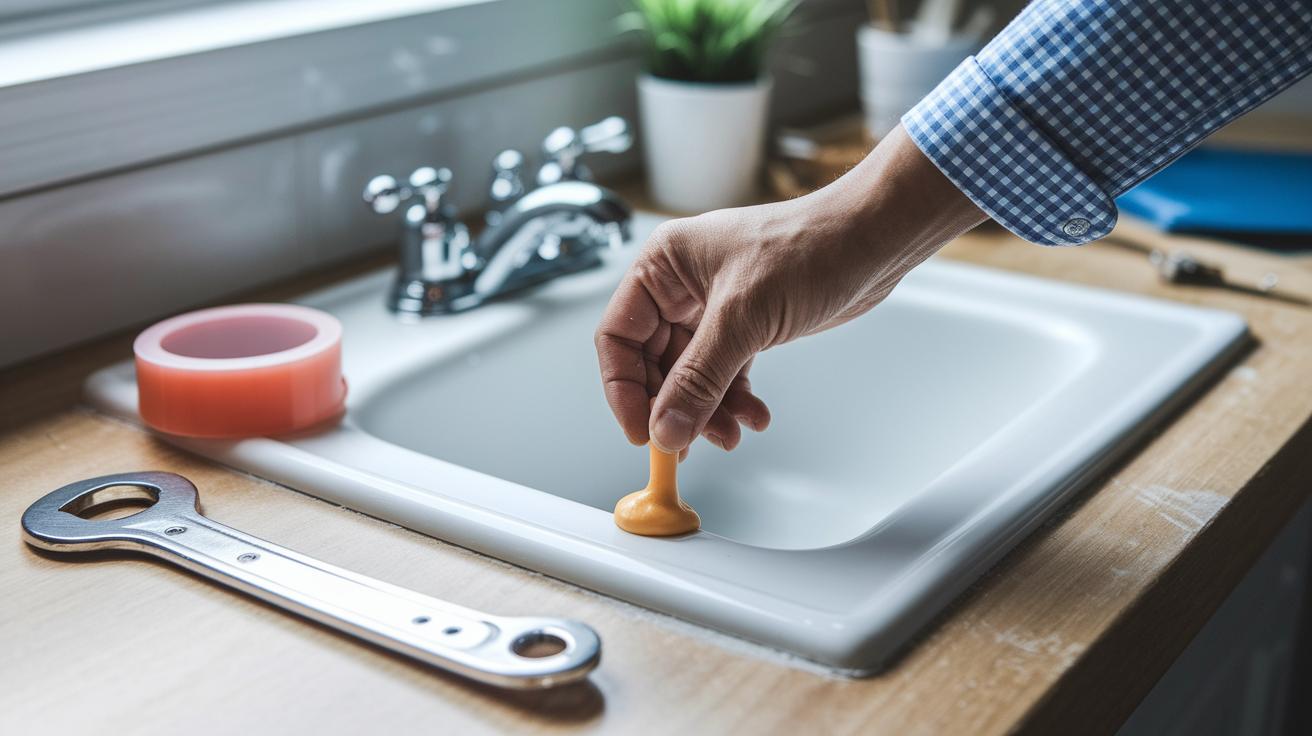
- If the leak comes from a broken seal with otherwise sound parts, wipe off the old sealant.
- Apply new plumber's putty (for an easy bond and simpler future fixes) or 100% silicone sealant (for a strong finish that bonds permanently).
- Use this resealing method if your shower drain is under 15–20 years old and has seen moderate use.
- If you notice a corroded, cracked, or worn-out drain flange, it’s best to replace the whole drain assembly.
- For replacement, you can install a one-piece top-mount compression drain on molded bases or a three-piece tile flange assembly on tiled showers.
- While a full replacement costs more upfront, it helps stop recurring leaks and prevents potential water damage.
Choose resealing when the issue is just a failed seal; opt for replacement when wear has harmed the drain’s overall integrity.
Cost Estimates and When to Call a Professional for a Leaky Shower Drain Pipe
Quick Fix:
• Outcome: Seal a small leak in your shower drain
• Time: 15–30 min
• Skill: Beginner (if the leak is just around the drain seal)
• Tools & Materials: Plumber’s putty, silicone sealant, replacement drain kit, test plug
• Cost: $5–$40 for parts
• Safety: Turn off the water before you begin
Small leaks and minor damage can be fixed yourself. If the leak is only around the drain seal, you might only need a bit of plumber’s putty ($5–$10) or a tube of 100% silicone sealant ($10–$15). Replacement drain kits cost around $20–$40. You may also use a test plug for flood testing, which adds about $10–$20 to the cost. Catch the leak early and your repair costs stay low.
But if the leak is worse, for example, if you see water stains on the ceiling or wet patches on the subfloor, or if the drain body is cracked, it’s a good idea to call a licensed plumber. Professional repair work usually runs between $150 and $350. A pro can check deeper plumbing problems that simple fixes won’t reach, saving you further damage down the road.
| Repair Option | Estimated Cost |
|---|---|
| Plumber’s Putty Seal | $5–$10 |
| Silicone Sealant | $10–$15 |
| Replacement Drain Kit | $20–$40 |
| Professional Service Call | $150–$350 |
Prevention Tips for Avoiding a Leaky Shower Drain Pipe
Quick Fix:
• Outcome: Keep your shower drain leak-free
• Time: 10 min for a routine check and about 5 min for a small sealant job
• Skill: Beginner
• Tools & Materials: Flashlight, plumber's putty or silicone sealant (a flexible waterproof glue), drain cover
• Cost: Parts $3–$10
• Safety: Dry the area before you start
- Check the drain seal once a year. Use a flashlight to spot any cracks or wear.
- Every 5 years, remove the old sealant and snap on new plumber’s putty or silicone to keep the flange watertight.
- Stick with gentle cleaning products. Harsh chemicals can weaken the rubber gaskets.
- Look at the tile grout around the drain. Fix cracked or missing grout to stop water from damaging behind the tiles.
- Use a drain cover to catch debris. If the drain gets clogged, clear it out fast to avoid water pooling and straining the seal.
| Tip | Action |
|---|---|
| Annual Check | Inspect the drain seal with a flashlight |
| Sealant Renewal | Replace putty or silicone every 5 years |
| Cleaning | Use mild cleaners instead of harsh chemicals |
| Grout Condition | Repair or replace damaged grout around the drain |
| Drain Cover | Use and clean the cover to prevent clogs |
Final Words
In the action, you worked through diagnosing and repairing your leaky shower drain pipe. You learned how to remove the cover, inspect seals, install a test plug, and run flood tests to pinpoint leaks. You explored common causes like worn gaskets or deteriorated putty and picked out the right tools and sealants for a secure fix.
You also saw how to budget repairs and adopt prevention tips for lasting waterproofing. Keep up these hands-on tactics and enjoy a leak-free shower.
FAQ
What does a leaky shower drain pipe reddit discussion reveal?
The leaky shower drain pipe topics on Reddit reveal that many users share DIY tips like removing covers, testing for leaks, and checking seals to pinpoint the cause and fix the problem.
How do I fix a leaky shower drain pipe?
The method to fix a leaky shower drain pipe is to remove the cover, inspect the seals and gaskets, and test with water, then reseal or replace damaged parts to stop the leak.
What is the cost of a shower drain leak repair?
The shower drain leak repair cost ranges from about $5 for sealant repairs to $350 for professional service, with prices varying based on the damage and parts needed.
How does a shower drain leak into the ceiling occur?
The shower drain leaking into the ceiling occurs when water escapes the drain seal and seeps through the subfloor, eventually showing as damp spots or dripping below the shower.
What does a shower drain repair sleeve or kit include?
The shower drain repair sleeve or kit includes replacement gaskets, plumber’s putty or silicone sealant, and sometimes new fasteners and tools to remove and reseal the drain assembly effectively.
How do I fix a leaking shower drain from above?
The fix for a leaking shower drain from above involves removing the cover, checking the flange and seals for damage, resealing as needed, and retesting by running water to confirm a watertight repair.
How can I repair a shower drain flange?
Repairing a shower drain flange means taking off the drain cover, cleaning away old putty, applying new sealant around the flange, reinstalling it evenly, and testing with both slow and full water flow.
Should I use plumber’s putty or silicone on a shower drain?
The preference for plumber’s putty versus silicone on a shower drain depends on goals; putty allows easier maintenance, while silicone often gives a stronger seal for prolonged use.
How do I fix a leaking pipe under the shower without replacing it?
The method to fix a leaking pipe under the shower is to tighten loose fasteners, remove old sealant from joints, and apply a fresh bead of sealant to restore a solid, water-tight connection.
Can I replace a shower drain without removing the shower?
Replacing a shower drain without removing the shower is possible if you have access to the drain cover and flange from above, though advanced designs may require partial dismantling for a proper repair.