
Quick Fix: Create a Handmade Card
• What: Make a unique card that brings warmth and light
• Time: 20–30 min
• Skill: Beginner
• Tools & Materials: Card stock, scissors, glue, markers, and any decorative bits (like stickers or glitter)
• Cost: $5–$15
• Safety: Use scissors carefully on a clear, stable surface
- Start with a plain piece of card. Choose one color you love.
- Cut and fold the card to your preferred size.
- Add a pop-up element like a butterfly or sprinkle fun confetti shapes.
- Decorate using markers, stickers, or glitter. Make it as bright as you want.
- Step back and enjoy the personal touch you created.
Handmade cards light up a room because they show care. They add a warm touch that store-bought cards cannot match. With these simple projects, you turn a blank sheet into a work of art that is perfect for birthdays, holidays, or any special day. Experiment with colors and textures to make each card an expression of your thoughtfulness. Let's bring smiles, one fold at a time!
Inspiring Card Making Ideas for Every Occasion
Quick Fix
• What: Create a standout handmade card
• Time: 30–60 min
• Skill: Beginner to Intermediate
• Tools & materials: Cardstock, scissors, glue, markers, and fun embellishments
• Cost: $5–$20
• Safety: Handle scissors with care
- Pop-Up Butterfly Card: Cut bright cardstock into wings that flutter when the card opens.
- Tea Bag Card: Make a special pocket on your card to slip in a tea packet.
- Shaker Card: Add a clear window and fill it with confetti that moves when you shake the card.
- Rainbow Waterfall Card: Layer panels in vibrant colors that cascade for a lively look.
- Infinity Card: Arrange repeated photos to create an endlessly looping design.
- Pop-Up Game Controller Card: Build a mini game controller shape that even holds a gift card.
- Hot Air Balloon Pop-Up Card: Use layered paper to form a balloon that lifts off when you open the card.
- Bobble Head Card: Incorporate a spring mechanism so a fun figure bounces as you interact with it.
Mix textures, layers, and interactive elements to add a personal touch. These creative ideas turn simple paper into memorable art perfect for birthdays, holidays, and everyday celebrations.
Easy DIY Card Projects for Beginner Crafters
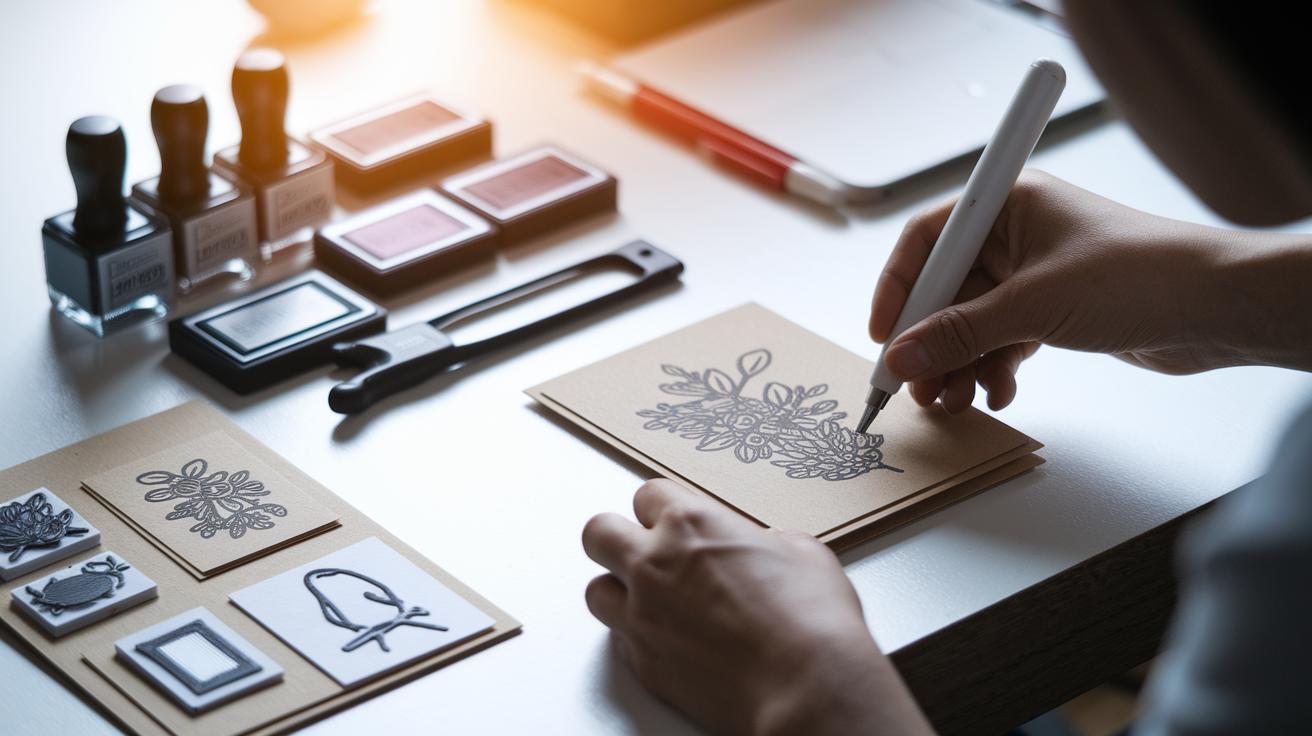
Quick Fix: Fun Fold Card
• What: Create a stamped greeting card
• Time: 15 min
• Skill: Beginner
• Tools & Materials: 1 piece of cardstock (5" x 7" or 13 cm x 18 cm), stamps, ink, scoring tool
• Safety: Work on a clean, flat surface
- Start with a clean piece of cardstock.
- Plan your stamped design on the front.
- Use a scoring tool to create a neat fold along the center.
- Lay out your stamps, ink, and paper in a clear space.
- Work slowly to keep your lines crisp.
- Pro tip: Practice a few folds on scrap paper to get the hang of scoring.
Quick Fix: One Sheet Wonder (4-Card Pattern)
• What: Cut one patterned sheet into four coordinated cards
• Time: 20 min
• Skill: Beginner
• Tools & Materials: 1 sheet of patterned paper (11" x 8.5" or 28 cm x 22 cm), ruler, pencil, cutting mat, rotary cutter or scissors
• Safety: Use a cutting mat and work in a well-lit area
- Lay your patterned paper on a flat surface.
- Measure and mark the paper carefully so that you get four equal sections.
- Cut along your marks with your cutter or scissors.
- Score the paper where needed to create crisp, straight folds.
- Keep a ruler handy to ensure your lines stay neat.
- Pro tip: A rotary cutter can make your cuts smoother and faster.
Quick Fix: One Sheet Wonder (6-Card Variation)
• What: Split a patterned sheet into six equal cards
• Time: 25 min
• Skill: Beginner
• Tools & Materials: 1 sheet of patterned paper (size depends on your card needs), ruler, pencil, cutting mat, sharp blade
• Safety: Measure twice and cut once, double-check your marks before cutting
- Divide your patterned paper into six equal parts by measuring carefully.
- Mark the paper clearly to guide your cuts.
- Use a sharp blade to cut along the marks for clean edges.
- Score each section to form neat folds that keep your design aligned.
- Work slowly and steadily to avoid mistakes.
- Pro tip: Double-check your measurements before cutting to avoid wasting paper and to keep your cards matching perfectly.
Creative Pop-Up Card Construction and Interactive Techniques
Quick Fix:
• What: Make fun pop-up cards that surprise and delight
• Time: 15–25 min per card
• Skill: Intermediate crafting (watch your fingers with sharp tools)
• Tools: Cardstock, craft knife, ruler, bone folder, scoring tool, clear tape, circle cutter
• Safety: Use a cutting mat and handle sharp tools carefully
Pop-Up Butterfly Card
- Align your ruler and craft knife to precisely cut out wing shapes. This keeps the edges smooth.
- Run a bone folder along the accordion spine to score it, which creates crisp, neat folds.
- If the wings feel wobbly, place a thin strip of clear tape behind the spine to secure the joints.
Pop-Up Game Controller Card
- Draw the controller shape on cardstock using a ready-made template for accuracy.
- Lightly score around the curved button areas using a fine-tip scoring tool. Make shallow creases to capture the detail.
- Test-fit the gift-card slot and adjust its depth until it fits snugly.
Hot Air Balloon Pop-Up Card
- Use a circle cutter to measure and cut smooth, curved arcs – this avoids jagged edges.
- Layer the hemispheres on the card base and press a stamp gently for soft, added shading.
- Before gluing, put the arcs together lightly to check the rising effect; adjust their alignment as needed for a smooth pop-up motion.
| Card Type | Key Feature | Time Required |
|---|---|---|
| Butterfly | Accordion wing pop-up with neat folds | 15 min |
| Game Controller | Gift-card slot with detailed scoring | 20 min |
| Hot Air Balloon | Layered, curved arcs with soft shading | 25 min |
Seasonal and Holiday Card Tutorials

Quick Fix:
• What: Create themed cards for different seasons and holidays
• Time: 15–30 min
• Skill: Beginner
• Tools & Materials: Card stock, die-cut shapes (e.g., hearts or flowers), layered panels, embellishments like glitter or embossed details
• Cost estimate: $0–$20
• Safety: Work on a clean, flat surface
-
Pick a theme.
For Spring or Easter, choose soft pastels and flower shapes. For Valentine’s Day, think bright red hearts and playful pink accents. -
Design your card.
Use simple die-cuts to cut out hearts for Valentine’s or flower silhouettes for Spring. Layer panels to add fun depth for Mother’s Day and a tie-fold design for Father’s Day. -
Add decorative touches.
A little glitter, embossing, or textured paper makes your design pop. These accents can turn a basic card into a standout piece. -
Mix colors and textures.
For holidays like Christmas, combine festive reds and greens with various textures to create a dynamic, celebratory card.
These steps help you match each season’s mood while keeping your designs fresh and creative. Enjoy experimenting with colors, shapes, and layers to make every card a mini work of art.
Embellishments and Mixed Media for Artistic Card Making
Quick Fix:
• What: Create a mixed media card that pops
• Time: 30 min
• Skill: Beginner to intermediate
• Tools & Materials: Cardstock, patterned paper, cutouts, stamps, ink, watercolors, glitter, embossing powder, heat tool
• Safety: Handle the heat tool carefully
- Start with a solid piece of cardstock. Use it as the base for your design.
- Layer patterned paper or cutouts on top. This builds depth and makes your card feel rich.
- Paint a light watercolor wash over the base. This smooth gradient helps your stamped design stand out.
- Stamp your design on the watercolor. Follow up by gently dusting on glitter to add sparkle.
- Apply embossing powder on stamped areas. Use a heat tool to set it, making the stamped parts raised and tactile.
- Balance your colors and textures. Use a few layers and spread out details so the card keeps a clear focal point.
Keep experimenting with paper types and textures. Each layer adds a new touch to your card, and with practice, your designs will be fun and eye-catching.
Custom and Personalized Card Making Techniques

Quick Fix:
• What: Create a unique, personal card
• Time: 20–30 min
• Skill: Beginner
• Tools & Materials: Cardstock, photos, patterned paper, fabric scraps, glue, scissors, markers
• Cost: $5–$15
• Note: Keep sharp tools away from kids
- Gather your supplies. Choose items that let you add photos, small pockets, or fun name banners to your card.
- Imagine a card with a creative twist. For example, design a tea bag card with a cute cup image that holds a little tea sachet. It’s a neat way to mix art and a tiny treat.
- Mix up textures by using fabric, patterned paper, or even pressed flowers. These details add depth to your design.
- Make your card extra special by adding a personal photo or a sticker featuring your unique monogram. This turns a simple card into a cherished keepsake.
- Start with a rough sketch of your layout. Mark where images, texts, and decorative elements will go to ensure balance.
- Pick clear, easy-to-read fonts or stamps that fit your card’s theme. Keep your design neat, like the Happy House Card that even includes a built-in gift-card pocket.
- Finish your card with a handwritten note. This little touch adds warmth and makes your creation truly one-of-a-kind.
Advanced Card Making Ideas: Multi-Layered, Laser-Cut, and Origami Designs
Quick Fix:
• Outcome: Create cards with layers, self-standing displays, and custom borders
• Time: 30–60 min per card design
• Skill: Intermediate
• Tools & Materials: Sturdy cardstock, scoring tool (bone folder), ruler, sharp cutter, patterned paper; optional laser cutter
• Safety: Work on a safe surface and handle blades carefully
-
Triple Panel Standing Fun Fold
- Mark three fold lines on your stiff cardstock.
- Score along each line with a bone folder for neat creases.
- Fold the panels and check the balance so it stands securely.
- Remember: Even weight distribution is key.
-
One Sheet Wonder Six-Card Pattern
- Snap the cutting grid on one sheet so you get six equal parts.
- Score the lines where the folds will happen.
- Cut along the marks using a sharp cutter.
- This method gives you a set of matching cards for gifts or party favors.
-
Edge of Glory Custom Edges
- Choose a die-cut shape that fits your design.
- Layer contrasting cardstock and lightly score along the outline.
- Cut gradually for a smooth finish along the edge.
- Your custom border adds an artistic flair to the card.
| Design | Key Steps |
|---|---|
| Triple Panel Standing Fun Fold | Score three panels, fold, and balance |
| One Sheet Wonder Six-Card Pattern | Create grid, score, and cut six equal cards |
| Edge of Glory Custom Edges | Select shape, score lightly, cut smoothly |
Final Words
In the action, you explored a mix of designs, from fun fold cards and pop-ups to seasonal themes and advanced, multi-layered techniques. Each section offers a fast, hands-on way to build your own creative projects.
This guide gives you clear, step-by-step methods perfect for any skill level. Use these card making ideas to spark your next project and bring your handmade greeting cards to life. Enjoy the process and have fun creating your own unique designs!
FAQ
Card making ideas for kids
The card making ideas for kids encourage creative projects using simple materials like paper, glue, and markers. These projects let children explore fun designs suitable for birthdays, school events, or simple greetings.
Simple card making ideas free
The simple card making ideas free use common household supplies such as paper, scissors, and glue. These projects provide budget-friendly, DIY solutions that spark creativity without needing to spend extra money.
Card making ideas with paper
The card making ideas with paper focus on using cardstock or patterned paper to create layered designs. These ideas help you craft unique cards with accessible techniques and basic tools.
Card making ideas for students
The card making ideas for students offer easy, budget-friendly projects ideal for school assignments and celebrations. They use basic supplies and simple layouts that encourage creativity without overwhelming effort.
Card making ideas easy
The card making ideas easy provide straightforward, step-by-step projects that use minimal supplies. They simplify the process with clear instructions, making it fun for beginners and stress-free when crafting a card.
Card making ideas for birthday
The card making ideas for birthday celebrations combine vibrant colors with playful designs. These ideas guide you to make a unique, handcrafted card that adds a personal and festive touch to the birthday party.
Card making ideas for adults
The card making ideas for adults include sophisticated and detailed designs using mixed media and elegant embellishments. They help you create unique, personalized cards that suit professional events or refined personal messages.
Beautiful card making ideas
The beautiful card making ideas inspire artful projects incorporating high-quality paper, hand-drawn details, and tasteful accents. These designs result in elegant cards that double as keepsakes for any occasion.
What are the latest card design trends?
The latest card design trends feature interactive elements like pop-ups, layered paper effects, and mixed media techniques. These trends blend traditional craftsmanship with fresh ideas that give your cards a modern, standout look.
What are some cute card making techniques?
The cute card making techniques involve playful die-cuts, fun pop-up elements, and charming embellishments. These techniques add a whimsical feel to your cards, making them eye-catching and delightful to share.
How do I make my own cards?
The process of making your own cards starts with selecting quality paper and a simple layout. Then, add personal touches with stamps, sketches, or mixed media to create a one-of-a-kind, heartfelt greeting.
What are some easy paper craft ideas?
The easy paper craft ideas include beginner-friendly projects such as simple folding, cutting, and layering techniques. These ideas let you craft delightful cards or decorations using basic, everyday materials.