
Quick Fix:
• What: Stop roof vent leak
• Time: 15 min
• Skill: Beginner
• Tools & materials: Ladder, screwdriver, sealant, replacement rubber boots
• Cost: Parts $3–$10
• Safety: Use a stable ladder and wear non-slip shoes
- Check the roof vent from a safe spot. Look for water dripping down the pipe.
- Inspect the rubber boots and seals. They should be flexible and without cracks.
- Clean off any old sealant around the boots.
- Remove weak or brittle parts and replace them if needed.
- Apply new sealant around the boots, then let it set before testing.
A slow drip today can lead to costly damage later. With some basic tools and 15 minutes, you can catch the problem early. Stay safe and keep your home dry.
Understanding Leaky Roof Vent Pipe Issues
Quick Fix:
- What: Check and fix a leaky roof vent pipe.
- Time: 15 min.
- Skill: Beginner.
- Tools & Materials: Ladder, flashlight, replacement rubber boot (if needed).
- Cost: Parts $5–$20.
- Safety: Use a sturdy ladder and work only in dry conditions.
- Look at the vent pipe. It moves air from your home’s drainage system. You will see a metal base with a rubber boot that seals against the shingles.
- Check the rubber boot for cracks or splits. Over time, weather and sun can make it brittle. A cracked boot lets water seep in at the pipe collar.
- Notice any water pooling around the collar. Water can trickle into your attic or walls, causing wood rot and mold.
- Remember that weather matters. In places with freeze-thaw cycles or heavy snow, even a small crack can lead to big problems.
- Inspect the vent pipe twice a year and after heavy storms. A close look at the rubber boot (for brittleness or splits) helps you catch issues early.
- Fix the boot promptly if you see damage. Early repairs prevent costly water damage later.
A small leak today can turn into major damage tomorrow if you leave it unchecked. Stay on top of your roof vent pipe and keep your home safe.
Diagnosing Leaks in Roof Vent Pipes
Quick Fix:
• What: Find leaks around your roof vent pipe
• Time: 15 min
• Skill: Beginner
• Tools: Ladder, garden hose, moisture meter, screwdriver
• Cost: Parts $3–$10
• Safety: Watch your step on the roof
- Check the rubber boot. Run your hand along it to feel for cracks, splits, or brittle spots.
- Inspect the sealant around the metal collar. Slide your finger along the edge to catch any gaps or places where the seal has pulled away.
- Look at the fasteners. Make sure none are loose or rusted since these can break the seal.
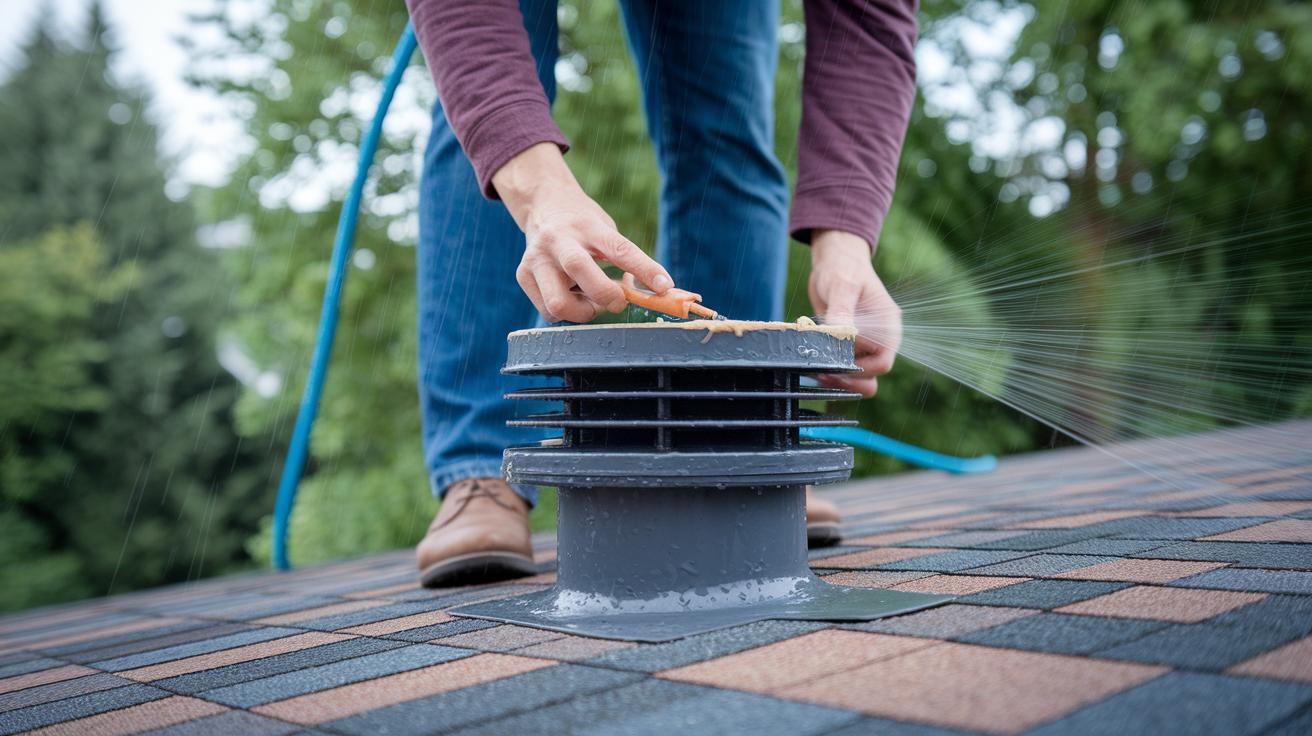
- Use a garden hose to mimic rain. Spray water over the area and watch for leaks.
- If you have one, use a moisture meter to help locate any hidden damp spots.
- Mark any trouble spots and plan to use a roof repair sealant to fix the problem.
| Symptom | Likely Cause | Inspection Step |
|---|---|---|
| Cracked Rubber Boot | Weather damage | Feel for cracks and brittle areas on the boot |
| Pooled Water at Collar | Sealant not sticking well | Check the sealant around the vent collar |
| Water Streaks on Shingles | Gaps in the flashing edge | Examine flashing for gaps or peeling |
| Moisture Intrusion | Loose or rusted fasteners | Inspect and tighten or replace fasteners |
Emergency Fixes for Leaky Roof Vent Pipes
Quick Fix:
• What: Keep water from entering your roof vent
• Time: 15 min
• Skill: Beginner
• Tools & Materials: Rubberized roof patch tape, quick-curing roof sealant, plastic vent cap or small bucket, garden hose
• Cost: Parts $5–$15
• Safety: Use a stable ladder and watch your step on the roof
Steps:
- Dry and clean the area around the vent boot.
- Stick rubberized roof patch tape over any splits in the boot to cover cracks and slow moisture seepage.
- Squeeze quick-curing roof sealant into small gaps around the flashing to block drips.
- If rain is incoming, set a plastic vent cap or a small bucket over the pipe to catch running water.
Keep in mind:
- Check your work on clear days.
- Test the fixes by spraying a light shower from your garden hose.
- These fixes are only temporary. Plan to do a permanent repair soon to avoid more damage.
Permanent Repair Methods for Leaky Roof Vent Pipes

Quick Fix:
• What: Stop leaks around your roof vent pipe for good
• Time: 20–30 min
• Skill: Beginner DIY
• Tools & Materials: Replacement rubber boot, butyl tape, corrosion-resistant screws, roofing sealant, screwdriver, garden hose
• Cost: Parts $10–$20
• Safety: Work carefully on your roof and make sure it’s dry before starting
- Remove the old sealant from around the vent collar and gently lift a few shingles to clear the work area.
- Clean the metal flange and roof deck thoroughly. Scrape away debris and any leftover sealant so the new materials stick well.
- Slide in a new rubber boot that matches the old one in size. Ensure it sits snugly against the metal vent base.
- Apply a continuous bead of butyl tape under the boot’s edge. Then secure the boot with corrosion-resistant screws and add roof sealant along the edges for extra protection.
- Test the repair by running water from a garden hose around the vent. This step reveals any spots that might need more tape or sealant.
Follow these steps carefully to stop leaks and protect your roof and walls from water damage.
Repair Cost and Decision Points for Leaky Roof Vent Pipes
Quick Fix:
• What: Stop roof vent leaks
• Time: 15–60 min for small fixes
• Skill: Beginner to intermediate
• Tools/Materials: Sealant patch, rubber boot kit, flashing supplies
• Cost: DIY parts from $50 to $500; pro help about $75–$150 per hour with total repairs near $300–$800
• Safety: Use a secure ladder and wear non-slip shoes
You can often fix roof vent leaks on your own if the problem is simple. A sealant patch typically costs from $50 to $150. If you need to replace a rubber boot around the vent, expect to spend $100 to $250 on parts and supplies. Bigger jobs such as fixing or updating the flashing may cost between $200 and $500 depending on your roof type.
If you decide to hire a professional, labor usually runs $75 to $150 per hour, and overall repairs can come to about $300 to $800. Think about your roof’s pitch, the material used, and its height when planning your repair budget.
Decide wisely:
- Check your own skills and available tools. DIY can save you money if the repair is straightforward.
- For severe or multiple leaks, a professional may be the safer bet.
- Compare local labor rates and ask for references to choose the right contractor.
| Repair Type | DIY Cost | Professional Cost |
|---|---|---|
| Sealant Patch | $50 – $150 | N/A (DIY recommended) |
| Rubber Boot Replacement | $100 – $250 | $300 – $800 (incl. labor) |
| Flashing Repair/Retrofitting | $200 – $500 | $300 – $800 (incl. labor) |
Preventive Maintenance for Leaky Roof Vent Pipes

Quick Fix:
What: Keep your roof vent dry and secure
Time: 15 min per check
Skill: Beginner
Tools & Materials: Ladder, sealant, cleaning brush, UV coating, optional diverters
Cost: Parts $3–$10
Safety: Use a steady ladder and wear non-slip shoes
- Inspect the vent flashings and sealant beads after every heavy storm and at least twice a year. These parts keep water out and help prevent leaks.
- Clear away any leaves, twigs, and dirt around the vent. Doing this keeps the shingles flat and ensures a tight seal.
- Apply a UV-protective coating to the vent’s rubber boot. This helps it stay flexible and resist sun damage.
- Refresh the sealant before winter so that freeze-thaw cycles don’t cause cracks in the seal.
- In areas with heavy rain, install small diverters (angled pieces that guide water away) to lower the risk of leaks.
Following these steps will help lower repair costs and extend the life of your roof vent.
Final Words
In the action, we covered how to spot issues like broken rubber boots and loose fasteners on a leaky vent pipe on roof. We walked through quick fixes and permanent repair steps while explaining cost choices. Simple tools and clear instructions help you secure a temporary patch or complete a lasting repair. Routine checkups keep leaks at bay and build your DIY know-how. Enjoy the satisfaction of handling repairs yourself, and keep your roof in top shape.