
Quick Fix
What: Make a tin can candle holder that adds warm style
Time: 15–20 min
Skill: Beginner
Tools & Materials: Tin can, cleaning cloth, freezer, hammer with nail (or a punch tool), candle, gloves
Cost: Low (using simple everyday items)
Safety: Wear gloves and work carefully around sharp edges
- Clean the can well so it’s free of dirt and grease.
- Place the clean can in the freezer for a few minutes. This helps firm up the metal.
- Remove the can and use a hammer with a nail to punch holes in a simple design. The holes will let a soft light shine through.
- Insert a candle and light it to create a cozy glow.
Enjoy your new, stylish candle holder that transforms an everyday can into a charming accent piece.
Selecting and Preparing Materials for Your Tin Can Candle Holder DIY
Quick Fix:
• What: Prepare a sturdy tin can for your candle holder project.
• Time: 15 min
• Skill: Beginner
• Tools & Materials: 1 clean tin can (no labels), warm soapy water, sponge, towel, water, freezer
• Cost: Parts $0–$5
• Safety: Work on a stable surface and handle frozen items with care
- Gather a clean tin can. Choose a can free of labels, rust, and dents. A smooth surface makes your design easier.
- Wash the can well. Use warm, soapy water and a sponge. Then dry it completely with a towel. A dry can prevents issues when you transfer your design.
- For extra firmness, fill the can with water and put it in the freezer. Freezing the can helps its walls stay strong, which is key when you punch holes.
- When your can is clean and frozen, tape on your pattern and punch out your design. This simple trick makes your candle holder project safe and fun.
Transferring Patterns and Punching Designs in Your Tin Can Candle Holder DIY

Quick Fix:
- What: Create a tin can candle holder with a punch-through design
- Time: 15–20 min
- Skill: Beginner
- Tools & Materials: Towel, frozen tin can, tape, printed or freehand pattern, nail, hammer
- Cost: Low-cost scrap materials
- Safety: Work on a towel to keep your surface safe
- Lay a towel on your work surface. This keeps your countertop safe from stray nail hits and stops the can from moving.
- Place your frozen tin can on the towel. Freezing the can keeps it stiff and makes your design transfer accurate.
- Stick your pattern on the can with tape. You can draw your design freehand or use a printed image. For example, tape on a simple star by drawing five straight lines that meet in the center.
- With the pattern in place, tap a nail along the lines with a hammer. Do this slowly; each tap creates a neat hole for light to shine through.
- Work your way around the can. If you like a textured look, let the ice inside start to melt slightly. The drips can add a fun, natural streaking effect.
- If your tape shifts, reset it or add extra pieces to hold your design steady. This step is key if you're aiming for a neat, matched pattern.
- When you finish punching all the holes, take off the tape and let the can thaw completely. This makes sure no extra water stays in the can, which could affect your candle or lights later.
Enjoy your DIY project as each hole brings a new play of candlelight when you light your creation!
Assembling the Candle Holder: Inserting Wax and Lights into Your Tin Can Candle Holder DIY
Quick Fix:
- Outcome: Light up your tin can with a warm, creative glow.
- Time: 15–20 min
- Skill: Beginner
- Tools & Materials: A punched tin can, clean towel, your choice of light (real candle, battery-lit candle, or mini fairy lights), optional moss.
- Cost: Parts $0–$10
- Safety: Let any ice fully melt and work on a stable surface.
- First, let all remaining ice melt after punching the holes. Then, dry the inside of the can with a clean towel.
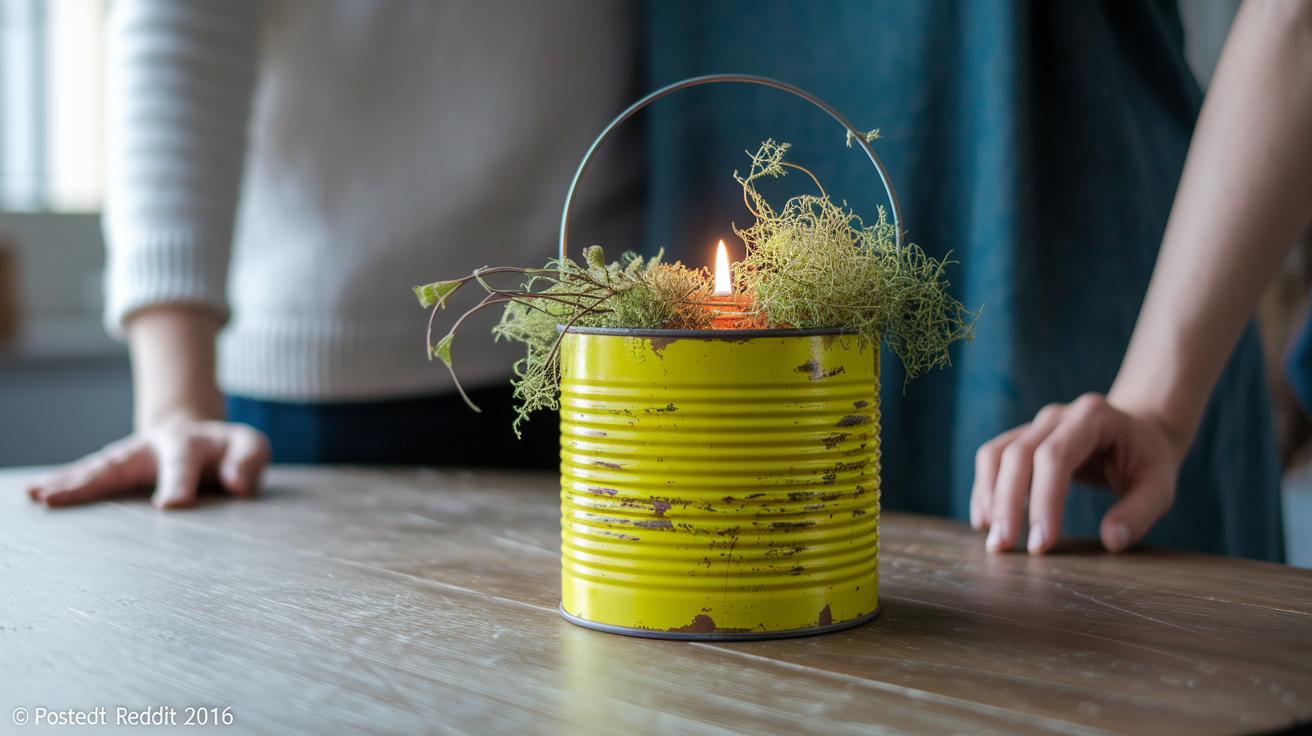
- Next, choose your light source. For a soft, even glow, center a real candle. If you need a safer option (especially with kids around), use a battery-lit candle. Or, add mini fairy lights for a modern, sparkly look.
- For a natural touch, gather some moss and nestle it around the base. No glue or extra filler is needed; just place the moss neatly to frame your light.
- Finally, step back and admire your work. Tweak the setup if needed until every detail shines and your space is filled with charm.
Decorating and Customizing Your Tin Can Candle Holder DIY for Seasonal Flair
Quick Fix:
• What: A seasonal tin can candle holder that lights up your space
• Time: 30 min
• Skill: Beginner (basic DIY skills needed)
• Tools & Materials: Tin can, paint (your choice of bright or matte), 4 in (10 cm) piece of thin wire, wire clippers, decorative natural items (sprigs, moss, leaves, or acorns), stencils or ribbon
• Cost: $5–$15
• Safety: Wear gloves and use clippers carefully
-
Pick Your Paint
Choose a color that sets your mood. Go bright for a trendy pop or matte for a cozy, rustic look. You can paint before or after making your design. -
Make the Handle
Cut a 4 in (10 cm) length of thin wire. Twist each end into a neat loop with your wire clippers. This creates a simple, sturdy handle. -
Attach the Handle
Bend the metal edge of the can gently or punch two extra holes so you can thread the wire through. This extra step makes your candle holder easy to move. -
Add Seasonal Decor
For a winter vibe, clip a few small sprigs or a bit of moss along the rim. In autumn, tuck in tiny leaves or acorns for a warm, natural touch. -
Finish with Decorative Touches
Stencils or a ribbon can add more personality. Mix your favorite accents to transform your piece into a modern, upcycled work of art.
Enjoy your DIY project, and let your creativity shine with each handmade detail!
Safety Precautions and Troubleshooting for Your Tin Can Candle Holder DIY
Quick Fix:
- What: Make a safe tin can candle holder without accidents.
- Time: 10–15 min
- Skill: Beginner
- Tools & Materials: Sandpaper or file, safety gloves, battery-powered candle or mini lights, frozen tin can, towel
- Cost: Parts $0–$5
- Safety: Wear gloves and keep kids away from sharp edges
- File or sand all rough metal edges to stop cuts. Smooth each edge carefully before you put anything together.
- Watch over children closely. They should only help with safe parts, like setting up the lights or designs.
- Pick battery-powered lights over regular candles to cut the risk of burns and fires.
- If holes seem off-kilter, tap them gently to realign. If the can bends, re-freeze it to firm up the shape.
- Make sure the can is dry after it thaws. Extra water can make the design shift during assembly.
- If the can feels wobbly, freeze it again and secure it before you add more holes.
Stay safe, work carefully, and soon you’ll have a stylish tin can candle holder to brighten your space.
Final Words
In the action, you’ve learned how to prepare a tin can, punch out designs with basic tools, and set up your tin can candle holder DIY for use with real or battery-powered lights. You explored ways to add your creative flair with paint, handles, and seasonal touches. Safety and quick fixes were also covered to keep your project smooth. Enjoy your upcycled creation and the warm glow it brings to your space!
FAQ
Q: What is a tin can candle lantern and how do I use it?
A: The tin can candle lantern is a repurposed metal can turned into a decorative light holder. It features punched designs that allow candlelight or battery-powered lights to shine through and create patterned effects.
Q: Where can I find free, printable tin punch patterns?
A: Free, printable tin punch patterns are available online as PDF downloads. They help you transfer a design onto a frozen can to guide your nail and hammer work when punching holes.
Q: Can I make a candle out of a tin can, and are metal tins safe for candles?
A: Making a candle holder from a tin can is safe when you clean, dry, and file down any sharp edges. Using battery-powered or secure real candles keeps the project hazard-free.
Q: How do I punch holes in a tin can for a lantern design?
A: To punch holes in a tin can, freeze the can to stabilize it, and then use a nail and hammer following a transferred or freehand pattern. This method creates a neat design for light to shine through.