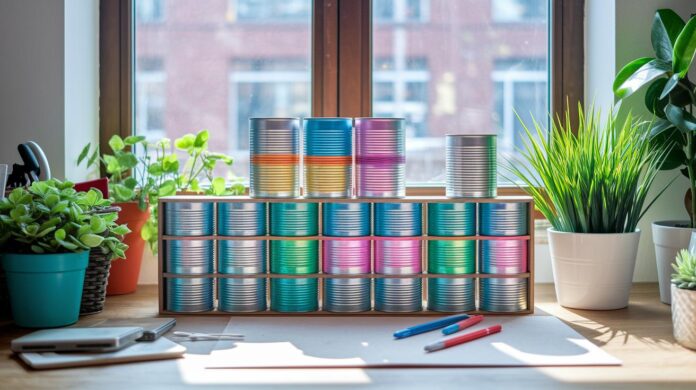

Quick Fix
• What: Turn tin cans into a handy organizer
• Time: 15 min
• Skill: Beginner
• Tools & Materials: 2 or more tin cans, soap & water, basic tools (hammer, nail or scissors), paint or decals (optional)
• Cost: Very low, parts under $10
• Safety: Wear gloves and handle sharp edges with care
Steps
- Clean the tin cans well. Remove labels and wash off any dirt.
- Smooth any sharp edges with a file or gently tap them to reduce risk.
- Punch a few holes in the bottom for drainage if you plan to use liquid-based items nearby.
- Decorate the cans with paint or decals to make them unique.
- Arrange your new organizers on a shelf to store small items like pens, brushes, or office supplies.
Old tin cans can go from trash to treasure with just a few steps. This simple, eco-friendly project cuts clutter, brightens your space, and lets you add your personal touch, all while being kind to the planet.
DIY Tin Can Storage Organizer Upcycle: Complete Project Overview
Quick Fix:
• What: Turn empty tin cans into a handy storage organizer
• Time: 10 min
• Skill: Beginner
• Tools & Materials: Clean tin cans, soap, water, towel, sandpaper or file, drill, washers, screws or bolts (you can add a Lazy Susan base for rotation)
• Cost: Low ($0–$10)
• Safety: Wear gloves and handle sharp edges with care
Steps:
- Wash each tin can with soap and water. Soak them to help remove any labels.
- Dry the tins completely. Then smooth out any sharp edges using sandpaper or a file.
- Mark the center of each can and drill a neat, centered hole.
- Stack the cans so that the holes line up.
- Insert washers and tighten screws or bolts evenly to secure the cans together.
- For extra functionality, attach a Lazy Susan base at the bottom if you want a rotating organizer.
This project lets you reuse tin cans and create a stylish, eco-friendly holder for pens, brushes, or other small items. Play around with design ideas like painting simple stripes or adding decals to match your decor. Enjoy turning everyday items into a unique organizer that cuts waste and brightens your space!
Materials, Tools & Safety Tips for Tin Can Storage Organizer Upcycling
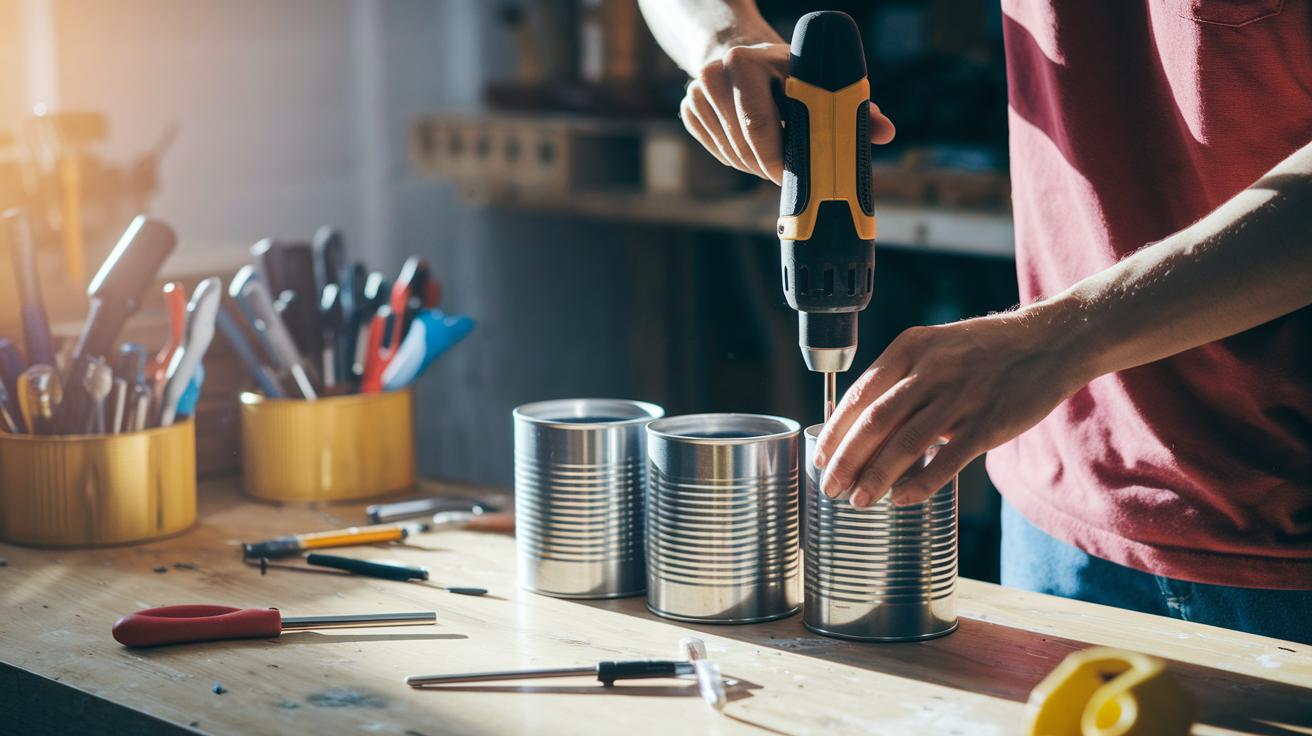
Quick Fix:
• What: Turn empty tin cans into a handy storage organizer.
• Time: 30–60 min.
• Skill: Beginner.
• Tools: Tin cans, drill with a metal bit, screwdriver, pliers, ruler, pencil, file or sandpaper.
• Materials: Washers, screws/bolts, industrial-strength adhesive or hot glue, paint, popsicle sticks, decorative paper.
• Safety: Wear gloves and eye protection; work on a stable surface; keep a first-aid kit nearby.
- Clean your tin cans with soap and water. Remove labels and smooth out any rough edges using sandpaper or a file.
- Drill neat holes in the cans with a metal drill bit. Keep washers and screws or bolts ready for secure assembly.
- Assemble your organizer by fastening the cans together. For a personalized look, use industrial-strength adhesive or hot glue and add decorative touches like rustic paint, popsicle sticks, or decorative paper.
- Use a drill or rotary tool for precise work. Measure and mark accurately with a ruler and pencil, and tighten screws with a screwdriver or pliers.
- Keep your workspace clean and use a stable surface to ensure accuracy and safety.
- Always protect yourself: wear gloves and eye protection when filing or drilling, and work slowly and steadily to prevent slips.
Cleaning & Preparing Tin Cans for Upcycled Storage Organizer
Quick Fix:
• Outcome: Get tin cans clean and safe for decorating
• Time: 10–15 min
• Skill: Beginner
• Tools: Warm soapy water, sponge, damp cloth, metal file or fine-grit sandpaper, rust remover (if needed)
• Safety: Wear gloves if you have sensitive skin
Steps:
- Soak the tin cans in warm water mixed with dish soap for 5–10 min to loosen labels and sticky residue.
- Scrub each can with a sponge until all labels and glue are gone. Rinse well and let them dry completely.
- Wipe both the inside and outside with a damp cloth to remove any dust or particles before you paint or decorate.
- Smooth any rough edges around the rim using a metal file or fine-grit sandpaper to make them safer to handle.
- If you see rust or oxidation, dab a bit of rust remover on the spots to keep the cans looking fresh.
Assembling & Securing Components for Your Tin Can Organizer

- Place your cans on a flat surface and use a ruler and pencil to mark a dot at the middle of each can. This dot will help guide your drilling.
- Drill a hole at the marked spot on each can using a metal drill bit so the holes line up. If you prefer not to drill, use strong adhesive strips or cable ties, making sure to leave enough room for small items.
- Stack the cans one on top of the other, sliding a washer between each can for added stability. Verify that all the holes line up.
- Secure the stack by inserting screws or bolts through the washers and holes, then tighten them evenly with a screwdriver or wrench.
- For a rotating base, drill a centered hole in the bottom can and attach a Lazy Susan mechanism before tightening the final fastener to prevent any wobbling.
Styling & Customizing Your Tin Can Storage Organizer Upcycle
Quick Fix:
• What: Give your tin can organizer a fresh, personalized look
• Time: 30–60 min
• Skill: Beginner (fun and creative project)
• Tools & Materials: Tin can organizer, diluted acrylic paint, popsicle-stick panels, metallic spray paint, scrapbook paper, clear varnish, twine, fabric scraps, hot glue, chalkboard paint, brushes
• Cost: $5–$20
• Safety: Work in a well-ventilated area; use gloves when handling hot glue
- Start by painting bold stripes on the metal. Dilute your acrylics with water, then paint a light blue stripe along one side and a bright yellow stripe on the other. This creates a playful and easy-to-follow design.
- For extra texture, slide popsicle-stick panels between the tin cans. Lay them in a repeating pattern to add depth while keeping the design simple and fun.
- You can give your organizer a modern twist with metallic spray-paint gradients. The shiny finish contrasts nicely with the raw look of metal.
- For a retro vibe, decoupage bits of scrapbook paper over a clear varnish base. This lets you add memories and creates a vintage finish suited for any room.
- Try mixing different materials. Wrap twine around the tin rims or attach fabric scraps with a dab of hot glue. If you add a bit of chalkboard paint, you can write seasonal reminders or labels on selected panels.
| Tip | How |
|---|---|
| Acrylic Painting | Dilute the paint for a soft, vintage finish |
| Texture | Alternate smooth metal with rough popsicle-stick panels |
| Personal Touch | Experiment with decals, fabric, and chalkboard paint |
Budget Breakdown & Eco Benefits of Tin Can Organizer Upcycling
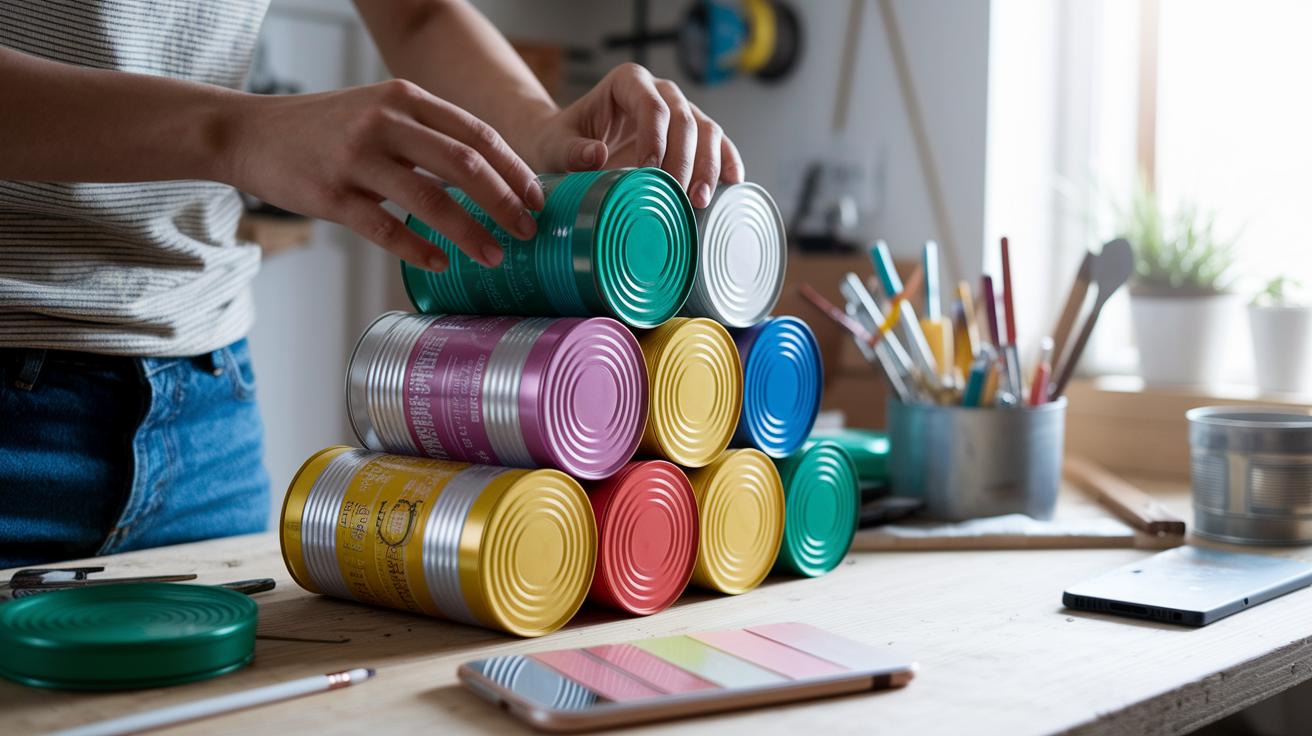
Quick Fix:
• What: Build a storage organizer from recycled tin cans
• Time: Under 30 min
• Skill: Beginner
• Tools & Materials: Empty tin cans, sandpaper or file, drill bits with screws, paint, adhesive
• Cost: $3–$5
• Safety: Work in a clean, well-ventilated area
This upcycle project makes a smart, low-cost storage organizer. By using empty tin cans you already have, you clear out your recycle bin and save money. Most recycled cans cost nothing so you only spend a little on tools and finishing touches.
| Item | Cost |
|---|---|
| Empty tin cans | $0.00 (recycled) |
| Sandpaper/file | $2–$5 |
| Drill bits and screws | $3–$7 |
| Paint and adhesive | $5–$10 |
In total, you spend around $3 to $5 per organizer. The project is quick and lets you make a neat storage solution instead of buying one. Plus, reusing tin cans means less waste in landfills and fewer new materials needed, which helps the environment. Enjoy a budget-friendly, green project that transforms trash into a useful, creative storage piece.
Final Words
In the action, you transformed empty tin cans into a useful storage solution. Each step, from cleaning and smoothing edges to drilling and assembling with washers, was designed to keep costs low while reducing waste.
You've mixed practical safety tips with creative styling options to make a project that saves money and adds charm. Enjoy your tin can storage organizer upcycle and take pride in a quick, eco-friendly fix that works for your space.
FAQ
What are tin can storage organizer upcycle ideas?
Tin can storage organizer upcycle ideas show you how to repurpose empty tin cans into a handy organizer by cleaning, filing, drilling, and decorating. These projects use recycled materials to create cost-free, eco-friendly storage.
How does a tin can storage organizer upcycle DIY work?
The tin can storage organizer upcycle DIY explains how to transform your empty cans into a storage solution. It covers cleaning, smoothing sharp edges, drilling holes, and assembling cans with screws and optional rotating bases.