
Quick Fix: Fix Your Car Radio in 15 Minutes
• What: Replace a blown fuse to restore your radio
• Time: 15 min
• Skill: Beginner
• Tools & Materials: Replacement fuse (check your car’s manual for the right type), a small fuse puller or needle-nose pliers
• Cost: Parts usually under $10
• Safety: Turn your ignition off before you start
-
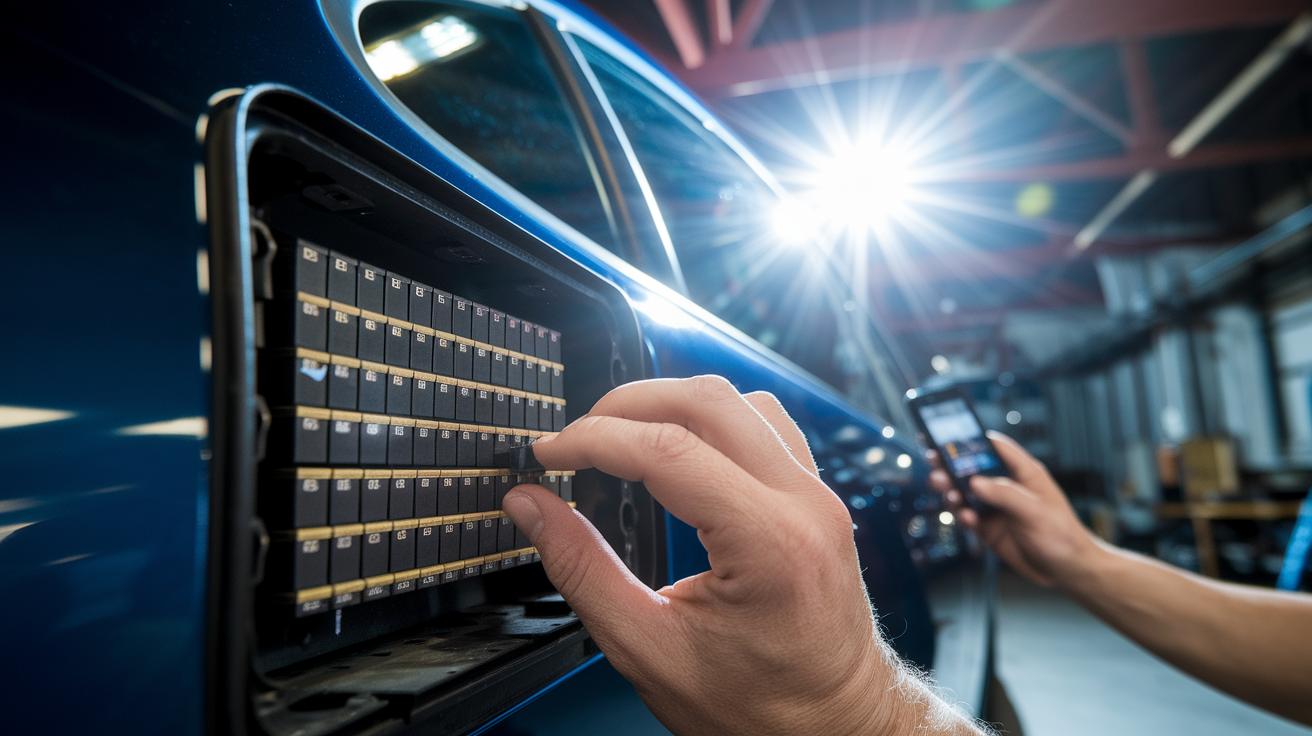
Find Your Fuse Box
Open your car’s dashboard or glove box to locate the fuse box. If you’re not sure, check the owner’s manual for a diagram. -
Open the Fuse Box Cover
Remove the cover to see the fuses. Look for the label that points to your radio fuse. -
Inspect the Fuse
Pull out the radio fuse with a fuse puller or needle-nose pliers. Look for any signs of damage like a broken wire or dark smudge. -
Replace the Fuse
Insert a new fuse that matches the rating of the old one. Make sure it fits snugly. -
Test Your Radio
Close the cover and start your car. Check that your radio is working and you can get the safety updates you need.
You’re all set. With these simple steps, you can quickly fix your radio and enjoy a smooth drive.
Quick Step-by-Step Car Radio Fuse Replacement Guide
Quick fix:
- What: Restore your car radio power by switching a blown fuse.
- Time: 15 min
- Skill: Beginner
- Tools: Fuse puller or needle-nose pliers, screwdriver if needed, insulated gloves.
- Safety: Turn off the ignition, remove the key, and disconnect the negative battery cable.
- Turn off the ignition, take out the key, and unplug the negative battery cable. This step stops current flow and helps keep you safe.
- Find the fuse box by checking the cover diagram or your owner’s manual. Look for the fuse labeled "Radio," "Stereo," or "Audio." It is usually under the dashboard or near the engine.
- Look at the fuse closely. Hold it up to the light through its clear plastic cover. A melted or dark filament shows that the fuse is blown.
- Remove the bad fuse using a fuse puller or needle-nose pliers. Rock it slightly side to side to free it. If screws hold it in place, use a flat-head screwdriver.
- Replace it with a new fuse that matches the old one in type and amperage rating (typically 10A to 30A). Press it firmly into its slot until it snaps in.
- Reattach the negative battery cable and turn on the ignition. Check that your radio works and reset any stations if needed.
- Test any other circuits that use the same fuse to make sure they work correctly. If problems keep coming back, it might signal a deeper wiring issue.
Car Radio Fuse Function and Common Types

Quick Fix:
What: Learn how car fuses work and how to replace them safely.
Time: 5 min
Skill: Beginner
Tools & Materials: Car manual, proper replacement fuse (10A, 15A, or 20A)
Cost Estimate: Parts $3–$10
Safety Snapshot: Turn off your car before you start
- Fuses are safety devices. They stop too much electricity from flowing and protect your car’s wiring.
- When extra current flows, the fuse blows. This helps avoid fires and short circuits.
- There are a few common fuse types. Standard blade fuses are the most common. Mini blade fuses work the same but in a smaller size. Maxi blade fuses handle more power. Some high-amp fuses use screws or bolts in circuits with heavy power.
- Always check the fuse’s amperage. Your car may need a 10A, 15A, or 20A fuse. Using the wrong size can overheat parts or cause more damage.
- If you’re unsure which fuse to use, check your owner’s manual or the diagram on your fuse box cover.
| Fuse Type | Where It’s Used |
|---|---|
| Standard Blade | General circuits in most vehicles |
| Mini Blade | Same as standard, but smaller |
| Maxi Blade | Circuits that need to handle more load |
| High-Amp Screw Fuse | Used in high-energy circuits |
Remember, a correctly rated fuse is key to protecting your car’s audio system and other electrical parts. Always match the amperage to keep your vehicle safe.
Essential Tools and Safety Precautions for Fuse Swap
Quick Fix: Replace a fuse safely in 15 min
• Outcome: Swap a fuse with safety in mind
• Tools: Fuse puller or needle-nose pliers, flat-head screwdriver or socket set, torque wrench (for high-energy panels)
• Skill: Beginner
• Cost: Parts $3–$10
• Safety: Turn off the vehicle and disconnect the battery
Tools Needed:
• Use a fuse puller or needle-nose pliers for blade-style fuses.
• Grab a flat-head screwdriver or a socket set for screws or bolts.
• Use a torque wrench when working with high-energy panels so you tighten the fuse to the correct settings.
Safety Steps:
- Turn off your car, take out the key, and disconnect the negative battery terminal.
- Put on insulated gloves.
- Remove the fuse steadily and carefully. Rock the fuse gently if it is stuck. Line up your tool with the fuse to avoid harming it.
- When working on high-energy fuse panels, use the torque wrench to ensure you do not overtighten the fuse.
Before you begin, make sure the ignition is off, the key is out, and the battery is disconnected.
How to Identify the Correct Radio Fuse in Your Vehicle
Quick Fix:
• What: Check your radio fuse and swap it if it's burned out.
• Time: 5 min
• Skill: Beginner
• Tools & Materials: Flashlight, wiring chart (if needed)
• Cost: Under $5
• Safety: Turn off your vehicle or disconnect the battery before you start.
Steps:
- Check the fuse box cover and the owner’s manual for labels like "Radio," "Stereo," or "Audio."
- Look at the fuse rating printed on top, it’s usually 10–30 amps.
- Hold the fuse up to a light. A good fuse shows a solid, continuous metal strip inside.
- If the metal strip is broken, burnt, or darkened, replace the fuse.
- If you’re still unsure, consult your car’s wiring chart to confirm you’re checking the right fuse.
| Action | What to Look For |
|---|---|
| Check Label | “Radio,” “Stereo,” or “Audio” |
| Note Fuse Rating | 10–30 amps |
| Inspect the Fuse | Solid metal strip inside |
Locating Your Vehicle’s Car Radio Fuse Panel
Quick Fix:
• What: Find your car’s radio fuse panel
• Time: 5 min
• Skill: Beginner
• Tools: Owner’s manual, flashlight
• Cost: Free
• Safety: Make sure your car is off before starting
- Check the interior fuse box first. Look under the dashboard, in the glove compartment, or near the passenger footwell.
- Next, inspect the engine compartment fuse box. It is usually found near the battery.
- Look at the diagram on the fuse box cover. It shows fuse slot numbers, amperage ratings, and which circuit controls the radio.
- If you do not see the radio fuse, try checking under the seats or behind the kick panels.
- When in doubt, refer to your owner’s manual or download a PDF diagram from the manufacturer for the exact layout.
| Step | What to Do |
|---|---|
| 1 | Search under the dashboard and in the glove compartment |
| 2 | Look in the engine compartment near the battery |
| 3 | Check hidden spots like under seats or behind kick panels |
| 4 | Use the fuse box diagram or owner’s manual for guidance |
Troubleshooting and Preventing Future Car Radio Fuse Blows
Quick Fix:
• What: Stop repeated fuse blows in your car radio system
• Time: 15–30 min
• Skill: Basic electrical troubleshooting
• Tools & Materials: Multimeter, screwdriver
• Cost: Parts usually cost $5–$15 (about 5–15 USD)
• Safety: Disconnect your car battery before starting
-
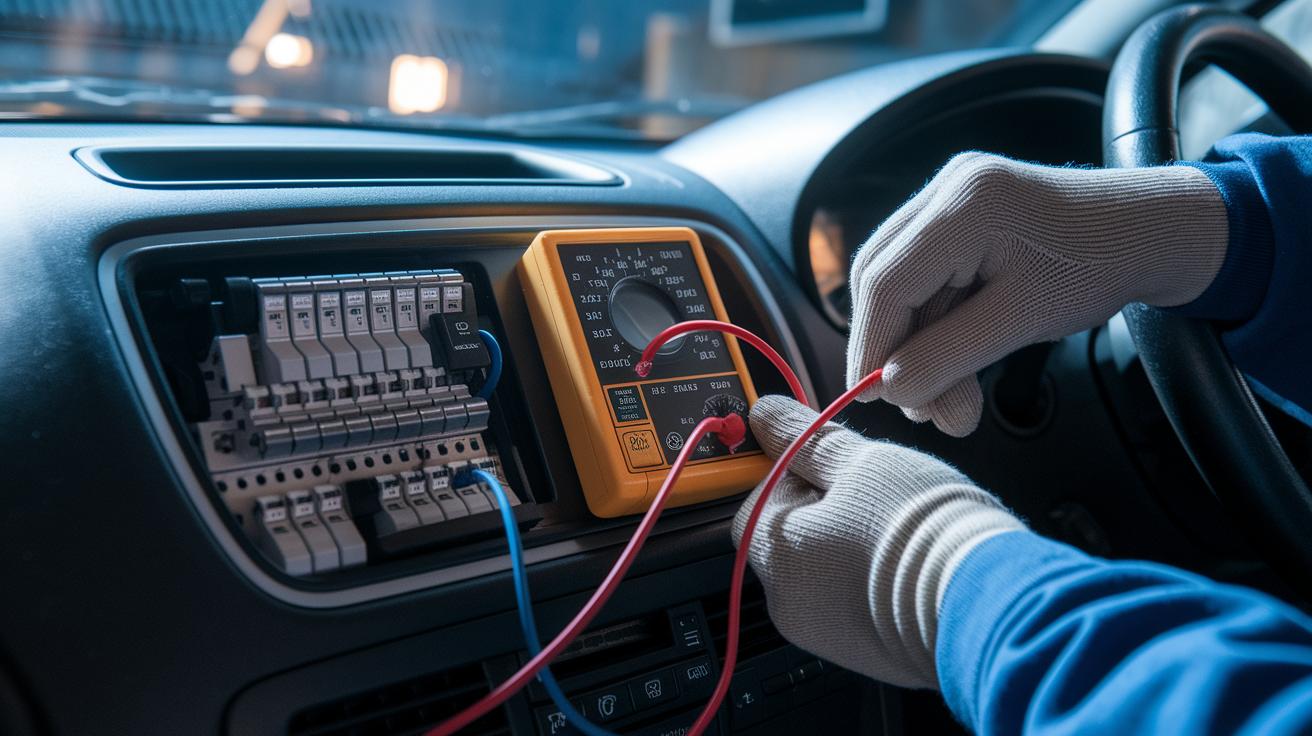
If your new fuse blows again, check the wiring. A short circuit in the wiring, speaker leads, or even an add-on amplifier can be the culprit. Use a multimeter (a tool that tests electricity) to spot voltage drops or bad connections.
-
Look for clear signs of trouble. A dead radio, loss of power, or quick on/off cycles show that the circuit is unstable and may be overloading. Keep an eye on these symptoms:
Symptom Description Unresponsive Radio The radio does not turn on at all Intermittent Shutdowns The system turns off during use No Power Key parts are not getting any electricity -
Check your connectors and fuse holders carefully. Look for rust, burned marks, or melted insulation. Give the connector a quick wiggle. If it doesn’t feel secure, it might be the root of your trouble.
-
To prevent future issues, inspect your fuse and wiring bundles regularly. Check for wear or damage, and always use a replacement fuse that matches your car’s rated amperage. Mismatched fuses can cause recurring problems.
-
Keep your wiring bundles away from sharp edges to avoid cuts or rubbing that can wear down the insulation over time. If you still have fuse problems after these steps, it’s a good idea to call in a professional auto electrician.
Final Words
In the action, you turn off the ignition, disconnect the battery, and locate the right fuse using your owner’s manual.
You inspect the fuse and replace it with a matching one, using the proper tools and safety gear.
After reconnecting the battery, you check that your radio is up and running.
Car radio fuse replacement can be simple when you follow these steps. Keep your space safe and enjoy the satisfaction of a job well done.
FAQ
How do you replace a car radio fuse on Chevy, Toyota, and Ford models?
The car radio fuse replacement for Chevy, Toyota, and Ford involves turning off the ignition, locating the fuse box, checking the “Radio” or “Stereo” fuse, removing it with a fuse puller, and installing a new fuse of the same amperage.
What does the car radio fuse symbol mean?
The car radio fuse symbol means the fuse is protecting the audio circuit from overload. It is often marked with labels like “Radio” or “Stereo” on the fuse panel diagram.
Where is the radio fuse usually located in a vehicle?
The radio fuse is usually found in one of the fuse boxes, which may be under the dash, in the glove box, or near the engine compartment, according to the vehicle’s owner’s manual.
What are the symptoms of a blown radio fuse?
A blown radio fuse shows symptoms like a dead radio, loss of audio power, or intermittent functionality. Visual inspection may reveal a melted or broken metal filament through its clear casing.
Which fuse in a car is for the radio?
The correct fuse for the radio is identified by labels on the fuse box diagram, such as “Radio,” “Stereo,” or “Audio,” and its specific amperage rating, as explained in the owner’s manual.
How do I fix a blown fuse in the car cigarette lighter circuit?
To fix a blown fuse in a car cigarette lighter, disconnect the battery, locate the fuse labeled for the cigarette lighter, replace it with a matching amperage fuse, and then safely reattach the battery.
How do I tell if my radio fuse is blown?
You can tell if your radio fuse is blown by removing it from the fuse box and inspecting for a broken or discolored filament or by using a multimeter to check for continuity.
Can I replace a car fuse myself?
Replacing a car fuse yourself is possible using the proper tools and safety measures. Simply turn off the car, use a fuse puller or pliers, and replace it with a fuse that matches the amperage required.
Can a blown fuse cause my car radio not to work?
A blown fuse can cause your car radio to stop working since it interrupts the electrical power to the audio system. Replacing the fuse usually restores the radio’s function.
How much does it cost to replace a radio fuse?
The cost to replace a radio fuse is low, typically between $3 and $10 for parts, making it an inexpensive and quick DIY repair.