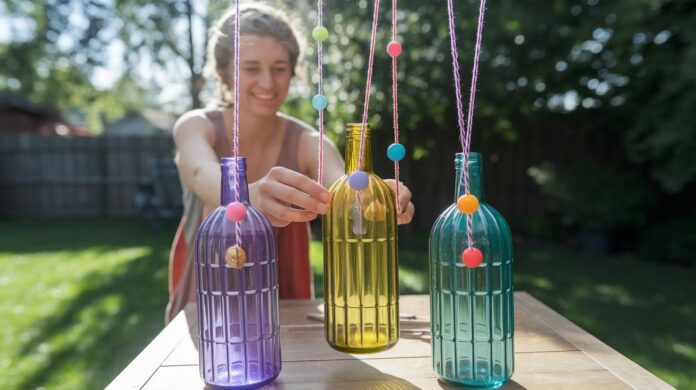

Quick Fix: Recycled Bottle Wind Chime
What: Transform old bottles into a charming wind chime
Time: 20 min
Skill: Beginner
Tools & Materials: Clean empty bottles, string, metal pieces or beads for sound, scissors
Cost: Mostly free, if you use recycled items
Safety: Handle glass carefully to avoid cuts
- Look at an empty bottle and imagine it brightening your space.
- Gather a few bottles lying around, each one holds the potential for a bit of charm and sound.
- Clean the bottles well and decide how you want to decorate them.
- Cut small holes (if needed) and thread the string through, adding metal pieces or beads that jingle in the breeze.
- Hang your new wind chime where it can catch a gentle gust and bring a smile to your day.
Enjoy your creative project, a fun way to recycle and add a unique, musical touch to your room!
Craft Your Own Custom Bottle Wind Chime: A Step-by-Step Guide
Quick Fix:
- What: Turn recycled beer bottles into a charming wind chime.
- Time: 45 min – 1 hr
- Skill: Beginner (just follow the steps!)
- Tools & Materials: Reused beer bottles, strong fishing line or twine, a wooden ring or driftwood branch, beads or metal washers, cleaning supplies, a glass drill bit with hand drill or a bottle cutter/scoring tool, gloves, and goggles.
- Cost: Parts $0–$20
- Safety: Wear gloves and goggles. Handle glass carefully.
-
Gather Materials:
Get your beer bottles, fishing line, wooden ring, beads/washers, and all cleaning and safety gear. Make sure you have the tools you need. -
Clean the Bottles:
Soak bottles in warm, soapy water. Use a paste of baking soda and water if labels or dirt stick. Always wear your gloves and goggles during this step. -
Create Holes:
Either score the bottle using a cutter or drill a hole with a diamond-tipped glass bit. Work slowly at low speed to keep the holes even and clean. Safety is key, take your time and watch your fingers. -
Prepare the Strings:
Cut several pieces of fishing line at different lengths. Measure so each bottle hangs at a unique height. This helps the chime move and look lively. -
Build the Chime:
Thread each piece of string through the hole in the bottle. Tie secure knots to hold them in place. Add a bead or washer on the end of each string for extra sparkle. Finally, attach each string to the wooden ring using a lark's head knot. -
Final Check and Hang:
Check all knots and connections. Make sure every part is stable. Then, hang your wind chime in a spot where the breeze can set it in motion. Enjoy the soft sounds and bright look!
Essential Materials for a DIY Bottle Wind Chime
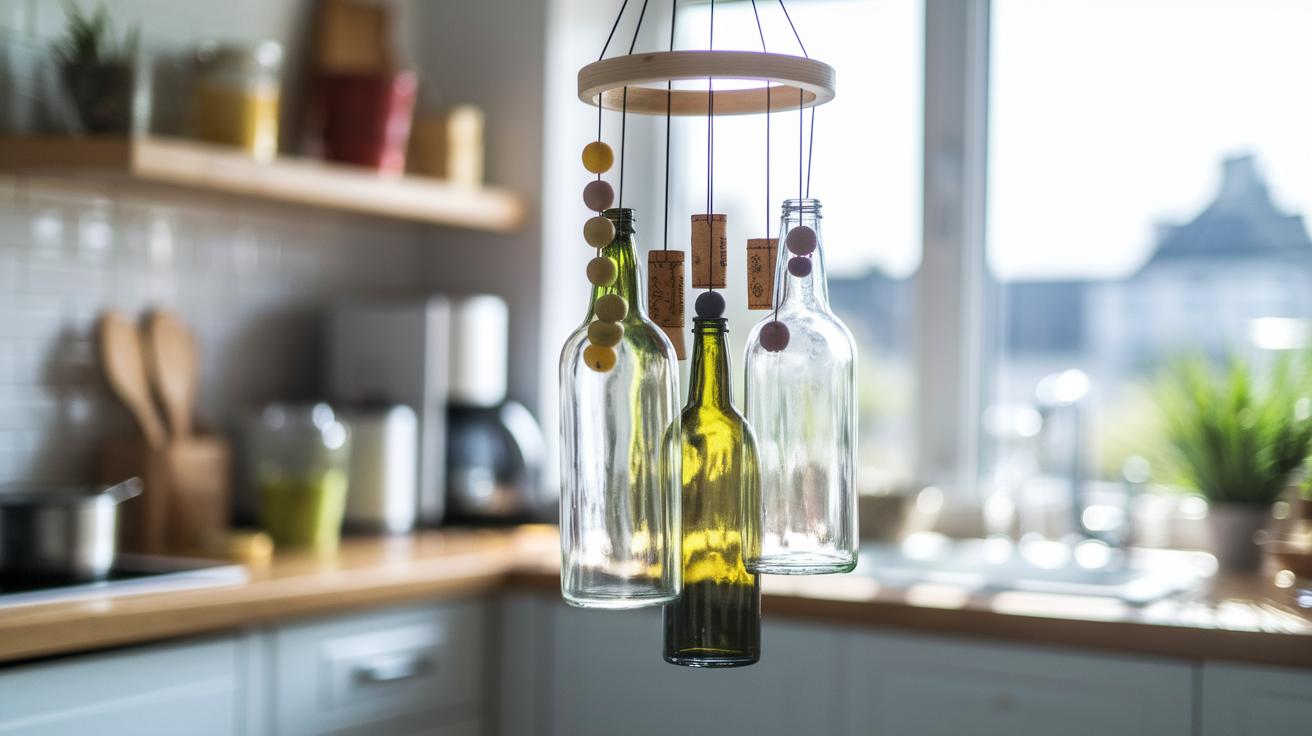
Quick Fix:
• What: Build a charming bottle wind chime from recycled items
• Time: 30–60 min
• Skill: Beginner
• Tools & Materials: Glass bottles, corks, wooden ring or driftwood, beads or metal washers, sturdy twine or fishing line, glass drill bit with a hand drill, bottle cutter or scoring tool, protective gloves and goggles, hot glue gun
• Cost: Low-cost – many items can be found free or reused
• Safety: Wear gloves and goggles when cutting glass
Step 1: Gather your supplies all in one place. Keeping everything organized helps the project go faster.
Step 2: Look for recycled or eco-friendly materials. You might find bottles, corks, or driftwood at home, thrift shops, or garage and yard sales.
Step 3: Use these items to assemble your wind chime. Glass bottles (beer or wine) serve as the main pieces, while wine corks add extra charm.
Step 4: Use a wooden ring or driftwood branch to hang your chime, and add beads or metal washers to create a pleasant sound.
Step 5: For joining, use strong twine or fishing line. Make holes in the bottles with a glass drill bit attached to a hand drill, and safely cut them with a bottle cutter or scoring tool.
Step 6: Finish by gluing the parts with a hot glue gun. For added savings and flair, use reclaimed bottles, discarded corks, and recycled driftwood.
Preparing and Modifying Bottles for Your Bottle Wind Chime
Quick Fix:
• What: Get your bottles ready for a wind chime
• Time: 10–15 min per bottle
• Skill: Beginner
• Tools & Materials: Warm, soapy water; baking soda; a bottle cutter or drill with a diamond glass bit; gloves; goggles
• Safety: Wear your protective gloves and goggles and work in a safe, bright area
- Clean the bottle. Soak each bottle in warm, soapy water for 10–15 minutes. For stuck-on labels, mix equal parts baking soda and water into a paste and rub it onto the label until it comes off.
- Cut your bottle. Use a bottle cutter or slowly drill a hole with a diamond glass bit (a tool made for cutting glass). Keeping your hand steady will help prevent cracks.
- Stay safe. Always double-check that you’re wearing gloves and goggles before cutting or drilling. Make sure your workspace is well lit and free from hazards.
DIY bottle wind chime: Cheerful Craft Fun
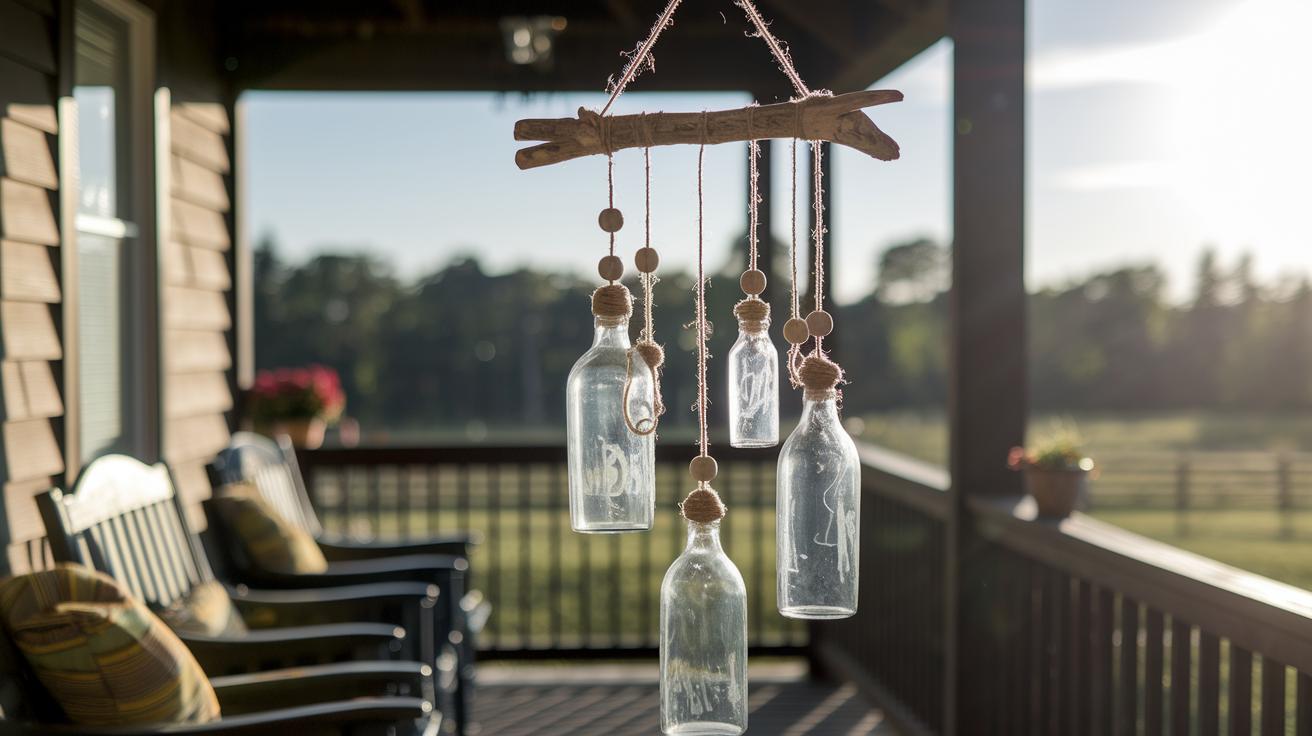
Quick Fix
• What: Create a playful bottle wind chime
• Time: 30–45 min
• Skill: Beginner
• Tools & Materials: Clean bottles, glass drill bit or bottle cutter, sturdy twine, beads or metal washers, wooden ring or driftwood
• Cost: About $10–$20
• Safety: Work on a steady surface; wear safety glasses when drilling
- Clean your bottles thoroughly. Use a glass drill bit or bottle cutter to make a small hole in each bottle. Thread a piece of sturdy twine through the hole and tie a strong knot that will not slip.
- Cut your twine into different lengths between 10 in (25 cm) and 18 in (45 cm) for a varied, lively look. Measure carefully before cutting.
- At the free end of each twine piece, tie on a bead or metal washer. This adds sparkle and a pleasant sound as the wind blows.
- Secure the twine pieces to a wooden ring or a piece of driftwood using a simple, lark’s head knot. Wrap the twine around and slide the knot into place so the bottles hang evenly.
- Make a sturdy hanging loop at the top by looping a piece of durable twine and double knotting it. This loop will let your wind chime hang safely.
- Finally, check each knot and adjust the twine lengths if needed. Make sure everything is secure so your bottles can sing in the wind.
DIY bottle wind chime: Cheerful Craft Fun
Quick Fix:
• What: Create a fun wind chime that brightens your day.
• Time: 30–45 min
• Skill: Beginner
• Tools & Materials: Clean bottles, bright acrylic paints, brushes, driftwood or an old metal ring, recycled bottle caps or colored beads, LED fairy lights, clear paint (for a stained-glass look)
• Cost: $5–$20
• Safety: Work in a well-ventilated area and use non-toxic materials
- Paint the bottles with lively colors like turquoise and coral to give them a sunny vibe.
- For a stained-glass effect, add extra layers of clear paint over your designs.
- Swap a wooden ring for reclaimed driftwood or an old metal ring to hang your bottles, adding a natural touch.
- Hang your bottles at different lengths and attach recycled bottle caps or colored beads to make extra clatter when the wind blows.
- Clip wind-activated LED fairy lights around the bottles to create sparkle both day and night.
Tips for a cheerful look:
- Choose vivid colors like sunny yellow, sky blue, and fresh green.
- Hand-paint extra details to tell a little story on each bottle.
- Add tiny recycled charms or pendants for extra movement as the breeze flows.
Experiment with these ideas, and enjoy crafting a wind chime that sings with art and eco-friendly creativity.
Troubleshooting, Maintenance, and Safety for Your Bottle Wind Chime

Quick Fix:
• What: Get your wind chime singing clearly again
• Time: 10–15 min
• Skill: Beginner DIY
• Tools & materials: Gloves, goggles, new twine, soft cloth, mild soap
• Cost: About $5–$15
• Safety: Wear gloves and goggles; work in a safe area away from kids and pets
- Check every connection. Look at each knot and string where bottles hang. A loose knot or uneven length can make strange sounds.
- Inspect each bottle’s tie. Sometimes a knot slips or the string frays. Tighten any loose washers or beads on the ends.
- Rethread any slack string and retie knots using fresh twine so the bottles drop evenly.
For a clean chime, wipe the glass with a soft cloth and gentle, soapy water. Be careful with the glass. If you see any cracks or rough spots, swap out the affected bottle to avoid injury.
Always use protective gloves and goggles when working near sharp edges, and keep your wind chime out of reach from children and pets.
Final Words
In the action, you crafted a one-of-a-kind project using reused bottles and simple tools. You learned to prep your bottles, drill safely, and tie secure knots. Each step built on the previous one, from material handling to adding creative finishes. This guide mixed practical fixes with fun twists, giving you a lively diy bottle wind chime that brightens any space. Keep exploring creative ideas and enjoy the satisfaction of a job well done.
FAQ
Frequently Asked Questions
Easy diy bottle wind chime
The easy DIY bottle wind chime is a simple project that uses recycled bottles, twine, and decorative beads to create a light and musical ornament for your outdoor space.
Diy bottle wind chime plastic
The DIY bottle wind chime plastic project uses cleaned and prepared plastic bottles, cut and assembled with sturdy string and bottle caps, making a lightweight and weather-resistant chime.
How do you make wind chimes out of glass bottles?
The wind chimes from glass bottles are made by cleaning the bottles, removing labels, scoring or drilling holes, and hanging them from a wooden ring with varied string lengths to produce soft, melodic sounds.
What does the Bible say about windchimes?
The Bible does not mention windchimes directly; interpretations suggest that windchimes symbolize nature’s beauty and the gentle sounds of a well-tended creation, inspiring a peaceful outdoor setting.
How to make wind chimes with bottle caps?
The process for making wind chimes with bottle caps involves attaching the caps to strings, combining them with other upcycled elements, and securing them on a top ring, resulting in a lively, tinkling sound when wind passes.
How to make water bottle wind spirals?
Water bottle wind spirals are created by cutting and shaping water bottles into spiral patterns, then securing them with twine so they spin freely, adding dynamic movement along with gentle, whirling sounds.