
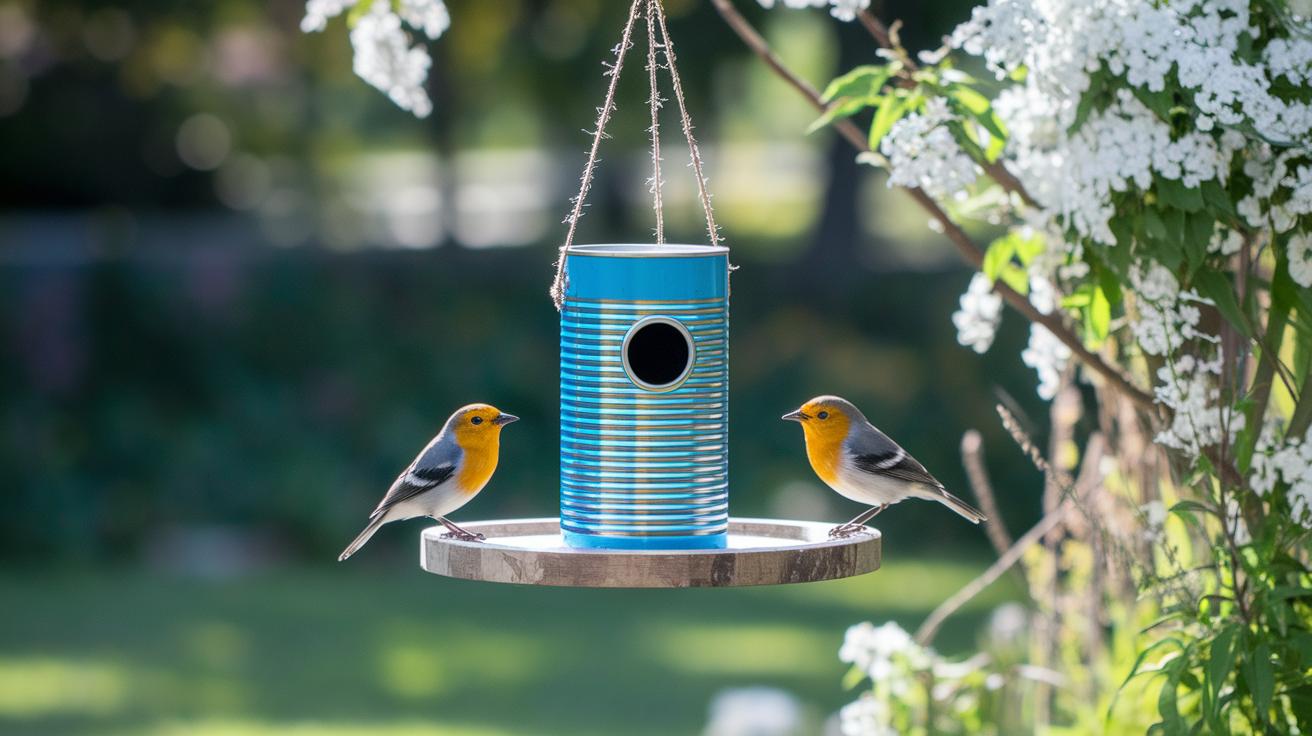
Quick Fix: Tin Can Bird Feeder
• What: Turn an empty tin can into a bird feeder that brings cheerful chirps to your yard
• Time: 20–30 min
• Skill: Beginner
• Tools & Materials: Empty tin can, outdoor paint, string, nail & hammer, scissors, sandpaper
• Cost: Parts $3–$10
• Safety: Wear gloves and watch out for sharp edges
- Clean your tin can thoroughly and use sandpaper to smooth any rough spots.
- Use a nail and hammer to punch a few small holes near the top for drainage and decoration.
- Paint the can with bright outdoor paint. Let it dry completely (about 10 min per coat).
- If desired, cut a few small slots for feeding or attach a small dish inside the can.
- Tie a length of string around the can securely so you can hang it outside.
Now, enjoy your new bird feeder. You transformed everyday trash into a cozy perch that local birds will love.
DIY tin can bird feeder Sparks Joy Instantly
Quick Fix
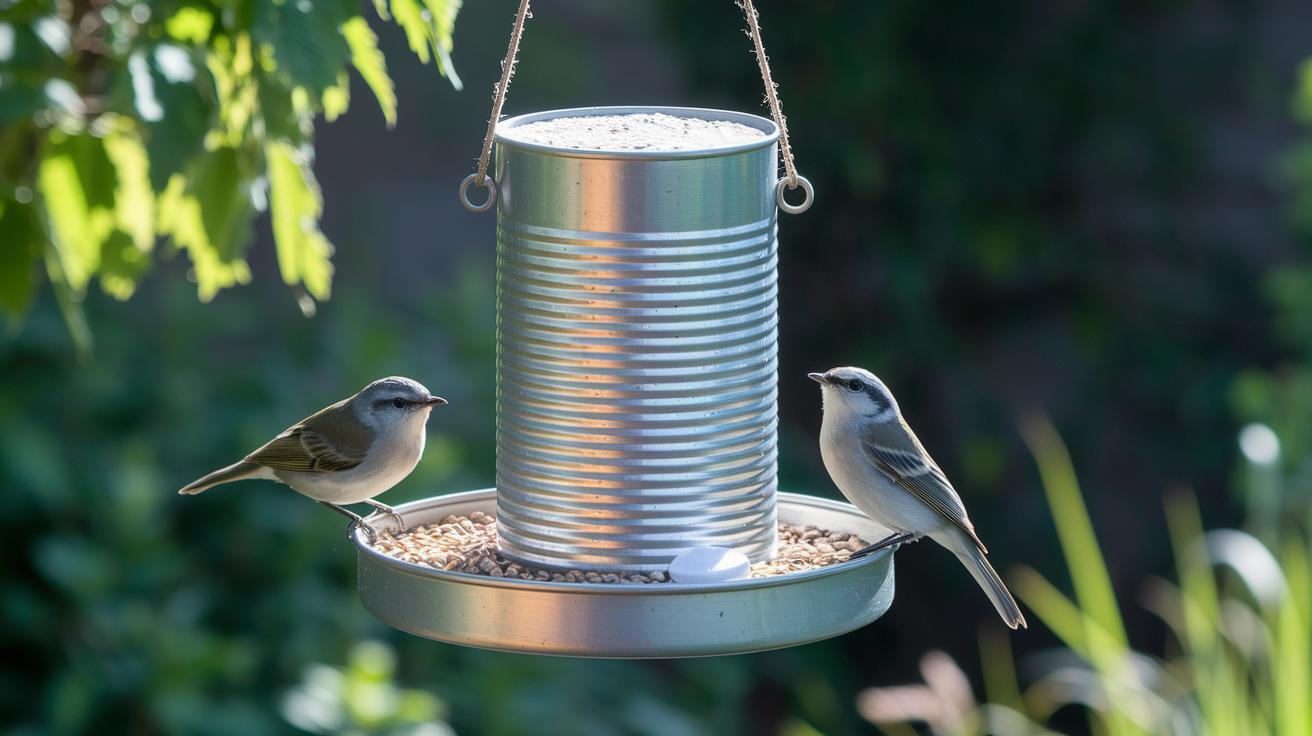
What: Build an eco-friendly bird feeder
Time: 20–30 min
Skill: Beginner
Tools & Materials: 1 empty tin can, drill with a 1/8-in (3 mm) bit, outdoor acrylic paint, small wooden dowel, sturdy hanging string or wire, bird seed, soap, water, gloves, safety goggles
Cost: Free if you use recycled items
Safety: Wear gloves and goggles; work on a stable surface
- Grab an empty tin can. Wash it well, remove labels, and clean off any sticky residue.
- Drill 3–4 small holes in the bottom so water can drain. Use a 1/8-in (3 mm) bit and wear your safety goggles.
- Make two small holes along the rim for hanging.
- Paint the can with outdoor-safe acrylic paint. Let it dry, and feel free to add your own design.
- Insert a small wooden dowel through the can to create a perch for the birds.
- Tie a strong string or wire through the hanging holes.
- Fill the can with bird seed and hang it somewhere safe outdoors.
Advanced Tips
For extra cleaning, soak off any stubborn labels or adhesive with warm soapy water or rubbing alcohol. Smooth any rough, sharp edges with a hammer and file, always wear gloves when handling metal edges.
Materials and Tools for DIY Tin Can Bird Feeder Build
Using safe, non-toxic, recycled materials is the first step to a sturdy and eco-friendly bird feeder. Choosing these items helps cut waste and avoids harmful chemicals while keeping your project durable in all weather. Repurposing a tin can shows that everyday objects can be given a new, useful life.
For this build you’ll need a 15 oz vegetable tin can for a solid base. Use outdoor acrylic paint to make it weather-resistant and help prevent fading and cracking. A drill with a 1/8-in (3.2 mm) bit will let you punch drainage and hanging holes. A small wooden dowel creates a stable perch, and a sturdy string or thin wire ties the design together. You can also look for materials at local thrift shops or recycling centers to give your feeder a unique touch without compromising safety or eco-friendliness.
Decorating and Personalizing Your DIY Tin Can Bird Feeder
Quick Fix:
• What: Make your tin can feeder pop with color and charm
• Time: 10–15 min
• Skill: Beginner-friendly
• Tools & Materials: Outdoor-safe paint, stencil or waterproof markers, decoupage paper, twine, reclaimed wood
• Safety: Work in a well-ventilated area and cover your workspace
-
Pick Bold Colors
Choose outdoor-safe paint in standout colors. Use bright hues like sunny yellow or earthy red. Match your yard by mixing soft pastels for a calm feel or bold colors for a playful twist. -
Create Fun Designs
Add designs with stencils (shapes cut out for painting), decoupage (gluing paper designs), or waterproof markers. You might trace simple bird or leaf shapes to give your feeder a unique look. This step makes your design both creative and fun for kids. -
Add Rustic Accents
Wrap some twine around the can or attach a small piece of reclaimed wood as a perch. A hand-tied bow made of natural jute or a tiny wooden slat can add extra charm. These little touches not only freshen up the design but also make your feeder a memorable gift.
Placement, Hanging Techniques, and Feeding Tips for Your Tin Can Bird Feeder
Quick Fix:
• What: Set up a safe tin can bird feeder
• Time: 10 min
• Skill: Beginner
• Tools & Materials: Tin can feeder, seeds, mild soap, water
• Cost: Low ($3–$10)
• Safety: Check for hidden predators and secure the feeder
- Pick a spot that gets both sun and a bit of shade. The sun helps dry the seeds and keeps the feeder cleaner.
- Hang the feeder where you have a clear view. You can watch the birds without any blockage.
- Choose an open area away from thick bushes or branches. This reduces the chance of predators hiding.
- Make sure the area has some shelter from strong winds.
| Seed Type | Bird Attracted | Notes |
|---|---|---|
| Sunflower Seeds | Finches, Chickadees | High energy, popular pick |
| Nyjer | Goldfinches | Fine seed, less mess |
| Cracked Corn | Doves, Sparrows | Ideal in winter, keep dry |
| Mixed Seed | Many species | Variety boosts appeal |
To keep your feeder in top shape, clean it once a week. Empty all seeds, rinse with a mix of mild soap and water, then let it dry completely before refilling. Changing up your seed mix often helps prevent mold and keeps bird visitors interested.
Maintenance and Troubleshooting: Keeping Your DIY Tin Can Bird Feeder in Top Shape
Quick Fix
• What: Keep your feeder clean, safe, and squirrel-free
• Time: 15 min per week
• Skill: Beginner (basic cleaning and simple fixes)
• Tools & Materials: Mild soap, water, paper cup or small plastic piece, brush or toothpick, outdoor paint, replacement hardware
• Cost: Around $5–$15
• Safety: Make sure the feeder is not in use and handle cleaning tools carefully
-
Clean the Feeder
- Empty the seed and wash the can weekly using mild soap and water.
- Scrub both inside and out, then rinse well and let it dry completely.
- This helps stop mold and keeps your birds healthy.
-
Block Squirrels
- Attach a small paper cup or a piece of plastic to serve as a baffle.
- This shield makes it harder for squirrels to grab the seed without changing the look of your feeder.
-
Clear Drainage Holes
- If dirt or old seed blocks the drainage holes, use a small brush or toothpick to clear them.
- Keeping these holes open helps water flow out and prevents rust on the metal.
-
Touch Up Paint and Hardware
- Check for any chipped paint or rusty parts.
- Use outdoor paint to repair the finish and replace any rusty hardware to keep the feeder safe and strong.
Final Words
In the action, you built a zero-cost tin can bird feeder that turns recycled materials into a lively garden feature.
You followed easy steps from collecting and cleaning the can to painting and adding finishing touches. You learned a simple, safe method for placement, hanging, and maintenance that suits all ages.
Enjoy watching birds dine as you proudly display your DIY tin can bird feeder. Keep experimenting and adding your personal flair, your creative touch makes every step count.
FAQ
What is an easy DIY tin can bird feeder?
The easy DIY tin can bird feeder uses a recycled tin can, cleaned and decorated with minimal tools, offering an eco-friendly project that’s perfect for National Bird Feeding Month.
What do DIY tin can bird feeder woodworking plans involve?
The DIY tin can bird feeder woodworking plans involve transforming a tin can using simple woodworking methods like drilling drainage holes and attaching a wooden dowel for a stable perch.
What is a tin can bird house?
The tin can bird house repurposes an empty tin can into a safe shelter for birds, often modified from a basic feeder design to offer protection from the elements.
What is a bird feeder camera?
The bird feeder camera sets up a small camera near the feeder to capture close-up images and videos of birds, providing a fun way to observe their natural behavior.
How do I build a cage around a bird feeder?
Building a cage around a bird feeder means creating a mesh or wire enclosure that keeps larger animals away while still allowing birds clear access to the seed.
What is a muffin tin bird feeder?
The muffin tin bird feeder uses a muffin tin as its base, with each cup serving as a seed holder, making it a simple, fun project often enjoyed by kids and beginners.
How can I make a bird feeder craft for children?
The bird feeder craft for children involves using safe, recycled materials like tin cans or muffin tins combined with non-toxic paints, resulting in an engaging, hands-on project for little ones.
What does the 5 7 9 rule for bird feeders mean?
The 5 7 9 rule for bird feeders outlines specific guidelines for seed ratios or placement to attract birds safely, though details may vary by the guide or source you follow.
Why should I sprinkle coffee grounds around my bird feeder?
Sprinkling coffee grounds around your bird feeder is thought to help deter insects and enhance the scent of the seeds, potentially keeping pests at bay while attracting birds.
Why put a potato in the bird feeder?
Putting a potato in the bird feeder can serve as an anchor or decorative element, providing extra stability and a unique design twist that may also spark curiosity in onlookers.
What is the easiest DIY bird feeder to build?
The easiest DIY bird feeder to build often involves simple materials like a recycled tin can, which is cleaned, painted, and fitted with a perch, making it accessible and quick to assemble.