
DIY Upcycled Bottle Herb Garden Quick Fix
• Outcome: Turn old bottles into a beautiful herb display
• Time: 15 min
• Skill: Beginner (no special skills required)
• Tools & Materials: Clean bottles, potting soil, herb seeds or small plants (like basil or mint), string or hooks
• Cost: $3–$10
• Safety: Use a stable ladder and work on a flat surface
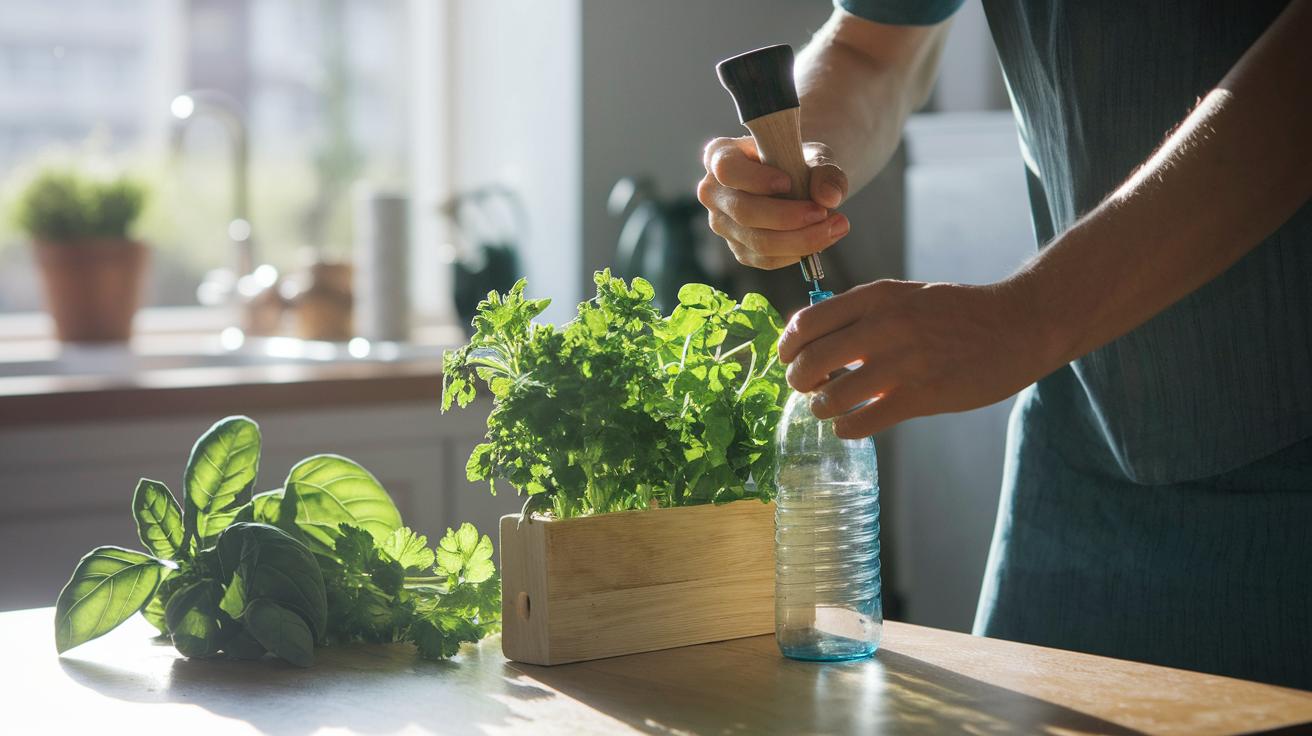
- Rinse your bottles well so they are ready to use.
- Fill each bottle with potting soil.
- Place herb seeds or transplant a small herb into the soil.
- Hang or arrange your bottles in your chosen spot.
- Water your mini garden and check on it often.
Using old bottles, you can give waste a new life and brighten up your space with fresh herbs. Enjoy the process and watch your garden grow!
Essential Guide to DIY Upcycled Bottle Herb Garden
Quick Fix:
• What: Build a green herb garden using repurposed bottles
• Time: 30–60 min
• Skill: Beginner
• Tools & Materials: Clean bottles (16‑oz milk jugs, flat-bottom juice bottles, or wine bottles), scissors, twine, pebbles, water
• Cost: $0–$20
• Safety: Handle bottles with care (watch for sharp edges)
-
Hang a Bottle Planter
• Clean your bottle well and remove any labels.
• Tie a sturdy piece of twine around the bottle neck.
• Hang it in a sunny spot and plant herbs like basil or mint. -
Create a Self-Watering System
• Cut a bottle in half.
• Invert the top section to act as a funnel inside the base.
• Fill the base with pebbles and water, then add your herb soil. -
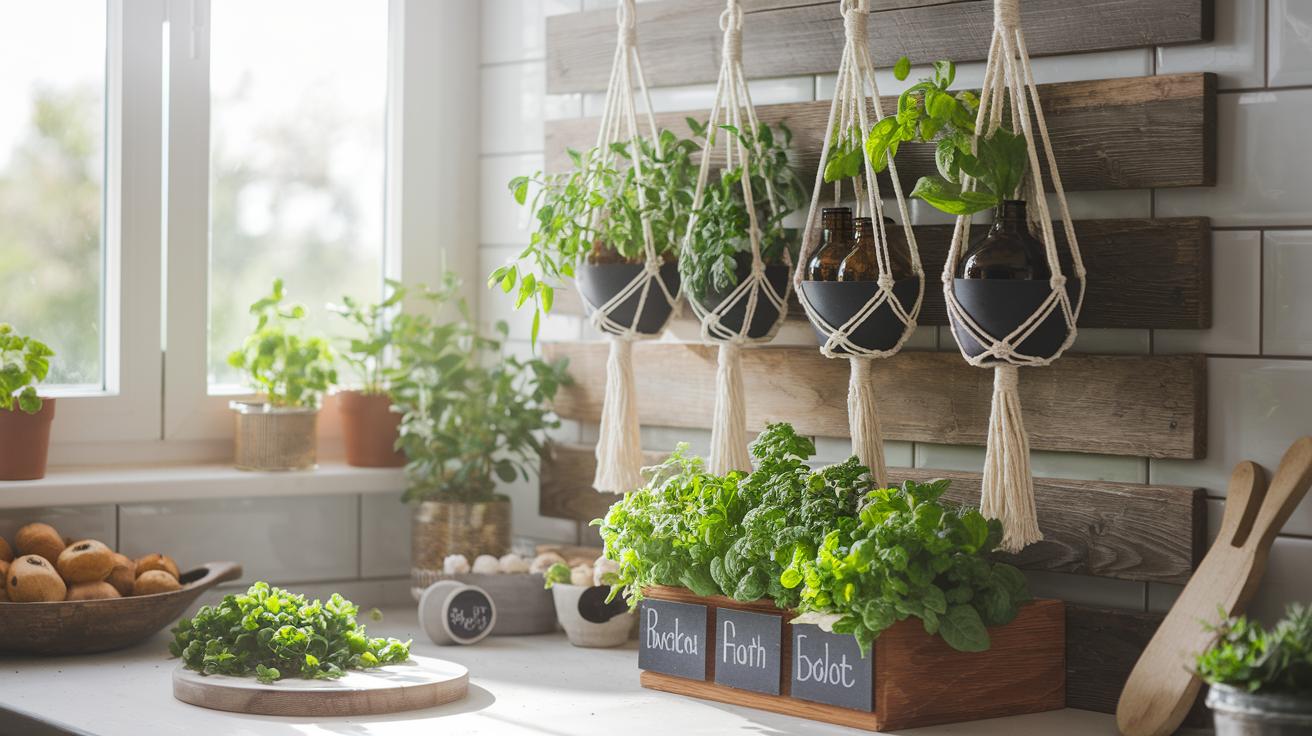
Craft a Decorative Macrame Garden
• Pair small bottles with stylish cords or macrame hangers.
• Arrange them creatively indoors or outdoors for a neat display.
With a few simple steps and recycled bottles, you turn everyday waste into a thriving herb garden. Enjoy growing fresh herbs on your windowsill or patio while cutting down on waste.
DIY Upcycled Bottle Herb Garden Inspires Fresh Growth
Quick Fix:
• What: Build a mini bottle herb garden
• Time: 30 min
• Skill: Beginner
• Tools & Materials: Clean plastic or glass bottles, water, dish soap, soil mix (50% composted manure + 50% garden soil), potting soil for seedlings, basil/parsley/mint seedlings, drill or strong nail, twine or S-hooks, optional wood plank or pallet
• Cost: Low-cost
• Safety: Wash bottles well and use caution when drilling
- Rinse each bottle well under running water. Remove any dirt and scrub off all labels so no sticky residue remains.
- Mix your soil by combining equal parts organic composted manure and garden soil. Keep some potting soil aside for your seedlings.
- Get your herb seedlings ready, basil, parsley, and mint are great choices.
- Use a drill or a strong nail to create drainage holes in the bottom of each bottle. This step stops water from building up.
- Secure the bottles. Hang them with twine or S-hooks, or place them on a wood plank or pallet if you prefer a ground-supported garden.
- Set up all components so your herb garden is ready to grow strong and fresh.
Step-by-Step DIY Upcycled Bottle Herb Garden Construction
Quick Fix:
• What: Create a simple herb garden from used bottles
• Time: 30–60 min
• Skill: Beginner (basic cutting and drilling)
• Tools & Materials: Empty bottles, drill with small bit, scissors or knife, soil (50% compost and 50% garden soil), seeds or small herb plants, twine or hooks, water, pebbles (optional)
• Cost: Parts $5–$15
• Safety: Wear safety glasses when drilling and handle tools carefully
-
Clean the Bottles
Rinse each bottle under running water. Remove any labels and sticky bits so the surface is fresh and ready. -
Drill Drainage Holes
Use a drill to make 3–5 small holes at the bottom of each bottle. These let extra water escape, keeping the soil just damp. -
(Optional) Create a Self-Watering Setup
Cut the bottle in half. Flip the top half over and nest it like a funnel into the bottom half. Fill the bottom with a few pebbles and add 1–2 cups (240–480 ml) of water for easier watering. -
Fill with Soil
Mix equal parts of compost and garden soil. Pour the mix into each bottle, leaving about a 1-inch (2.5 cm) gap at the top to avoid spills. -
Plant Your Herbs and Label Them
Place your seeds or seedlings (like basil, parsley, or mint) into the bottle. Gently cover them with a thin layer of soil. If you like, write the herb names on little tags and attach them to the bottle for a tidy look. -
Mount or Set the Planters
You can hang the bottles using twine, S-hooks, or small nails. Alternatively, set them on a strong wood plank or pallet. -
Find a Sunny Spot
Place your herb garden where it gets 4–6 hours of direct sunlight. If you are using the self-watering setup, check the water level and top up when needed.
Customizing Your DIY Upcycled Bottle Herb Garden
Quick Fix:
• What: Create a splashy, unique herb garden
• Time: 30 min to 1 hr
• Skill: Beginner (just some creativity and a steady hand)
• Tools & materials: Bottles, chalk paint or spray paint, adhesive vinyl, macrame hangers, chalkboard or eco labels, a wood plank or wire grid
• Cost: Parts $10–$30
• Safety: Work in a well-ventilated space when painting
- Pick your style. Start by painting each bottle with chalk paint, spray paint, or apply adhesive vinyl. Choose a color or pattern that fits your decor. For instance, paint a bottle soft blue with white polka dots to brighten up your kitchen or patio.
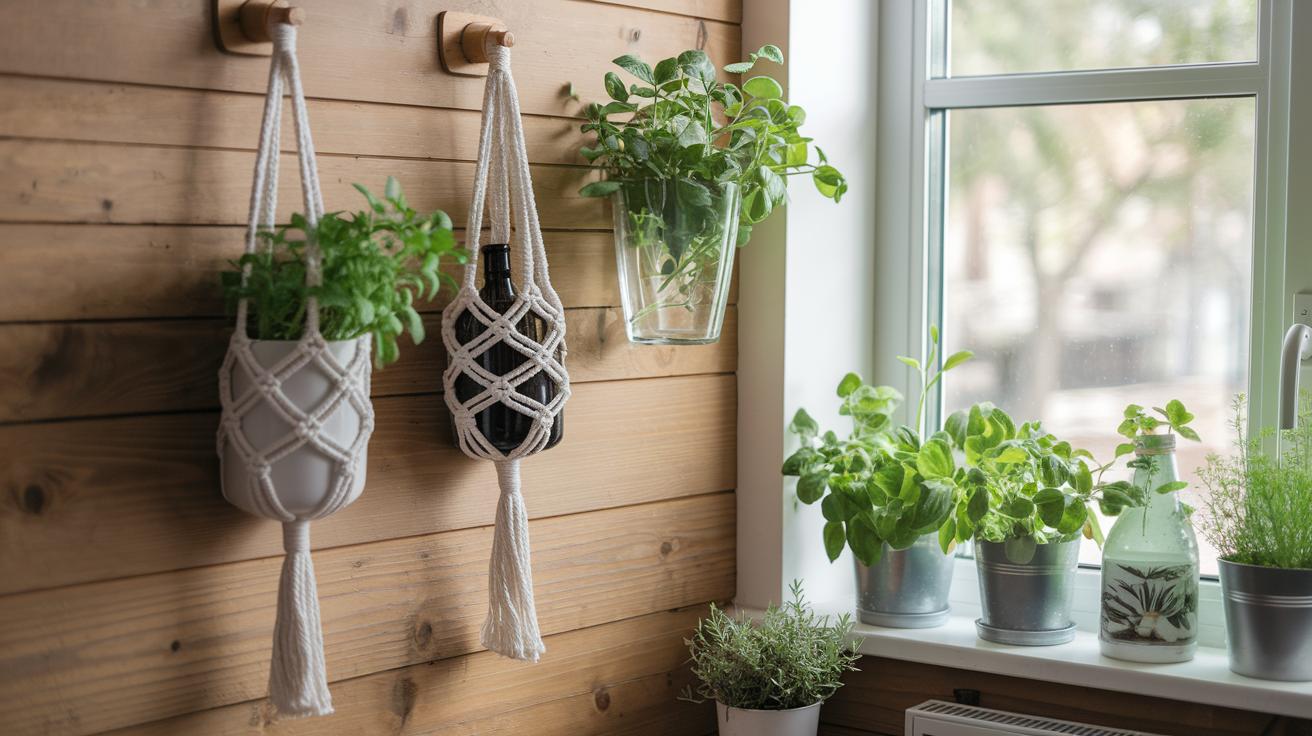
- Hang with flair. Use macrame hangers to hang juice or tea bottles in groups. Try out a few macrame styles until one feels right, then hang your planters where natural light shines.
- Label your herbs. Use a chalkboard tag or eco-friendly label on each bottle. Write the herb name in clear, neat letters so you can spot your basil apart from your mint.
- Go vertical. For a dramatic look, attach bottles to a reclaimed wood plank or a wire grid arranged in rows. This design saves space and adds a bold, urban touch to smaller areas like balconies or kitchens.
Enjoy your newly customized garden, a little burst of color and creativity right at home!
Maintaining Your DIY Upcycled Bottle Herb Garden
Quick Fix:
• What: Keep your bottle herb garden thriving
• Time: 15 min
• Skill: Beginner
• Tools & materials: Water, clean scissors, nutrient mix, organic insecticidal soap, damp cloth
• Cost estimate: Parts $5–$15
• Safety snapshot: Be careful with scissors and check water levels before refilling
- Place your herb bottles where they get 4–6 hours of sunlight daily. Rotate them each week so every side gets light.
- Check your soil every 3–5 days. Stick your finger in to test the moisture. If your self-watering setup is low, refill the reservoir.
- Prune your herbs often to boost bushy growth. Use clean scissors and trim any leggy parts for fresh, healthy leaves.
- Look over your leaves and stems for pests. If you see bugs, wipe the leaves with a damp cloth or lightly spray with organic insecticidal soap.
- Every 2–3 months, refresh the soil by adding or replacing with a nutrient-rich mix to keep your herbs strong and happy.
Tip: A little regular care goes a long way in keeping your garden vibrant and productive.
Creative Variations for DIY Upcycled Bottle Herb Garden
Quick Fix:
• Outcome: Create a charming herb garden from recycled bottles.
• Time: 30-45 min
• Skill: Beginner (basic cutting and hanging skills)
• Tools & Materials: Bottles, scissors or glass cutter, twine, potting soil, herbs
• Cost: Low (free to $15)
• Safety: Wear gloves when cutting bottles and handle glass with care
-
Macrame Hanging Herb Garden
Turn small juice bottles into a boho display. Tie colorful cords around each bottle and hang them up to hold your herbs. -
Glass Bottle Planter
Cut a wine bottle to form a front-facing planter. It works great for herbs like basil and rosemary. -
Milk Jug Window Station
Place 16‑oz plastic jugs along your sunny windowsill. Their bright look brings life to your room. -
Terra Cotta and Bottle Combo
Fit small bottles into decorative pots. This layered approach adds texture and style. -
Self-Watering Flat-Bottom Planters
Use flat-bottom bottles to keep water close by. They are perfect for easy care of spinach and microgreens.
Mix and match these ideas to suit your space and style. You can turn everyday bottles into a fun, eco-friendly garden while reducing waste. Enjoy your creative garden makeover!
Final Words
In the action, you learned how to transform everyday bottles into a bright herb garden. We covered cleaning and prepping bottles, drilling drainage holes, filling with soil and herbs, and even creative twists like a macrame hanger or vertical setup. This diy upcycled bottle herb garden project is a smart and fun way to reduce waste while adding fresh flavor to your meals. Enjoy putting these steps to work and watch your new garden bring life to your space.