
Quick Fix
What: Turn a water bottle into a glowing lamp
Time: 30 min
Skill: Beginner
Tools & Materials:
• Empty water bottle (500 ml/16.9 oz)
• LED light kit with wiring
• Bleach (1-2 drops)
• Gloves and cleaning rag
Cost: Around $5–$15
Safety: Wear gloves and work in a ventilated area
Steps
- Clean the bottle thoroughly. Rinse out all dirt and residue.
- Add 1-2 drops of bleach to the empty bottle (this helps keep it clear).
- Wire the LED light into the bottle. Follow the LED kit instructions carefully and secure the wires.
- Test the lamp by turning on the LED to ensure it works correctly.
Enjoy your new lamp that lights up your room with a cool, soothing glow!
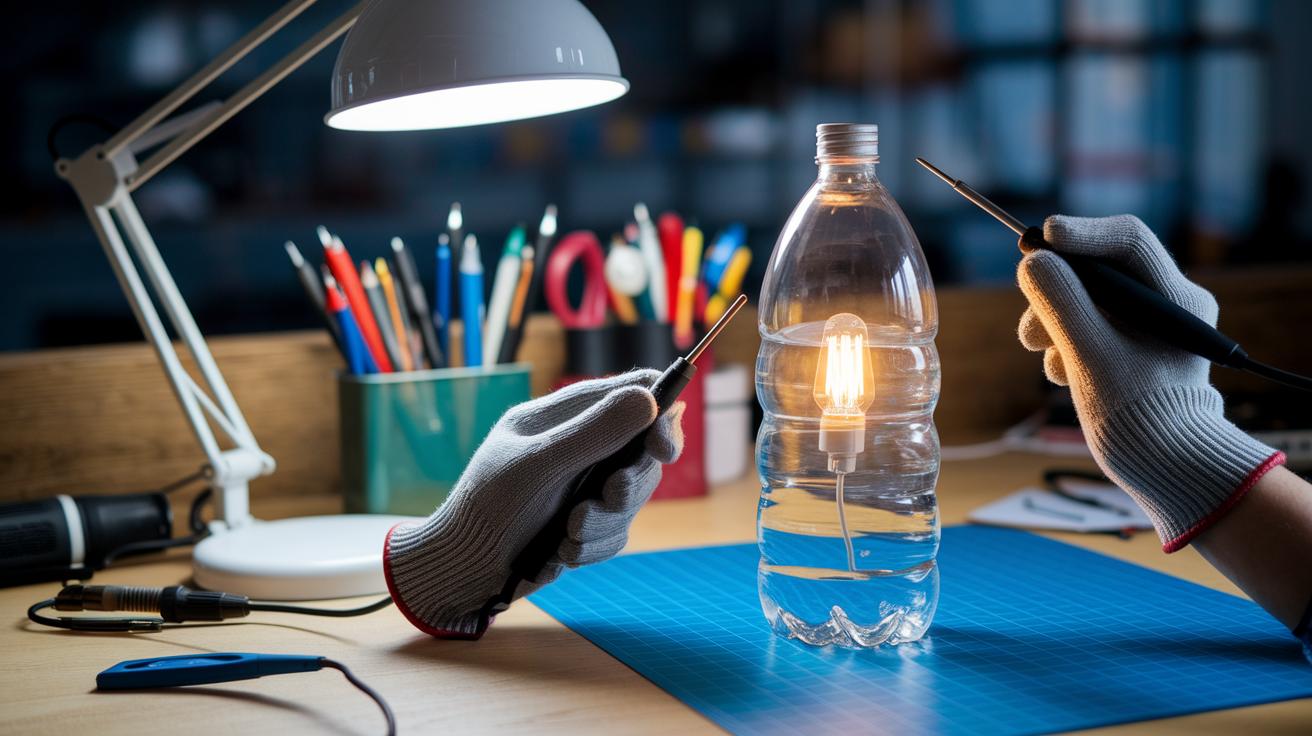
Step-by-Step Water Bottle Lamp Assembly Guide
Quick Fix:
• What: Build a water bottle lamp that shines with a cool water glow
• Time: 30 min
• Skill: Beginner (basic soldering and wiring skills)
• Tools & Materials: Clear bottle, LED (8mm, 0.5W “straw hat”), resistor, switch, wires, battery pack, heat-shrink tubing, bleach, soldering iron
• Cost: Around $5–$15
• Safety: Work in a well-ventilated area and check wiring polarity before powering up
This DIY project turns an empty clear bottle into a lively lamp. You fill the bottle with water and mix in a few drops of bleach to keep it clear. Then, you add an LED, resistor, and switch with correct red (positive) and black (negative) wiring to light it up.
| Item | Quantity |
|---|---|
| Clear bottle | 1 |
| LED (8mm, 0.5W “straw hat”) | 1 |
| Resistor | 1 |
| Switch | 1 |
| Wires | As needed |
| Battery pack | 1 |
| Heat-shrink tubing | Several pieces |
| Bleach | Few drops |
Steps:
- Clean the bottle well and peel off any labels.
- Rinse the bottle thoroughly and let it dry.
- Fill the bottle with water and add a few drops of bleach.
- Solder the LED into place, making sure the red (positive) and black (negative) wires go to the right spots.
- Attach the resistor to protect the LED circuitry.
- Add the switch in the wiring loop so you can turn the lamp on and off.
- Hook up the battery pack to your circuit or PCB.
- Use heat-shrink tubing to cover any exposed wire joins.
- Tuck the finished PCB and wires neatly into the bottle cap assembly.
- Test the lamp by flipping the switch; check that it lights up properly.
Before you seal the cap, double-check all wiring and component connections to ensure safe and smooth operation.
Essential Safety Practices for DIY Water Bottle Lamp Wiring
Quick Fix:
- What: Safely wire your water bottle lamp.
- Time: 10–15 min.
- Skill: Beginner to intermediate.
- Tools & Materials: Gloves, eye protection, soldering iron, epoxy glue, bleach (if needed).
- Cost: Parts $5–$15.
- Safety: Turn off power, use proper ventilation, and wear protective gear.
- Check your wiring. Before you power up, ensure red wires connect to the positive side and black wires to the negative (as in the TP4056 setup). This simple check helps stop short circuits and shocks.
- Solder in a safe spot. Work in a well-ventilated area and wear gloves and eye protection. Secure, neat solder joints keep your circuit strong and lower the risk of burns or accidental touches.
- Handle bleach carefully. When you add a few drops to clear the bottle, wear gloves. Bleach can irritate your skin, so keep it away from your tools and clean up any spills right away.
- Seal and secure your work. After wiring and soldering, cover the electronics with epoxy glue to block moisture. Tighten the bottle cap and double-check all connections. Finally, run a safety checklist to verify wiring polarity and a secure enclosure before testing your lamp.
Creative Design Ideas for Upcycled Water Bottle Lamps
Quick Fix:
What: Turn a used water bottle into a stylish lamp.
Time: 30 min
Skill: Beginner
Tools & materials: Empty bottle (plastic, glass jug, or jar), LED light, optional 3D-printed diffuser, decorative fillers (colored water, pebbles, beads, or dried flowers)
Safety: Handle glass carefully
-
Change Your Container:
Swap out a basic plastic bottle for a glass jug or a pre-made jar. A glass jar gives a vintage feel, while a modern container adds a fresh twist. -
Soften the Light:
Place a 3D-printed diffuser above the LED light. This helps spread the glow gently. Try a geometric design to cast fun shadows on nearby surfaces. -
Add a Creative Touch:
Fill the bottle with colored water or drop in small items like pebbles, beads, or dried flowers. These accents mix color and texture to make your lamp a vibrant centerpiece.
Mix and match these ideas until your lamp lights up your space just the way you like it.
Troubleshooting Common DIY Water Bottle Lamp Issues
Quick Fix:
• What: Fix LED flickering, power drop, and water leak issues with your lamp
• Time: 20–30 min
• Skill: Basic soldering and electrical check
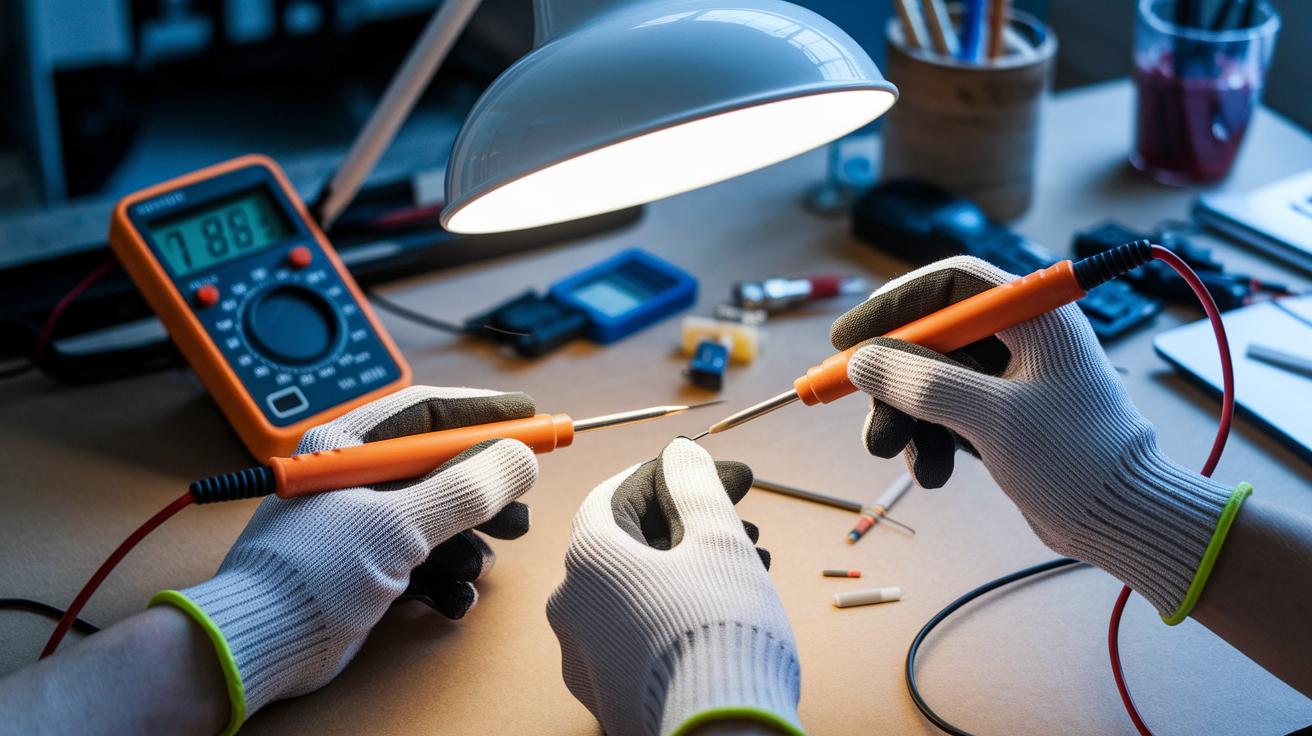
• Tools: Soldering iron, multimeter, screwdriver
• Safety: Disconnect power or remove battery before starting
-
If your lamp’s LED flickers or is too dim, check the solder joints and JST connectors. Loose wires or weak soldering can drop the voltage. Reheat any shaky joints and make sure every connector grips its cable tightly. Also, double-check that the positive and negative wires are in the right place.
-
When your lamp won’t light or shuts off on its own, inspect the switch and battery terminals. A misaligned switch or loose battery connection can break the circuit quickly. Make sure the red and black wires follow the proper wiring setup for a safe and steady power flow.
-
Water leaks around the cap can cause short circuits and damage the circuitry. Look at the seals, gaskets, or epoxy for any cracks or wear. If you spot moisture, reseal the cap to keep water out. A good seal protects the sensitive parts inside.
-
After you fix any visible problems, use a multimeter to check voltage and continuity across your connections. Flip the switch a few times to catch any intermittent faults. This systematic test helps ensure your DIY water bottle lamp works reliably before you seal it up for good.
DIY water bottle lamp sparks joyful ambiance
Quick Fix:
• What: Upgrade your water bottle lamp with solar power for off-grid use
• Time: 30–60 min
• Skill: Intermediate soldering and basic electronics
• Tools & materials: TP4056 charging module, micro USB rechargeable battery, custom PCB, 6V (9.6V, 50mA) square solar panel, two 8mm screws, epoxy glue, red and blue LEDs, soldering iron
• Safety: Work in a well-ventilated area and wear eye protection when soldering
- Place the TP4056 module on your custom PCB.
- Secure the micro USB rechargeable battery and solder the other parts in their spots.
- Check every solder joint around the charging pads to ensure a strong connection.
- Mount the 6V (50mA) square solar panel onto a 3D-printed top cover. Use two 8mm screws to attach it firmly and run epoxy glue along the edges to keep it weatherproof.
- Solder a red LED for charging signals and a blue LED for a full charge. Follow the TP4056 wiring: red wires connect to the positive side and black wires to the negative side.
- Fit the PCB snugly inside the 3D-printed enclosure, then seal any openings with epoxy glue to guard against moisture while keeping the design accessible for future tweaks.
- Test your lamp outdoors by letting it soak up sunlight. Make sure the solar panel charges the battery well and the LEDs show the correct charging status.
Final Words
In the action, you built a diy water bottle lamp that uses recycled parts, clear bottles, and simple LED wiring. You followed a step-by-step guide from cleaning to careful testing, making sure to check wiring polarity and apply safety practices.
You also learned creative design tweaks and reviewed common faults with easy fixes. With straightforward instructions and quick tips, making your own lamp is fun and rewarding. Your project shows you can brighten up any space while saving money and skills. Keep experimenting and enjoy the light.
FAQ
What is a DIY water bottle lamp made with plastic?
The DIY water bottle lamp made with plastic means you use a clean plastic bottle filled with water (and a few drops of bleach) and attach an LED to create a bright, upcycled lamp.
How can I build a solar-powered water bottle lamp or liter of light?
The solar-powered version uses a solar panel paired with a battery pack and LED to charge during the day and light up after dark, following a step-by-step assembly process.
How do you incorporate an LED into a plastic bottle lamp?
The LED is integrated by soldering red (positive) and black (negative) wires correctly to a low-power LED, ensuring safe electrical connections that deliver a steady, efficient light.
What equipment is needed to create water bottle lights for home or Africa?
The setup requires a clear plastic bottle, LED, resistor, switch, wires, battery pack, heat-shrink tubing, and bleach, ensuring a durable design suitable for various settings, including home and outdoor use.
How does the light bulb plastic bottle design repurpose materials to provide illumination?
The design repurposes a plastic bottle by converting it into a lamp that uses water as a light diffuser and carefully wired LED elements, offering an effective and resourceful lighting solution.