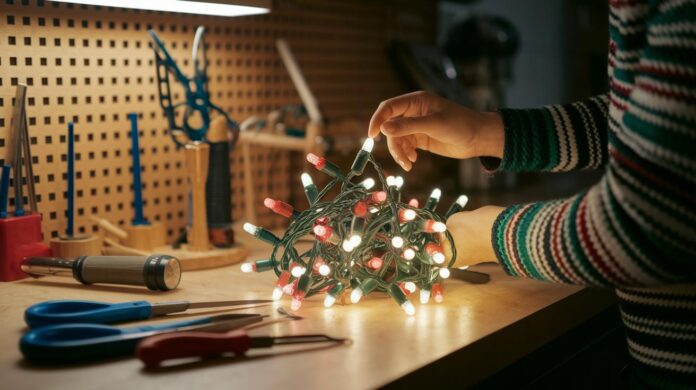

Quick Fix
• What: Restore your Christmas lights by replacing a blown fuse
• Time: 10 min
• Skill: Beginner
• Tools & Materials: New fuse (match the old one), screwdriver if needed
• Cost: A few dollars
• Safety: Unplug the lights before you start
- Unplug your Christmas lights to keep things safe.
- Find the fuse box on the light string and open the cover.
- Carefully remove the old fuse.
- Insert the new fuse in its place.
- Close the fuse box and plug the lights back in.
Your lights should brighten up again in no time. Enjoy your worry-free holiday glow!
Fuse Replacement Christmas Lights: Bright DIY Spark
Quick Fix:
• What: Replace the blown fuse in your Christmas lights
• Time: 10–15 min
• Skill: Beginner
• Tools & Materials: Small flathead screwdriver, matching replacement fuse (commonly 125 VAC, 3 A or 5 A)
• Cost: Parts around $3–$10
• Safety: Unplug the lights before you start
- Unplug the lights and let them cool. Always disconnect the power before working.
- Find the fuse compartment on the male plug. Use a small flathead screwdriver to open it. Some plugs have a sliding door while others unscrew a cap between the prongs.
- Remove the blown fuse. Slide it out or unscrew the small assembly as your plug requires.
- Check the fuse for a broken internal wire or a cloudy, dark residue. This tells you the fuse has blown.
- Insert a new fuse with the same ratings as the old one (usually 125 VAC, and 3 A or 5 A). Using the right fuse helps avoid future problems.
- Close the fuse compartment. Gently slide the door back until it clicks or screw the cap back snugly without over-tightening.
- Plug the lights back in and test to see that they are working. This way, you only replace the faulty fuse and keep your string intact.
- Follow your light set’s guidelines. Limit the number of connected strings (usually 3–5 sets) to help prevent more blown fuses.
If you need more help, a quick video tutorial might be useful. Enjoy bringing back the sparkle to your holiday decor!
How to Identify Blown Fuses in Winter Light Strings
Quick Fix
• What: Spot and replace a blown fuse in your winter light string
• Time: 10 min
• Skill: Beginner
• Tools & Materials: Small flathead screwdriver, replacement fuse
• Cost: Under $5
• Safety: Unplug the lights and let them cool before starting
- Unplug your light string and wait a few minutes so it cools off.
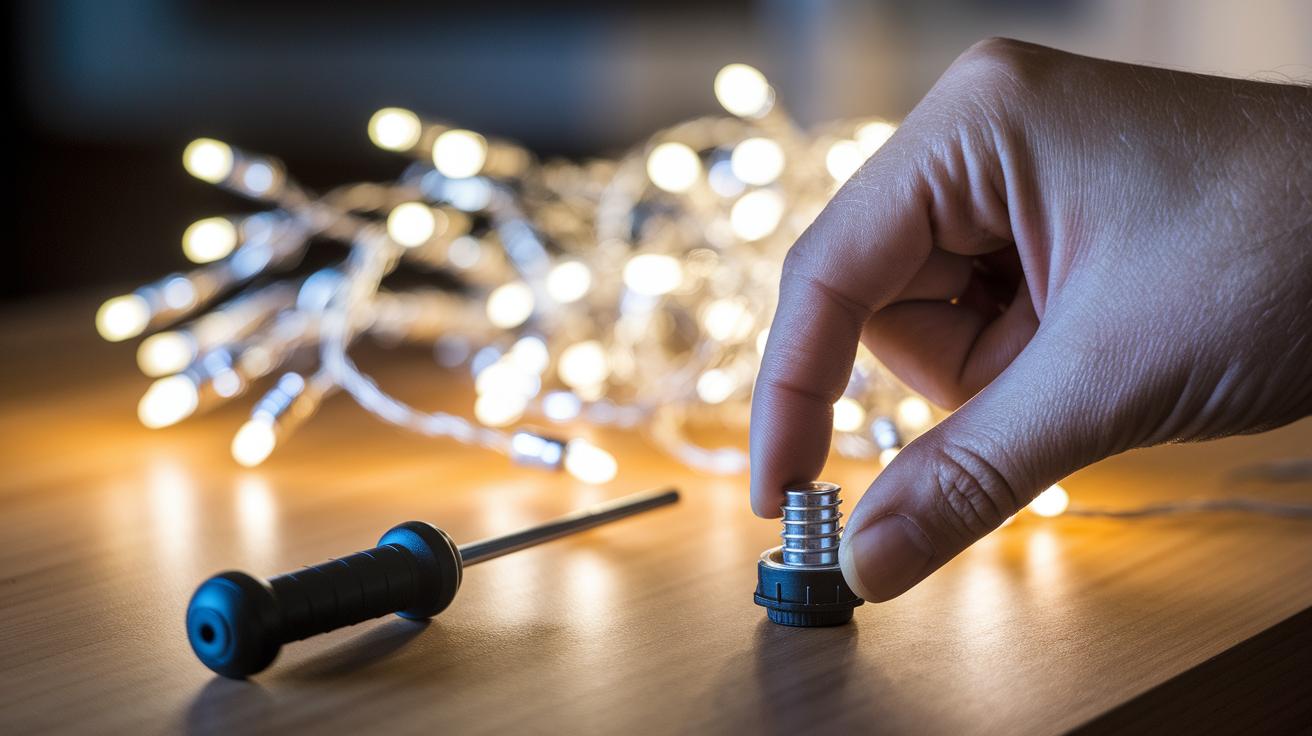
- Find the fuse compartment on the male plug. Use a small flathead screwdriver to open the door or unscrew the cap.
- Look closely at the fuse in its glass housing. Check for a broken wire or a dark, cloudy spot on the fuse.
- Compare both fuses for metal contacts. If one fuse is missing its metal parts, it is faulty.
- Replace only the fuse that looks damaged.
Locating and Accessing the Fuse Compartment on Holiday Light Cords
Quick Fix:
• Outcome: Check and replace the fuse on your holiday light cord
• Time: 5 min
• Skill: Beginner
• Tools: Small flathead screwdriver
• Cost: Usually free if you have a spare fuse
• Safety: Unplug the lights before you start
- Locate the fuse slot in the male plug of your light string. Most mini-light sets hide the fuse right in the plug.
- If your plug has a sliding door, gently slide it open. Use a small flathead screwdriver to lift the plastic cover slowly until it clicks. Take care not to force the plastic clips.
- If you see a threaded cap between the prongs, grip it with your screwdriver and turn slowly. This will unscrew the cap and reveal the fuse. Note that some plugs may only have one compartment, so check the design carefully.
- Handle all parts with care to avoid damaging the plug or cord before you replace the blown fuse.
Choosing the Right Replacement Fuse for Seasonal Christmas Lights
Quick Fix:
• What: Replace a blown fuse on your holiday light set
• Time: 10 min
• Skill: Beginner
• Tools & Materials: Replacement fuse (125VAC, 3 A or 5 A), fuse kit from a hardware store, light set manual or packaging
• Safety: Unplug your lights before starting
-
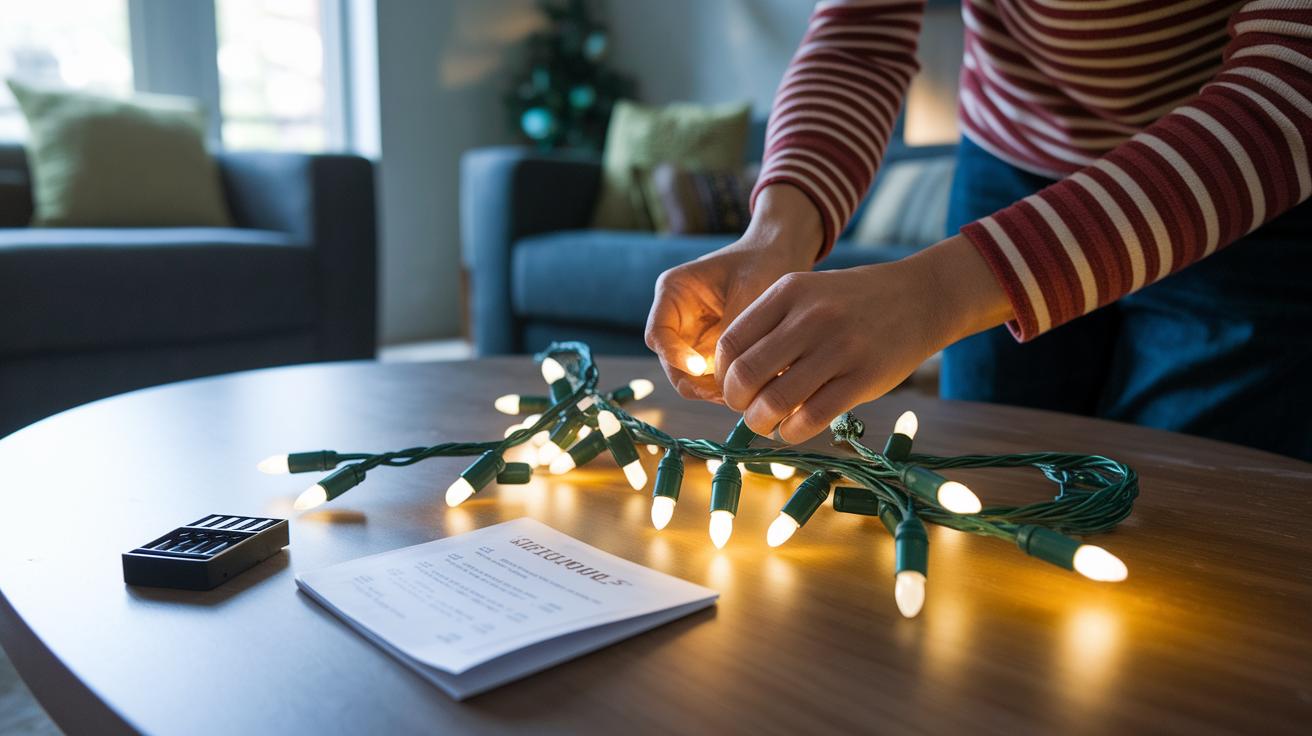
Check the label on your old fuse or your light set’s packaging to see its voltage and amperage ratings. Most holiday lights use a 125VAC fuse rated for either 3 A or 5 A.
-
When you shop, grab a multi-rating fuse kit from a hardware or lighting store. This kit has several fuse sizes so you can pick the one that matches your lights.
-
Skip automotive fuses, they aren’t designed for Christmas lights and might not work properly.
-
Before you buy, verify that the new fuse’s specs (125VAC and 3 A or 5 A) match your original fuse. Clear labeling on the package is a big help.
-
Install the fuse to ensure your lights run safely and reliably all season long.
Essential Safety Precautions and Tools for Fuse Replacement in Festive Wiring
Quick Fix:
• What: Safely swap out a blown fuse in your holiday lights
• Time: 10 min
• Skill: Beginner
• Tools & Materials: Unplugged lights, insulated gloves, small flathead screwdriver, replacement fuses (with the correct ratings), and a flashlight
• Cost Estimate: Parts $3–$10
• Safety: Unplug power first and work on a dry, stable surface
- Unplug your lights. This stops any risk of shock.
- Set up on a dry, stable surface away from water.
- Put on your insulated gloves to protect your hands.
- Use your small flathead screwdriver to open the fuse compartment.
- Swap in a replacement fuse that matches the correct rating.
- Shine your flashlight into tight spots to check your work.
- Avoid touching live circuits; even a tiny spark can be dangerous.
Essential Tools:
| Item | Purpose |
|---|---|
| Unplugged lights | Eliminates the risk of shock |
| Insulated gloves | Protects your hands |
| Small flathead screwdriver | Opens the fuse compartment |
| Replacement fuses | Must meet proper ratings for safety |
| Flashlight | Helps see in dim areas |
Before you start, gather your tools so they’re within reach and confirm your work area is safe. Keep extra replacement fuses handy for a quick fix if needed. Handle all metal tools with care to prevent any accidental contact with live parts. Follow these steps to make your fuse swap safe and efficient while protecting your holiday decor.
Troubleshooting Common Fuse Replacement Problems in Christmas Light Displays
Quick Fix:
• What: Stop your fuse from blowing in your Christmas light display
• Time: 10 min
• Skill: Beginner
• Tools: Dry cloth
• Cost: $0–$5
• Safety: Unplug your lights before you begin
- Unplug your lights and test one section at a time. This will show if one string or group is overloading the system.
- Check the number of light strings you've connected. Too many together can overload the circuit. Follow the maximum limit printed on the set.
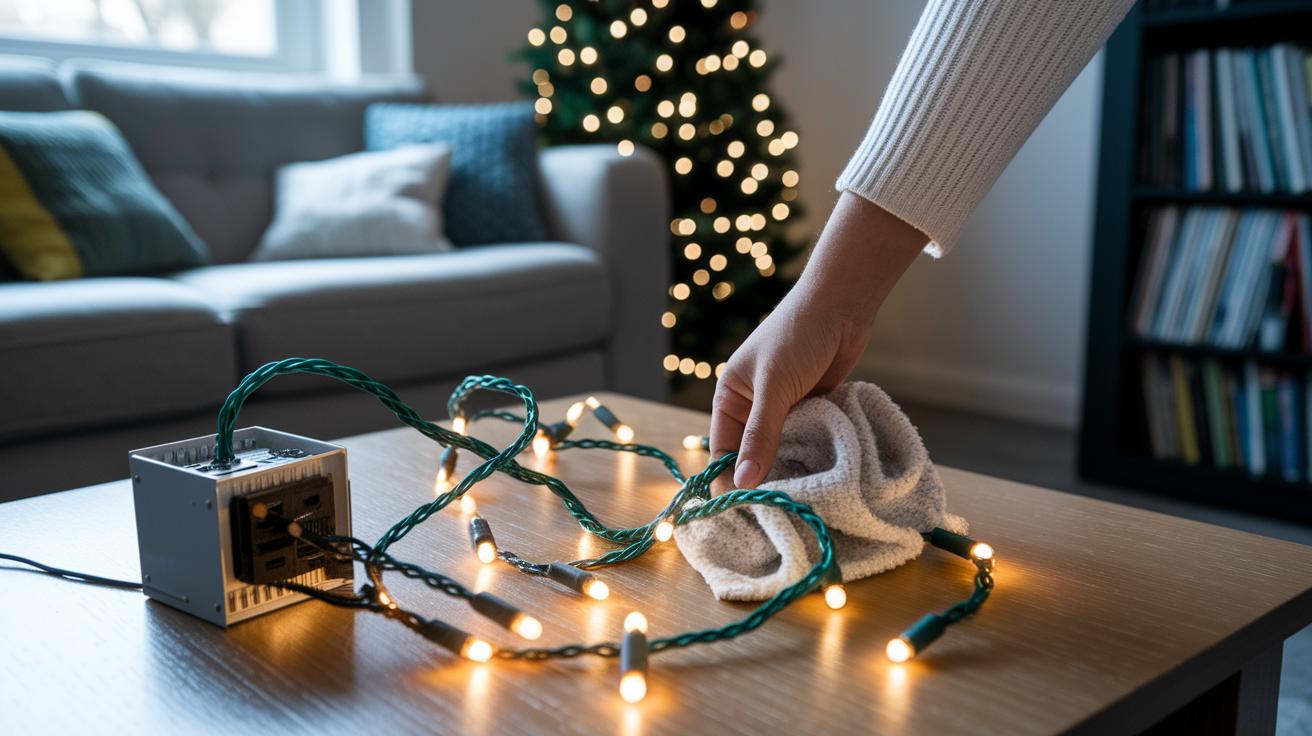
- Inspect each fuse slot and plug for any moisture. If you see wet spots, wipe them off with a dry cloth to prevent shorts.
- Remove and reinsert bulbs and sockets one by one. Tighten any loose connections, as even small wiring issues can cause shorts.
- Examine the fuse compartment for cracks or residue. Damage or build-up could be a sign of recurring moisture or contamination.
- If you find a wrong or loose connection, fix it right away. Test your lights again before putting the whole display back together.
If your fuse still blows after these steps, you might be overloading the display. Reducing the number of connected strings can help. This hands-on fix lets you troubleshoot problems and keep your holiday lights bright and safe.
Tips to Prevent Future Fuse Failures in Your Holiday Light Strings
Quick Fix:
- What: Keep your holiday lights running without fuse issues.
- Time: 5 min for quick checks and setup.
- Skill: Beginner.
- Tools & Materials: Light strings, surge protector or smart plug.
- Cost: Free or minimal.
- Safety: Always unplug lights before inspecting.
- Limit the number of light strings you join together. Follow the guide (usually 3 to 5 strings) to avoid overloading your circuit.
- When the season is over, store your lights indoors in a dry area. Moisture can speed up rust and damage the fuse holders and wires.
- Before each season, check the fuse holders. Look for dust, debris, discoloration, or any signs of wear so you can fix small issues before they become big problems.
- Use a surge-protected outlet or a smart plug with an overload cutoff. This extra step helps protect your lights from sudden power surges, keeping your fuses safe longer.
These steps help you keep your lights bright and your holiday decorating stress-free.
Final Words
In the action, you learned how to spot a blown fuse, access the fuse compartment with a small screwdriver, and match the right replacement part.
You followed clear steps and safety tips to keep your festive lights shining bright.
By testing and inspecting each step, you can avoid common issues and keep your setup safe.
This guide makes fuse replacement christmas lights a quick fix that saves you money and stops unnecessary service calls.
Keep these tips in mind, and enjoy your bright and stress-free holiday display.
FAQ
Where can I buy replacement fuses for Christmas lights?
The fuse replacement for Christmas lights can be found at large stores like Walmart and Home Depot as well as local hardware outlets. Check product labels to match the fuse’s voltage and amperage ratings.
What kind of fuses do Christmas lights use?
The Christmas light fuses usually use mini glass fuses or blade fuses rated at 125VAC with either a 3 A or 5 A amperage. Always match your replacement to the original specifications.
How do I tell what kind of fuse I need?
The fuse you need is determined by the ratings printed in the fuse compartment or listed on your light set’s packaging. Look for voltage and amperage details to match the original fuse.
How to open Christmas lights to replace a fuse?
The fuse compartment on Christmas lights often features a sliding door or a threaded assembly on the male plug. Use a small flathead screwdriver to gently open it without damaging any clips.
How to find out which bulb is out on a string of Christmas lights?
The method to find a missing bulb involves visually checking for dark or cloudy bulbs and using a continuity tester if needed. Inspect every bulb closely to spot the failure.
What is the best fuse replacement option for LED Christmas lights?
For LED string light fuse replacement, use a fuse designed to handle low-amperage loads and voltage as specified in your LED lighting manual. Confirm the ratings to prevent recurring fuse blowouts.
What safety tips should I follow when replacing a Christmas light fuse?
When replacing a Christmas light fuse, always unplug the lights, let them cool, and use insulated gloves on a dry surface. This helps reduce the risk of electrical shock and protects the wiring.