
Quick Fix
What: Pick the best repair option for your gadget
Time: Varies by problem
Skill: Beginner to intermediate
Tools & Materials: Basic DIY tools or a reliable repair service
Cost: DIY saves money; pros cost more
Safety: Unplug or power off your gadget before you start
- Look over your gadget to spot the issue, whether it is a cracked screen or a weak battery.
- Decide if you feel comfortable fixing the problem on your own with simple steps.
- If the repair is more complicated, ask a professional for help.
- Weigh the savings of a DIY fix against the ease and speed of a pro repair.
This guide helps you choose smartly between saving money by fixing it yourself or letting an expert handle the tougher job.
Choosing Between DIY and Professional Gadget Repair Solutions
Quick Fix:
• What: Decide whether to fix your gadget at home or get a pro.
• Time: DIY can take 15–60 min; professional repairs are often done in 15 min or less.
• Skill: DIY is best if you have basic repair skills; professionals handle tough fixes.
• Tools & Materials: DIY kits cost about $30–$50; pros average around $129.
• Safety: Work carefully. Follow guides and shut off power if needed.
- Check your gadget. Look at the problem. Is it a cracked screen or a bad battery? Be sure you have a light touch for small parts.
- For a DIY fix, use a kit that includes simple tools like precision screwdrivers and spudgers. These kits come with clear steps.
- If the repair feels tricky or the fault is complex, call a professional. Expert services use special tools and often offer a warranty.
- Compare costs and time. DIY may save money on parts, but professional work often means a quicker, risk-free fix.
| DIY Repair | Professional Repair |
|---|---|
| Uses a repair kit with basic tools | Uses specialized equipment and expert skills |
| Costs about $30–$50 | Costs around $129 on average |
| Best for simple problems and if you can work carefully | Best for complex issues or if you want a warranty |
| Takes 15–60 min depending on your skill | Can be done quickly, often in 15 min |
Remember, if you feel at home with small screws and delicate parts, a DIY repair saves money. But if you’re not comfortable or the damage is severe, a professional offers reliability and peace of mind.
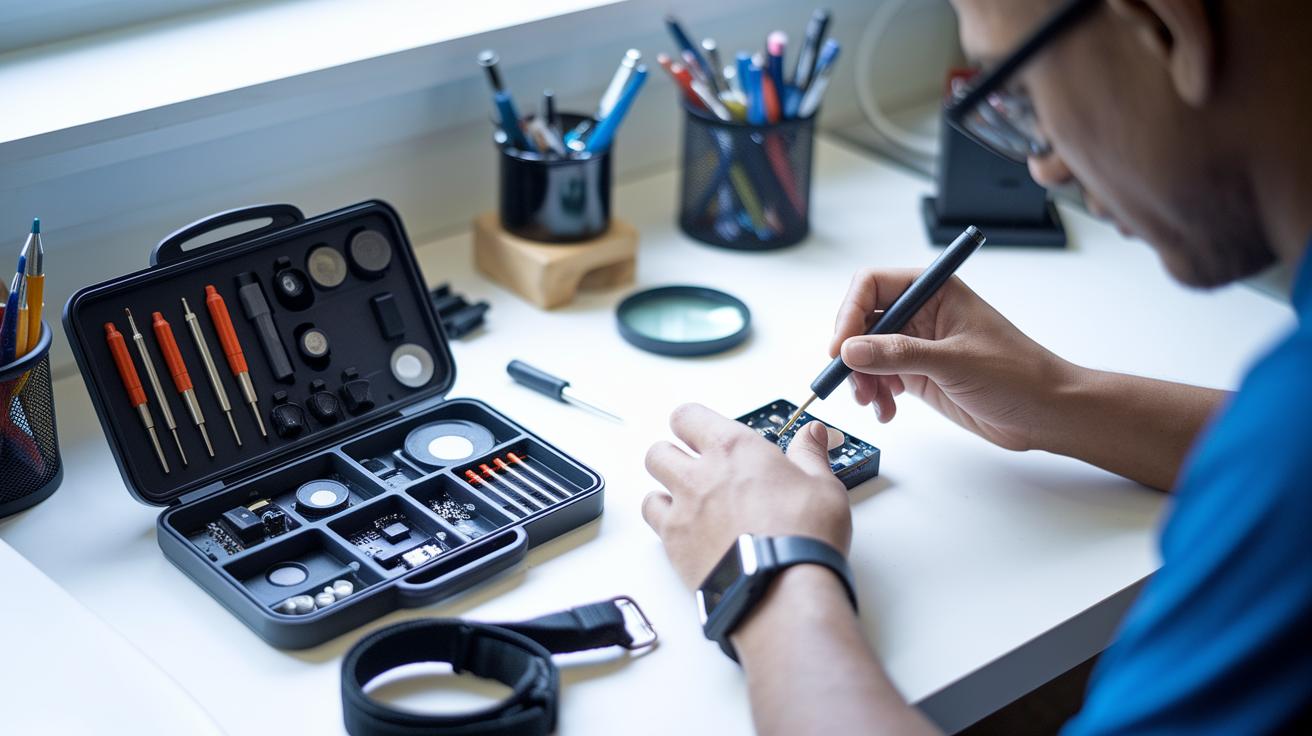
Essential DIY Gadget Repair Tools and Kits
Quick Fix:
• What: Repair small gadgets at home
• Time: 15–30 min
• Skill: Beginner
• Tools & Materials: FixHub Power Series Soldering Toolkit or Pro Tech Go Toolkit with 32-bit Moray Driver Kit, precision screwdrivers (Phillips, Pentalobe, Torx), spudgers, suction cups, tweezers, soldering iron, and a magnifier
• Cost: Around $20–$50
• Safety: Use an anti-static mat and wear an ESD wrist strap; work in a well-lit, organized space
- Start with a solid toolkit. Pick the FixHub Soldering Toolkit for exact soldering tasks. Its precision tips and durable tool roll make every job smoother.
- On the go? Use the Pro Tech Go Toolkit. The included 32-bit Moray Driver Kit is perfect for quick fixes.
- Gather your must-have tools. You need:
- Precision screwdrivers (for Phillips, Pentalobe, and Torx screws) to remove tiny screws safely.
- Spudgers and opening picks that let you pry open cases gently.
- Suction cups that help lift cracked screens without causing more damage.
- Tweezers to handle small parts.
- A soldering iron and a magnifier for working on circuit boards.
- Set up your work area. Make sure it is well-lit and free of clutter. Place an anti-static mat beneath your tools and work while wearing an ESD wrist strap to avoid static damage.
- If you’re just starting, try an iFixit repair kit for a complete, entry-level setup. It covers the basics and helps build confidence.
- With these tools, you can tackle routine fixes like screen or battery replacements and even more detailed repairs to keep your gadgets in top shape.
Happy repairing!
Step-by-Step Smartphone Gadget Screen Repair Guide
Quick Fix:
• Outcome: Replace your smartphone screen
• Time: 30–45 min
• Skill: Intermediate (requires gentle handling of small parts)
• Tools & Materials: Precision screwdriver, heat gun or hair dryer, suction cup, opening pick, container for small parts
• Cost Estimate: Parts $20–$50
• Safety Snapshot: Power off the phone before you start
- Turn off your phone completely. This stops the risk of electrical shorts, like switching off a blender before cleaning it.
- Remove the screws at the bottom using your precision screwdriver. Keep track of each screw’s size and spot.
- Warm the edges of the screen with a heat gun or hair dryer on low heat for about 30 seconds. This softens the glue, much like loosening icing from a cake.
- Place a suction cup on one corner and use an opening pick to gently separate the screen from the frame. Pull slowly, too much force can crack the screen.
- Disconnect the battery cable when you see the internal parts. Unplugging the battery protects the phone’s circuitry.
- Carefully detach the screen assembly by unhooking any connectors. Move slowly to avoid damaging small ribbon cables.
- Transfer small parts like the earpiece and sensor modules from the old screen to the new one. Keep them in a small container so you don’t lose them.
- Fit the new screen into the housing. Reconnect the cables and secure the assembly, ensuring all connectors are flush.
- Test the new screen. Power on your phone and tap lightly on different areas to check its touch response and display clarity.
Tablet and Laptop Battery Repair in Gadget Restoration

Quick Fix:
• What: Replace your tablet or laptop battery
• Time: 30–60 min
• Skill: Intermediate – careful handling needed
• Tools: Prying tool, precision screwdriver, anti-static mat, ESD wrist strap
• Cost: $5–$20 for parts
• Safety: Fully power off your device and use anti-static gear
Tablet Battery Replacement:
- Turn off your tablet completely.
- Use a prying tool to gently lift the glued battery pack.
- Remove any small screws or adhesive tabs with care.
- Work slowly to protect delicate parts.
- Wear an ESD wrist strap and use an anti-static mat to avoid static damage.
Laptop Battery Replacement:
- Shut down your laptop.
- Remove 20+ pentalobe screws to open the casing.
- Detach the trackpad bracket to reach the battery compartment.
- Carefully disconnect cables and note their positions.
- Replace or upgrade the multi-cell battery pack using a proper screwdriver.
- Work on a flat, anti-static surface for safety.
Remember, safety is key. Always disconnect power, handle parts gently, and keep your workspace organized and well-lit to reduce risks.
| Aspect | Tablet Battery Replacement | Laptop Battery Replacement |
|---|---|---|
| Screw Count | Few screws with hidden brackets | 20+ pentalobe screws |
| Battery Mounting | Glued battery pack | Multi-cell pack with a trackpad bracket |
| Tools Needed | Prying tool, anti-static mat, ESD wrist strap | Precision screwdriver kit, anti-static equipment |
| Safety | Work slowly, ensure proper cable routing and static prevention | Follow proper ESD safety and methodical disassembly |
Mastering Circuit Board Diagnostics for Gadget Repair
Quick Fix
• What: Find and fix board faults
• Time: 30–60 min
• Skill: Intermediate (some micro-soldering required)
• Tools & Materials: Multimeter, soldering iron or hot-air rework station, heat sinks/thermal tweezers
• Parts Cost: $5–$20
• Safety: Work in an ESD-safe area; wear eye protection
- Check the board visually. Look for burn marks, melted parts, or discoloration. These spots can point you to a fault, like a burned wire in a car.
- Test the board with your multimeter. Check continuity along the copper paths and measure voltage drops on the key parts. A broken trace or odd voltage drop may show a bad resistor or capacitor.
- Measure the health of your capacitors using an ESR test (a check for equivalent series resistance). High ESR numbers mean a capacitor may be failing, which could cause power problems.
- When you spot a bad part, fix it with micro-soldering. Use a microscope and a hot-air rework station to replace or recondition the component, keeping nearby parts safe from heat.
- Work with care to avoid extra heat damage. Use heat sinks or thermal tweezers while soldering, and keep your tools at a steady, low temperature.
- After repairs, recheck with your multimeter. Make sure the board shows good continuity and that voltage levels are back to normal.
Navigating Professional Gadget Repair Services

Quick Fix:
• Outcome: Choose a trusted repair center
• Time: 5–10 min
• Skill: Basic research
• Tools: Phone or computer
• Cost: Free
• Safety: Verify warranties before repair
-
Check the Store and Hours
Look up the certified centers in New Caney, Humble, and Cleveland, TX. Each one has its own schedule, so pick the one that works for you. -
Confirm Repair Options
GadgetCure repairs smartphones, tablets, computers, and game consoles. They let you choose self check-in, mail-in service, or an appointment. -
Verify Warranties and Tracking
Good repair centers back their work with parts warranties. Look for real-time tracking so you know your device is safe. -
Compare Prices and Reviews
Many centers match competitor prices. Read customer reviews to see that technicians do fast, reliable work.
By following these steps, you can be sure to get quality, certified repairs with clear pricing and strong customer backing.
Budget-Friendly Gadget Maintenance and Repair Tips
Quick Fix:
• What: Keep your tech running smoothly.
• Time: 5–10 min per routine check.
• Skill: Beginner – just basic cleaning and updates.
• Tools & Materials: Compressed air, isopropyl wipes, updated software, a timer, and a safe storage spot.
• Cost: Parts $3–$10.
• Safety: Work in a well-lit area and be gentle with your devices.
- Spray compressed air into ports and vents for 5–10 seconds to clear dust.
- Wipe screens with isopropyl wipes to get rid of smudges and germs.
- Install software updates as soon as they show up; they often fix bugs that slow you down.
- Calibrate your batteries every month to keep the power readings accurate.
- Store your devices in a cool, shaded spot instead of direct sunlight.
- Recycle broken gadgets at a certified e-waste center to save money and cut down on clutter.
These simple steps help maintain your devices without a big repair bill and leave you more time and money for projects that matter.
Frequently Asked Questions About Gadget Repair

-
When is DIY safer than a professional repair?
DIY fixes work well for small issues like loose buttons or a scratched screen. But if your device has trouble with inner boards or soldered parts, it's best to call a pro. For example, using a kit to replace a cracked screen is usually safe, while a broken motherboard needs expert help. -
How long does a screen or battery repair take?
Most repairs, like swapping a screen or replacing a battery, take about 15–45 min. Simple fixes can be done quickly, but jobs that need a careful take-apart might run close to 45 min. -
Do I need special tools for gadget repair?
Yes, many repairs need special tools like precision bits, ESD gear (equipment to protect against static damage), spudgers, tweezers, and suction cups. A typical DIY repair kit comes with these tools to help you remove small screws and delicate parts safely. -
What warranties apply to repairs?
Warranties vary by repair type. DIY fixes usually come with a limited guarantee, while professional repairs might offer warranties from 90 days up to lifetime coverage on parts. This extra coverage gives you peace of mind if the problem returns. -
Is mail-in repair reliable?
Mail-in repair can be very reliable when you use tracking and insured shipping. Many repair centers let you follow your device’s progress at every stage. This option works well if you prefer sending in your gadget and staying informed as it gets fixed.
Final Words
In the action, you learned to weigh DIY techniques and pro options for fast, cost-effective fixes. The guide broke down repair costs, handy toolkits, and step-by-step procedures for screens, batteries, and circuit boards. It also showed when to lean on professional services for quick troubleshooting. With these tips, you can confidently tackle repairs that match your budget and schedule. Enjoy working on your project and feel empowered by your gadget repair skills.
FAQ
Where can I find local gadget repair services?
Local gadget repair services are provided by repair shops, mobile technicians, and even home-visit professionals. Local repair centers and electronic service providers handle common issues on-site for your convenience.
Where can I find a gadget repair website?
A gadget repair website offers service details, contact information, and online booking options. It provides pricing guides, tool recommendations, and repair process insights to help you make informed decisions.
What does gadget repair cost involve?
Gadget repair cost involves paying for parts, labor, and sometimes shipping. Professional smartphone screen replacements average about $129, while DIY kits may range between $30 and $50, depending on complexity.
What does a gadget repair logo indicate?
A gadget repair logo represents the brand’s identity and trustworthiness. It creates visual recognition and reassures customers of quality service and consistent repair expertise.
What is a gadget repair expo about?
A gadget repair expo introduces repair technologies, toolkits, and demonstrated techniques. Attendees share practical tips and view real-time tool and repair process demonstrations from industry experts.
Is it cheaper to fix or replace gadgets?
It can be cheaper to fix gadgets when the issue is minor. For major repairs or outdated parts, however, repair costs may approach that of a replacement, so evaluate your device before deciding.
Is uBreakiFix trustworthy?
uBreakiFix is recognized as a reliable repair service, offering price-match guarantees and quality repairs. Many customers experience fast turnaround times and dependable service for smartphones and other gadgets.
Is iFixit free to use?
iFixit is free to use for its repair guides and community advice. While you can access detailed DIY repair instructions at no cost, they also offer parts and toolkits for purchase if needed.