
Quick Fix: Stop a Leaky Pipe Drip
• What: Halt a small pipe leak fast
• Time: 5 min
• Skill: Beginner
• Tools & Materials: Leaky pipe clamp, wrench (if needed)
• Cost estimate: $5–$15
• Safety: Make sure the area is dry before you work
- Grab your leaky pipe clamp.
- Place the clamp around the leaking pipe.
- Tighten the clamp until the drip stops.
- Watch the repair until you can make a permanent fix.
This quick fix holds off the leak and saves you trouble. It isn’t a long-term repair, but it stops extra water damage until you’re ready to fix the pipe properly.
Immediate Fix: Using a Leaky Pipe Clamp to Stop a Leak
Quick Fix
• What: Stop a leak with a temporary pipe clamp
• Time: 10 min
• Skill: Beginner
• Tools & materials: Leaky pipe clamp, a clean cloth, a wrench, and a towel
• Cost: $5–$20
• Safety: Dry the area before you start
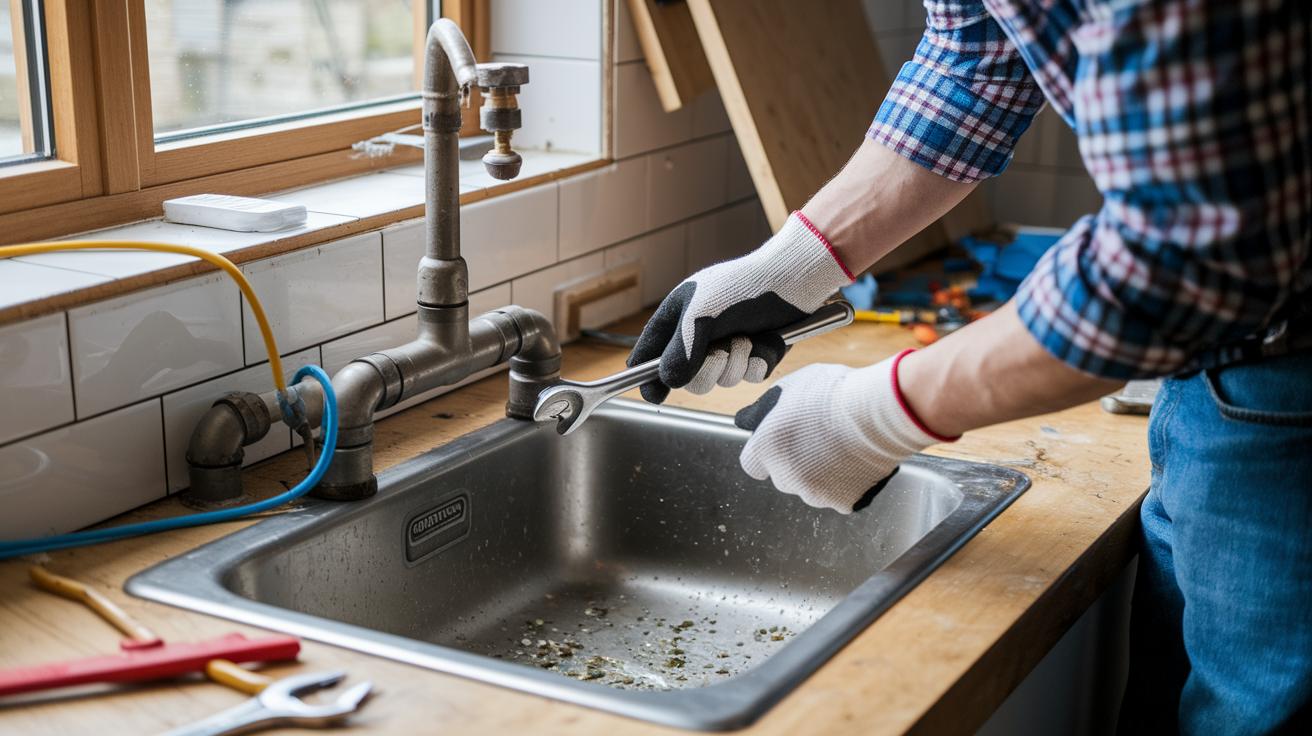
- Look for signs of a leak. Check for water stains on walls or ceilings and drips on pipes.
- Dry the area around the leak. Use a towel or cloth so the clamp sticks well.
- Position the pipe clamp over the leaking spot. Make sure it covers where water escapes.
- Tighten the clamp bolts evenly with a wrench. This creates a snug seal that stops the drip.
- Inspect the pipe. Confirm that water is no longer seeping out and that the clamp holds steady.
This fix keeps water from spreading and prevents damage while you plan for a full repair.
Types of Leaky Pipe Clamps: Choosing the Right Clamp
When you face a leaking pipe, using the right clamp makes a big difference. It stops the leak quickly and protects the rest of your plumbing. Here’s a quick guide to help you pick the best clamp for the job.
-
Patch Clamp
Use this clamp when your pipe shows wear or damage. It has a strong steel body with a rubber lining that seals off weak spots (especially in cast iron). It locks in place firmly, giving you a quick and solid repair. -
Pin-Hole Repair Clamp
For tiny leaks, this clamp targets the trouble spot with a built-in locator pin and a pointed cone seal. It’s a precise fix that stops minor drips before they can become a bigger problem. -
Stand-Off Clamp
This clamp comes in two half-shells that close evenly around the pipe. It works best in low-pressure situations, keeping everything secure and balanced. It’s a reliable option for many everyday leak fixes.
| Clamp Type | Ideal Leak Scenario | Key Feature |
|---|---|---|
| Patch Clamp | Weak or damaged cast iron areas | Strong steel casing with rubber lining |
| Pin-Hole Repair Clamp | Small leaks in residential pipes | Built-in locator pin and pointed cone seal |
| Stand-Off Clamp | General leak stoppage | Two half-shells for even clamping |
Materials and Specifications of Leaky Pipe Clamps
Leaky pipe clamps use tough metals like stainless steel and carbon steel to handle everyday wear. They come with rubber gaskets and silicone seals that stop leaks and last a long time. Some clamps even use a vinyl design to work well on uneven surfaces. These clamps are made for home fixes as well as heavy industrial jobs.
They use strong fastening systems to keep high pressure on the leak. Many clamp designs use T-bolt and double-band setups to hold steady pressure over the problem area. PVC-coated clips and ear clamps help fight rust and weather damage. For extra tough leaks, some models need a seal-weld to boost their grip. American and German industrial models are built to handle hard service, making sure each repair is safe and long-lasting.
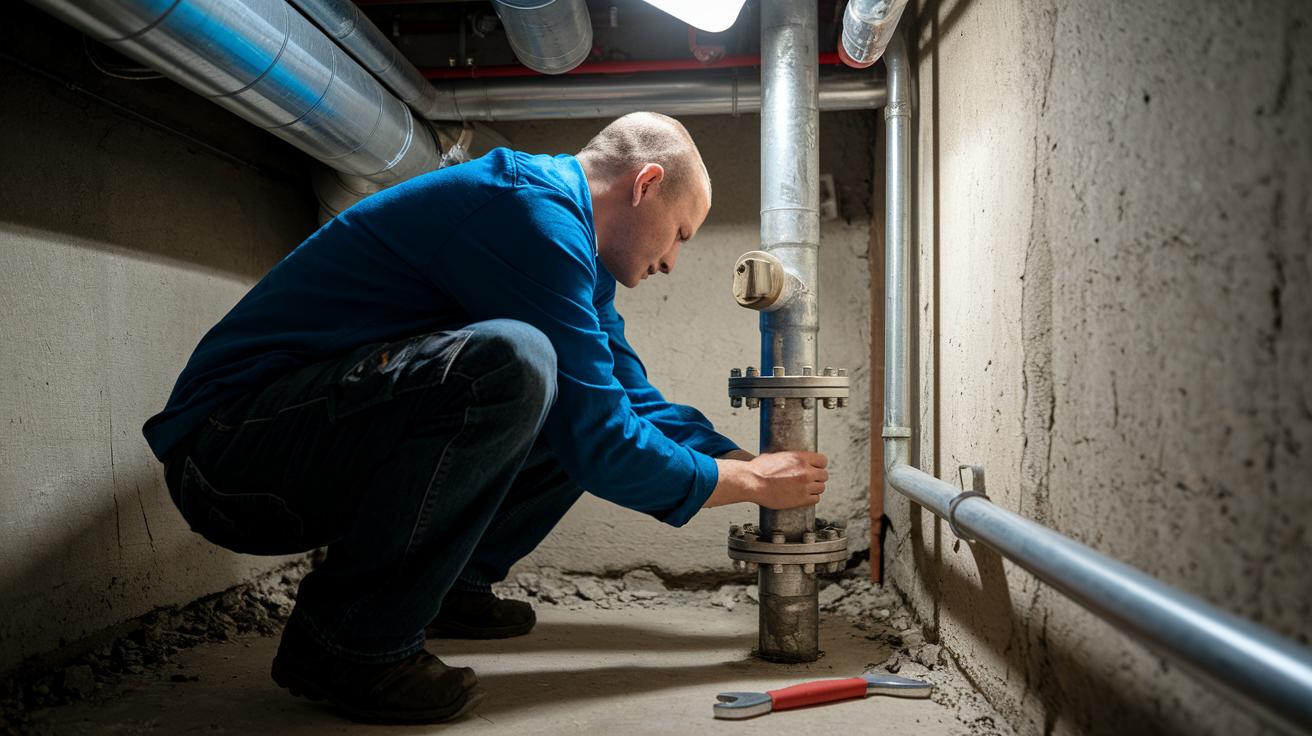
Step-by-Step Installation Guide for a Leaky Pipe Clamp
Quick Fix:
• What: Stop the leak in your pipe
• Time: 10–15 min
• Skill: Beginner
• Tools & Materials: Wrench, cloth, clamp, rubber gasket or O-ring
• Safety: Turn off the water and wear gloves
- Turn off the water at the main valve. Open a nearby faucet to let the water drain.
- Dry the wet area with a cloth so you have a clean surface to work on.
- Place the rubber gasket or O-ring on the leak. If you are using a patch clamp, cover the whole damaged spot.
- Wrap the clamp halves around the pipe and make sure the bolt holes line up.
- Tighten the bolts evenly with your wrench. If you are using a pin-hole clamp, make sure the locator pin sits right over the leak.
- Keep tightening slowly and evenly until the clamp squeezes the pipe all around.
- Turn the water back on slowly and check that the seal is watertight.
Even pressure and proper gasket placement are key to a lasting fix. You can do this!
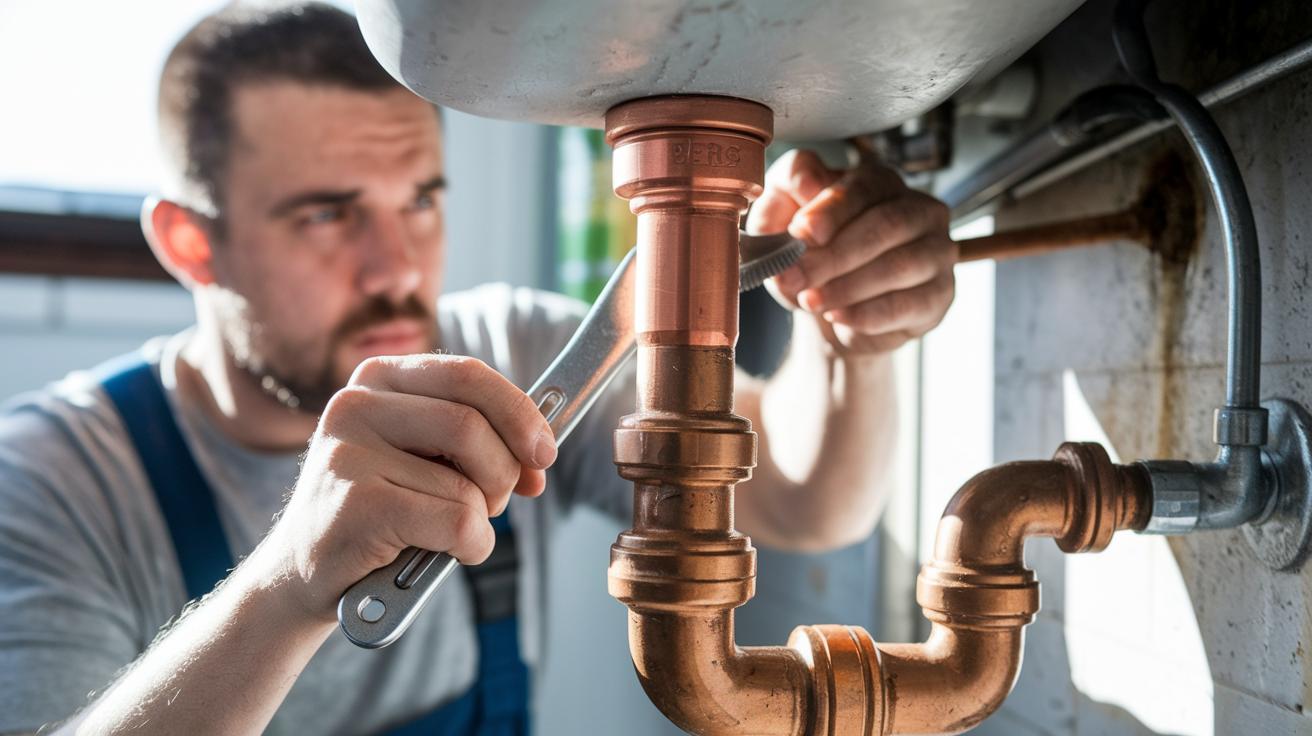
Troubleshooting Common Issues with Leaky Pipe Clamps
Quick Fix:
• What: Stop clamp leaks on your pipe
• Time: 15 min
• Skill: Beginner
• Tools & Materials: Wrench, replacement rubber gasket, stand-off clamp (if needed), welding repair clamp (for severe cases)
• Cost: Parts $5–$20
• Safety: Dry the work area and keep water off your tools
Steps:
- Evenly tighten the bolts as the manufacturer recommends.
- Check the rubber gasket; if it is worn or misaligned, swap it for a new one right away.
- For pipes under higher pressure, replace the patch clamp with a stand-off clamp to spread the force better.
- If leaks continue, weld a pin-hole repair clamp for a lasting fix.
Even pressure on all bolts is key because uneven tension can let parts of the pipe remain loose. A damaged or misaligned gasket might let water seep through. In some cases, using a patch clamp on a high-pressure line means the clamp cannot seal the pipe properly. This can lead to drips and damp spots on nearby walls or floors.
Regularly inspect your clamps and follow the steps above to keep them in top shape. Enjoy the peace of mind that comes from knowing you fixed the leak yourself!
leaky pipe clamp Delivers Instant Leak Relief
Quick Fix:
- What: Stop leaks fast with a specialized pipe clamp
- Time: 5–10 min
- Skill: Beginner DIY
- Tools & Materials: Specialized leaky pipe clamp, wrench
- Cost: $5–$20
- Safety: Turn off your water before you start
Specialized leaky pipe clamps work fast to stop leaks. They include a built-in rubber gasket that seals the pipe firmly. Old hose clamps and basic menders often miss this extra layer, leaving gaps for water to seep through.
Other clamp types, like strap or spiral clamps, may slip when pressure builds up. Camlock clamps let you release quickly, but they don’t form as tight a seal as a clamp made specifically for patch and pin-hole repairs.
When you compare these to makeshift fixes like automotive pinch tools or vinyl stoppers, the difference is clear. Chemical sealants might cover up a leak for a bit, but they don’t give you a lasting, watertight bond. A dedicated leaky pipe clamp applies even pressure and holds tight over time.
Use a specialized pipe clamp for a quick, strong, and lasting fix to your household leaks.
Where to Buy and Review Top Leaky Pipe Clamps
Many stores sell quality clamps that stop leaks in pipes. For instance, Smith-Blair clamps are available at warehouses in Rochester, Watertown, and Avoca. Big box retailers and local hardware stores sort these clamps by pipe size and pressure rating so you can find the right one quickly.
You can also get models like the Cherne End-Of-Pipe Gripper. This clamp works well for sewer tests and long-term repairs. Options range from simple fixes to heavy-duty, industrial-grade clamps.
Before you buy, check reviews to learn which clamp suits your job best. A blog called "3 Different Types of Pipe Repair Clamps" explains the main features that DIYers look for. Also, customer feedback from stores like Home Depot and Lowe’s shows how different models perform over time. Reading these reviews helps you see which clamp stops leaks and holds up under pressure before you make your purchase.
Final Words
In the action, this guide showed you how to tackle a sudden leak using a leaky pipe clamp. We broke down identifying leaks, selecting the right clamp type for your setup, and following clear installation steps. You also learned how to troubleshoot common issues and compare options to avoid costly repairs.
Remember, a well-chosen leaky pipe clamp can save time and money while keeping your home safe. Stick with the simple methods and keep your repairs secure and effective.