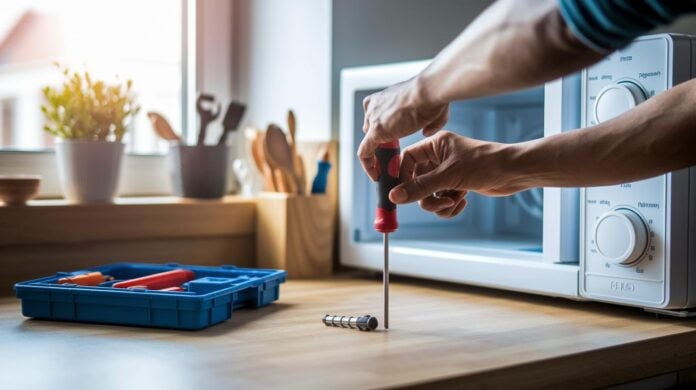

Quick Fix: Replace Your Microwave Fuse
• What: Get your microwave humming again
• Time: 15 min
• Skill: Beginner
• Tools & Materials: Screwdriver, new fuse (check your microwave manual for the right type), multimeter (optional), gloves
• Cost: Parts about $2–$5
• Safety: Unplug the microwave and wait for high-voltage parts to discharge before you start
- Unplug your microwave. This is very important, as working with high-voltage parts can be dangerous.
- Remove the back panel using a screwdriver so you can see inside.
- Find the fuse. It usually looks like a small glass tube or a ceramic piece.
- Check the fuse with a multimeter (set it to continuity) to see if it’s blown. Don’t worry if you’re new to this; testing is simple.
- Replace the fuse with a new one that matches the model number. If you’re not sure, check your microwave’s manual or ask a friendly expert.
- Snap the back panel back into place, making sure all screws are secure.
- Plug your microwave back in and test it to be sure it works normally.
This guide takes you step by step through a safe and quick fuse replacement. If you hit any bumps along the way, remember: careful handling and a methodical approach keep you and your microwave safe.
Diagnosing a Blown Microwave Fuse and Understanding Symptoms
Quick Fix:
• What: Test if your microwave fuse is blown
• Time: 10 min
• Skill: Beginner (be careful with high voltage)
• Tools & Materials: Lamp, manual instructions, multimeter
• Cost: $0–$5
• Safety: Unplug the microwave and handle high-voltage parts with care
- Check the outlet. Unplug your microwave and plug in a lamp or night-light. If the lamp lights up, the outlet is fine.
- Open the microwave’s cabinet following the manual. Look for the fuse near the control board or the high-voltage transformer.
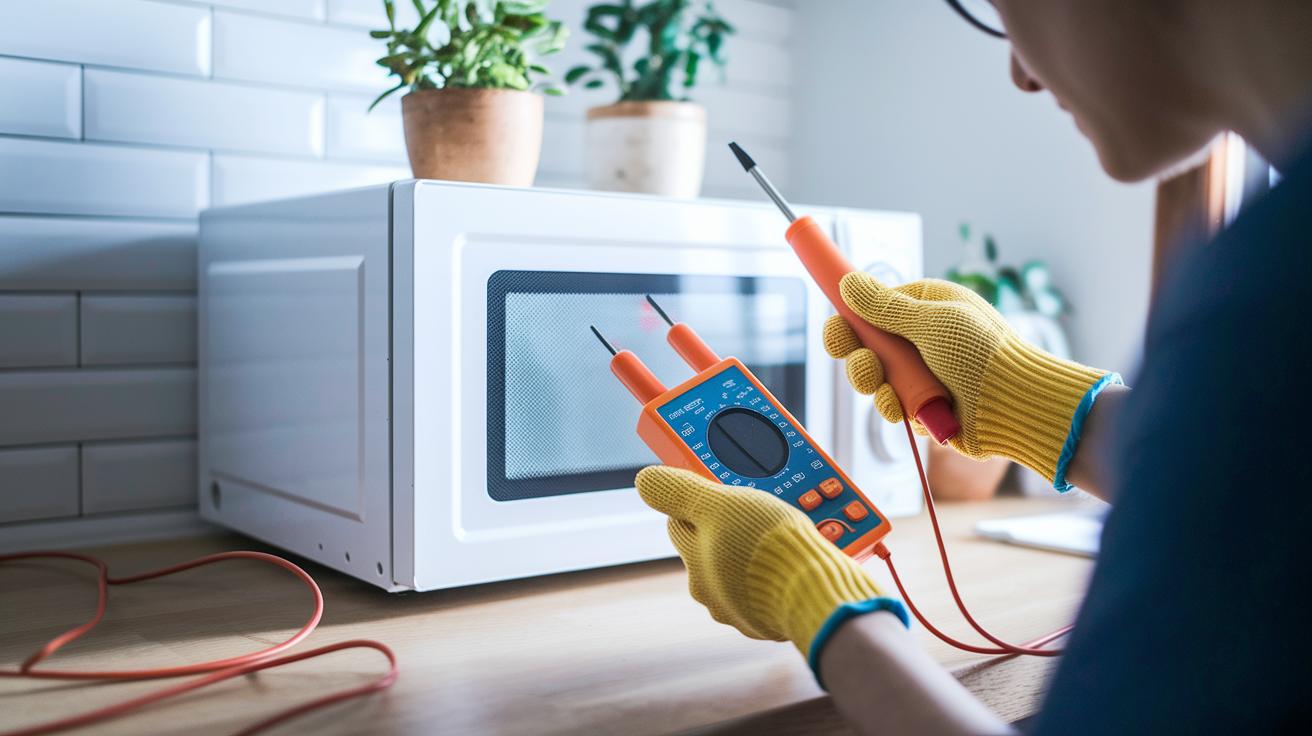
- Set your multimeter to continuity mode. Hold the probes at each end of the fuse. If you do not hear a beep, the fuse is blown.
- Look around the fuse area for any burn marks or damaged wires. This visual check can point to bigger problems.
Remember: The internal capacitors can hold dangerous voltage even when the microwave is unplugged. Always handle these parts with extra caution. If you feel unsure at any step, pause and review the safety instructions before continuing.
Gathering Tools and Safety Measures for Microwave Fuse Replacement
Quick Fix:
• What: Replace a microwave fuse safely
• Time: 15 min
• Skill: Basic
• Tools & Materials: Insulated screwdriver set, multimeter (set to continuity mode), replacement fuse, rubber-insulated gloves, safety glasses
• Cost: Parts cost is low
• Safety: Unplug the microwave and wait for the capacitors to discharge
-
Gather your tools and safety gear. Get your insulated screwdriver set, a multimeter on continuity mode, and a replacement fuse that meets your microwave’s specs. Put on your rubber-insulated gloves and safety glasses.
-
Unplug the microwave from the wall socket. Wait 5–10 min so the capacitors lose their charge. This is important because even when unplugged, the capacitors might hold dangerous voltage. Follow the manufacturer’s guide for handling high-voltage parts.
-
Test the fuse with your multimeter. Set it to continuity mode, and touch the probes to the fuse’s terminals. If you do not hear a beep, the fuse is blown.
-
Check your toolkit and safety list again before you continue, ensuring a safe work area.
Step-by-Step Removal and Testing of Your Microwave Fuse
Quick Fix:
• What: Remove and test your microwave fuse
• Time: 15 min
• Skill: Beginner with care for electronics
• Tools: Screwdriver, multimeter, small tool for gentle prying
• Safety: Unplug the microwave before starting
• Cost: Likely free if you already have a multimeter
-
Unplug your microwave and use a screwdriver to take off the back cover. Remove the four rear screws and gently lift the cover to expose the inner parts.
-
Find the fuse inside the microwave. It is usually near the control board or high-voltage transformer. Check the wiring diagram to confirm the fuse’s place.
-
Carefully remove the fuse from its clip or holder. Wiggle it lightly if needed, but do so slowly to avoid disturbing nearby parts.
-
Set your multimeter to continuity mode. Touch one probe to each end of the fuse. A beep means the fuse is good; if there’s no beep, the fuse has blown.
-
Look at the wires around the fuse. Check if any wires look burnt or show signs of wear, such as frayed insulation or discoloration.
-
If the fuse is blown, note any issues in the wiring harness or loose connectors. Write down what you see to help during reassembly.
-
Before replacing the fuse, double-check that every screw and loose piece is out of the way. This step-by-step process helps you spot both fuse and wiring problems safely.
Selecting and Ordering the Correct Microwave Fuse Replacement
Quick Fix:
- What: Order the right fuse for your microwave
- Time: 10 min
- Skill: Beginner
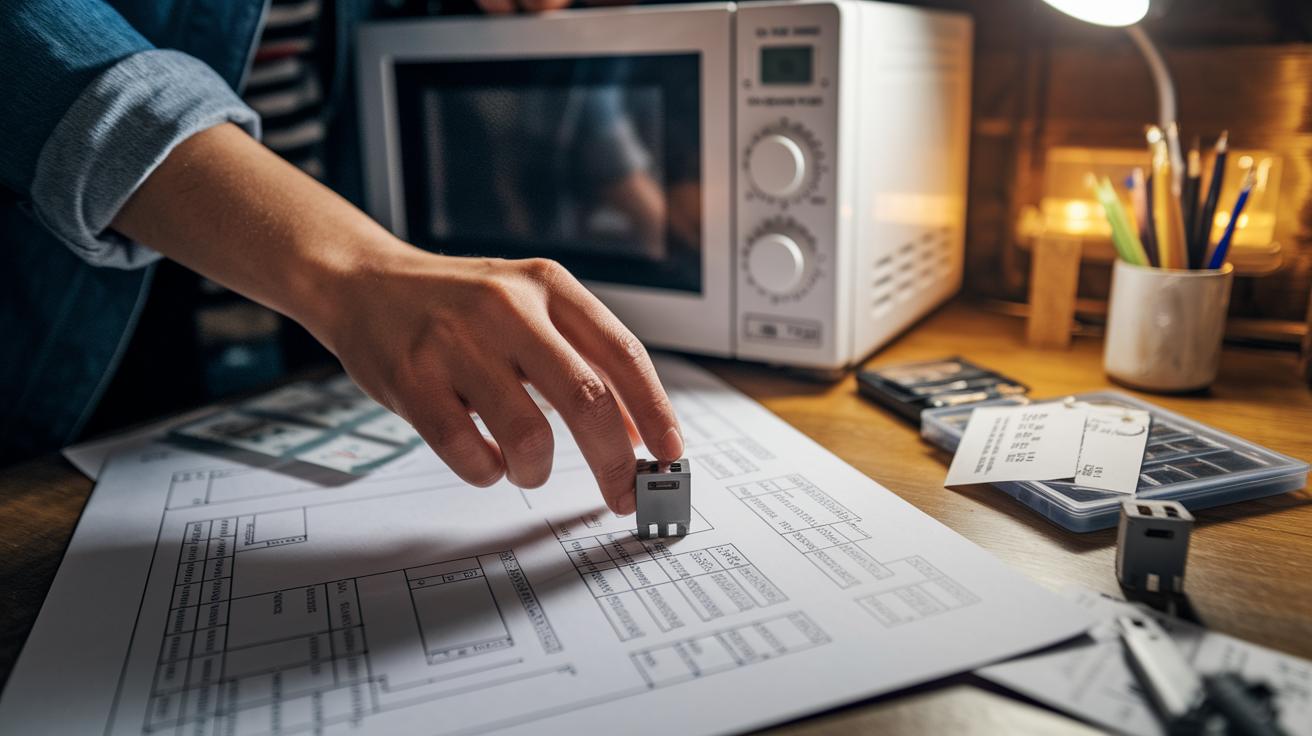
- Tools: Microwave parts diagram, internet or local parts store
- Cost: $3–$15
- Safety: Unplug the microwave before you start
- Check your microwave’s service or parts diagram. Note the fuse part number along with its rating, voltage, and size.
- Many models need a 250 V, 10 A thermal or slow-blow fuse (a fuse that delays quick surges). Using an original equipment manufacturer (OEM) fuse helps keep your microwave safe.
- Compare prices and reviews from local appliance parts dealers or trusted online stores. Look for clear details to avoid a fuse that might not work properly.
- Double-check that the fuse fits your specific model. If you find more than one option, a quick cost check may show that an OEM part, though sometimes more expensive, is a better long-term investment.
| Specification | Example |
|---|---|
| Voltage | 250 V |
| Current Rating | 10 A |
| Price Range | $3–$15 |
Microwave Fuse Replacement: Quick & Safe Fix
Quick Fix:
• What: Replace the fuse and put your microwave back together
• Time: 20 min
• Skill: Basic electronics repair
• Tools: New fuse, insulated screwdriver, soldering iron (if needed), rosin-core solder, wiring diagram
• Safety: Unplug the microwave and make sure the capacitors are discharged
- Insert the new fuse into its holder or clips. Press it firmly so it touches the metal terminals.
- If the fuse needs soldering, heat the joint with your soldering iron. Use rosin-core solder to secure it quickly.
- Reconnect any wiring that you removed. Follow your wiring diagram to line up the connectors correctly.
- Screw the rear panel back on evenly and securely. Tighten the screws, but avoid overtightening to protect the plastic.
- Check every connection to ensure no wires are pinched and no stray parts are left behind.
- Plug in your microwave and run a short test cycle. Watch the control panel and the interior light to be sure it powers on properly.
- If everything looks good, your fix worked. If not, check the solder joints and wiring again.
Tip: When soldering, work quickly to avoid overheating nearby parts.
Preventive Maintenance and Troubleshooting After Fuse Replacement
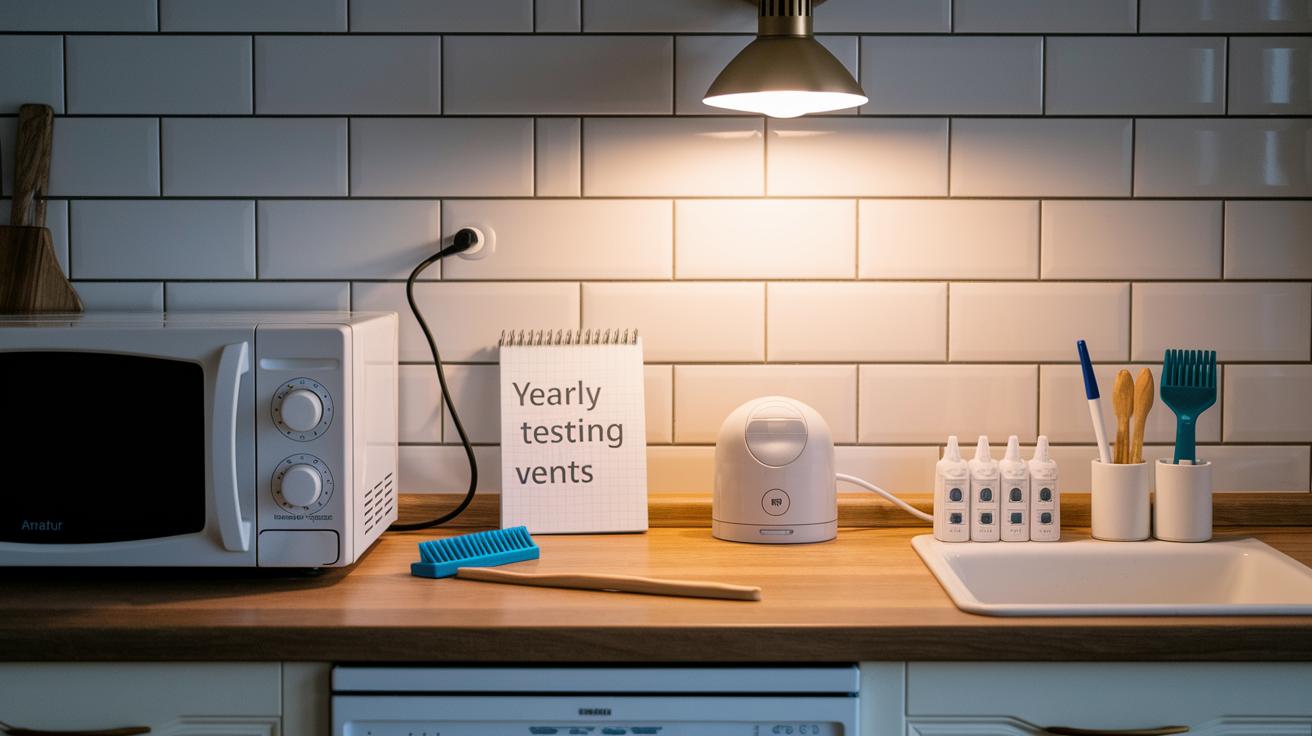
After you’ve replaced the fuse following the earlier steps, do these extra checks to keep your microwave safe:
- Plug in a voltage stabilizer or surge protector. For example, use a surge protector to block electrical spikes during storms.
- Clean the microwave’s air vents. Open the door and use a soft brush to clear out dust that can cause overheating.
- Check the fuse holder once a year. Look for burn marks or damage and fix any issues right away.
- Test your outlet with a lamp. Unplug the microwave, plug in a small lamp, and make sure your socket gives steady power.
- Keep a log of fuse ratings and replacement dates. Noting these details helps you spot any recurring problems.
Knowing When to Seek Professional Help for Microwave Fuse Replacement
Quick Fix
• What: Decide if you should call in a pro for a microwave fuse fix
• Time: About 15 min to check the basics
• Skill: Beginner, if you are unsure, don’t risk it
• Tools & Materials: None needed for DIY, but a pro has the right gear
• Cost Estimate: $75–$150 plus parts
• Safety Snapshot: High-voltage parts can hold a charge even when unplugged. Always be cautious
- If you feel uneasy around high-voltage parts or your microwave is still under warranty, it is best to have a certified technician handle the repair.
- Remember that high-voltage parts can still store a dangerous charge even if the microwave is unplugged. Without the right training, you risk injury.
- If the fuse fails repeatedly or you see extra issues with the control board, these are clear signs that you need professional help.
- Repair fees usually fall between $75 and $150 plus any extra parts needed.
- When you notice that the microwave still won’t work after a fuse replacement, or if the wiring looks damaged, let a pro inspect it before more damage is done.
- Local repair services come with special tools and proper safety gear to take on these delicate electronic parts safely.
- When in doubt, stop and call for professional support rather than risk your safety with further DIY fixes.
- For expert repair and inspections, you can contact trusted local repair services or call 704-606-9043 for help with high-voltage circuit issues.
Final Words
In the action, you learned how to spot a blown microwave fuse and test it safely.
You checked tools, followed step-by-step removal and testing, and ordered the right replacement.
Next, you installed the new fuse with care while reconnecting all wiring.
Preventive maintenance tips and prompts for when a pro is needed rounded out the guide.
Taking these steps makes your microwave fuse replacement a quick, safe fix.
Keep these tips handy, and enjoy getting more done without waiting on expensive service calls.
FAQ
What is the microwave fuse replacement cost?
The microwave fuse replacement cost generally falls between $3 and $15 for the part itself. Additional fees may apply if you decide to hire a professional for the service.
How do I replace the microwave fuse on brands like Samsung, Whirlpool, LG, GE, Frigidaire, and Sharp?
Replacing the microwave fuse is similar across these brands. Unplug the unit, remove the outer cover, locate the fuse near the control board or transformer, test it with a multimeter, and install a matching replacement.
How do I determine if my microwave fuse is blown?
A blown fuse is indicated by an unresponsive microwave showing no lights, display, or heat. Testing with a multimeter on continuity mode will reveal no beep if the fuse has failed.
What type of fuse goes in a microwave?
Microwaves typically use a thermal or slow-blow fuse rated for specific voltage and current, such as 250 V and 10 A. Always check your model’s manual for the exact fuse specifications.
Could my microwave keep blowing its fuse because of a bad outlet?
A failing outlet can cause repeated fuse issues. Test the outlet with a lamp or night-light to ensure proper power supply before checking for internal microwave problems.
Where is the fuse located in a microwave?
The fuse is usually found inside the microwave near the control board or high-voltage transformer. Refer to your service manual or wiring diagram to pinpoint its exact location.