
Quick Fix: Stop an RV Roof Leak
Time: 15 min
Skill: Beginner
Tools & Materials: Cleaner, sealant, patch kit
Cost: Parts $3–$10
Safety: Work on a dry surface and avoid standing in puddles
- Clean the roof with a cloth or sponge.
- Check for weak seals and small tears.
- Apply sealant or a patch over the leak.
- Let it dry before you hit the road again.
A tiny leak can spoil your RV trips in no time, turning your safe space into a soggy mess. By cleaning off dirt, checking seals, and patching small tears, you keep your RV snug and dry. Try these simple steps and enjoy hassle-free getaways every time.
RV Roof Repair: Effortless Fixes for Lasting Comfort
Quick Fix:
• What: Stop a roof leak
• Time: 15–30 min for a minor fix
• Skill: Beginner
• Tools & Materials: Soft-bristle brush, RV-safe detergent, garden hose or water bottle, waterproof marker, patch kit (like EternaBond RoofSeal Tape or butyl vent seal), self-leveling lap sealant, caulk gun
• Cost Estimate: Parts $5–$20
• Safety: Work on a stable ladder and clear the area before climbing
-
Check your roof four times each year. Begin by cleaning the roof with a soft brush and RV-safe detergent to remove dirt from vents, seams, skylights, and fasteners. A clean roof makes leaks easier to spot.
-
Look for trouble spots. Focus on old sealant joints, worn vent seals, torn membrane, and loose fasteners. Mark areas with cracks or discoloration. Write a note like, "Sealant around vents is brittle, needs patching."
-
Run a water test. Use a garden hose or water bottle and pour water slowly over the suspect spots. Watch the inside of your RV carefully or ask a friend to help. This test can reveal hidden leaks that you might not see just by looking.
-
Mark the leak spots clearly. Use a waterproof marker to draw an X or write a small note on the roof. This helps you know where to work when you start your repairs.
-
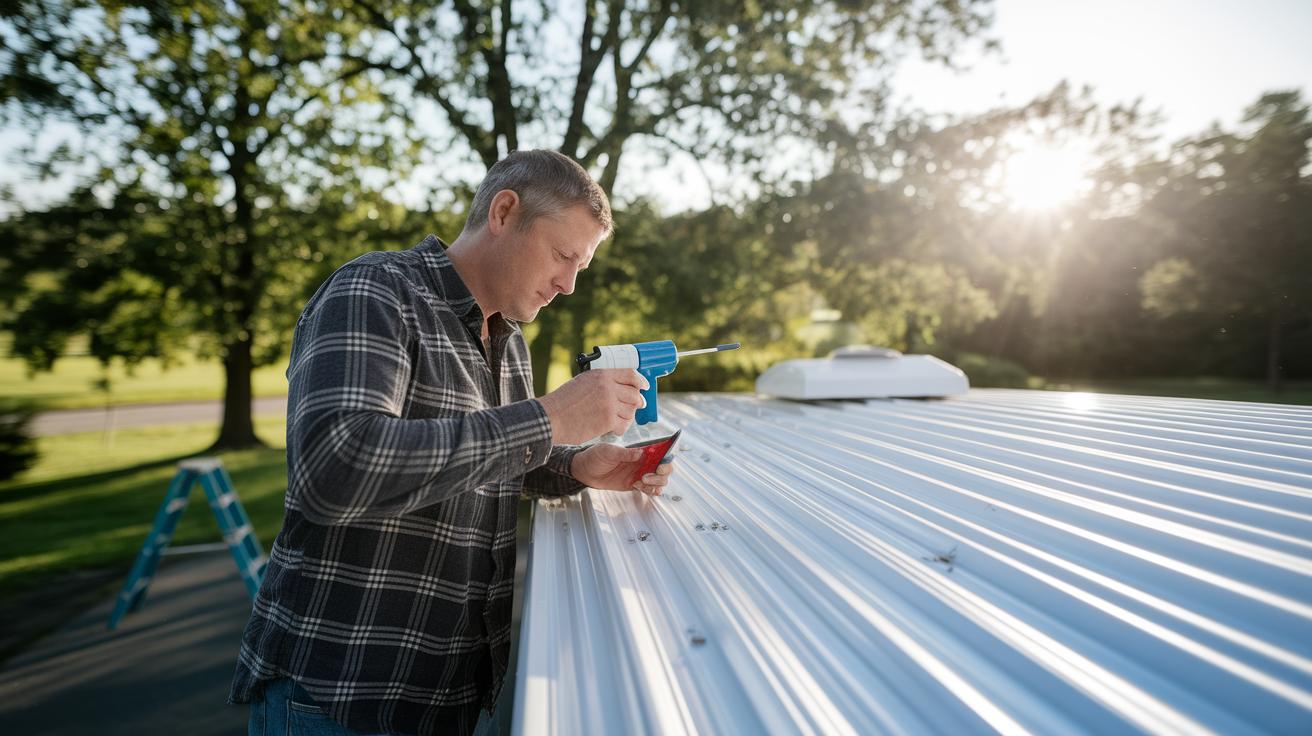
Fix any holes or tears immediately. Grab your patch kit and press the patch or seal tape firmly onto the leak. Make sure there are no air bubbles, as these can reduce the patch’s grip.
-
For longer leaks or stretched seams, apply a bead of self-leveling lap sealant along the seam using a caulk gun. Smooth it out, and let it cure for 24–48 hours. Avoid heavy water exposure during this time.
-
Keep your roof in good shape by reapplying sealant annually or doing a complete reseal every 10 years if cracks show. This helps keep your RV dry and comfortable on the road.
Don’t forget to document your work. Use a simple checklist to record the inspection date, any damaged areas, and the patches you apply. Following these steps not only stops leaks but also makes sure your RV stays safe and dry during every trip.
RV Roof Repair Toolkit: Essential Tools and Sealants
Quick Fix:
• What: Fix small leaks and renew roof seals
• Time: 30–60 min
• Skill: Beginner to intermediate
• Tools & Materials: Soft brush, RV-safe detergent, isopropyl alcohol, putty knife, caulk gun, ladder or plywood
• Cost: Around $10–$50
• Safety: Use a stable ladder or plywood for safe roof access
-
Clean the Roof
Sweep off dirt and debris from seams, vents, and fasteners using a soft, long-handled brush and an RV-safe detergent. Then wipe down the area with isopropyl alcohol to remove oily spots. Avoid cleaners with petroleum or citrus, as they can damage the roof’s rubber or vinyl. -
Remove Old Sealant
Use a putty knife to scrape away any leftover sealant from previous repairs. This step helps the new sealant bond better with the roof. -
Apply New Sealant
Load your caulk gun with the repair product. For EPDM roofs, start with EPDM primer and use the right solvent (a liquid that helps products stick) before applying the sealant. Work in smooth, steady strokes along the seams. -
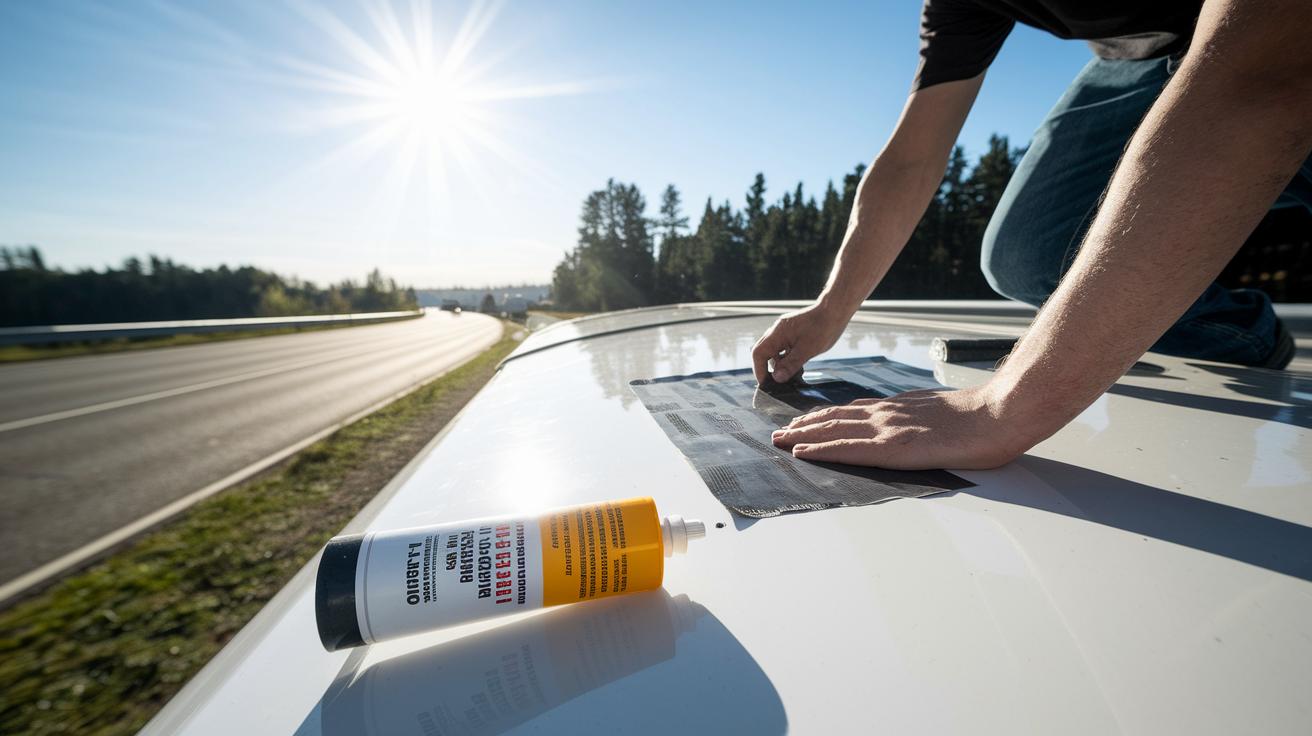
Patch Leaks Quickly
If you need a quick fix, run EternaBond RoofSeal Tape over any leaks. This tape sticks on fast to stop water from seeping in. -
Reseal for Lasting Repairs
For a neat, long-lasting seal, apply Dicor Self-Leveling Lap Sealant along the seams. It cures in 24–48 hours. For full repairs, you can also use Dicor EPDM Rubber Roof Coating System or Dicor TPO Roof Coating System if you have a TPO roof. -
Stay Safe on the Roof
If you don’t have a proper ladder, use a piece of plywood to spread your weight and keep safe while working on the roof.
This guide makes sure you have all the tools and steps needed to keep your RV roof watertight. Happy repairing!
RV Roof Repair for Rubber, TPO, Fiberglass and Metal Roofs
Quick Fix:
• What: Fix small roof leaks and cracks
• Time: 15–30 min per repair
• Skill: Easy to moderate
• Tools & materials: Approved cleaner, putty knife, primers, patches, epoxy resin, rust remover, self-tapping screws
• Cost: Parts ~$3–$10
• Safety: Wear gloves and follow manufacturer directions
Rubber/EPDM Roof Repair
- Clean the roof area thoroughly with a manufacturer-approved solvent to remove dirt and debris.
- Use a putty knife to scrape off any loose old sealant.
- Apply an EPDM-rated patch and sealant, pressing firmly as you follow the instructions on the roof’s manual.
- Allow the patch to cure fully as directed.
Tip: Clean first and then press the patch evenly for a lasting fix.
TPO Roof Repair
- Wipe the damaged area with isopropyl alcohol to remove any oily residue.
- Let the area dry completely before moving on.
- Apply a TPO-specific primer to the spot.
- If more bonding is needed, use heat welding carefully to attach the repair material.
Tip: Clean, prime, and then gently weld along the tear if extra adhesion is required.
Fiberglass Roof Repair
- Remove the old membrane using a putty knife (or your hands if needed).
- Sand the area to create a rough texture that helps the adhesive stick.
- Spread epoxy resin evenly over the repair spot.
- Press fiberglass cloth into the resin firmly to remove any air bubbles.
- Finish the repair with a gelcoat that matches your existing roof.
Tip: Sand well and press the cloth to avoid trapped air.
Metal Roof Repair
- Clean any rusted spots with a rust remover to get rid of corrosion.
- Once the surface is rust-free, apply a corrosion-resistant sealant over the treated area.
- For larger holes or cracks, attach a metal patch plate using self-tapping screws.
Tip: Treat the rust, seal the area, and patch securely to stop further damage.
| Roof Material | Repair Steps |
|---|---|
| Rubber/EPDM | Clean with approved solvent, remove old sealant, apply EPDM patch and sealant, allow to cure |
| TPO | Clean with isopropyl alcohol, apply TPO primer, optionally heat weld for extra adhesion |
| Fiberglass | Remove old membrane, sand surface, apply epoxy resin, embed fiberglass cloth, finish with matching gelcoat |
| Metal | Treat rust with remover, apply corrosion-resistant sealant, secure patch with self-tapping screws |
RV Roof Repair: Sealant Application and Protective Coatings

Quick Fix:
What: Seal and protect your RV roof.
Time: 20–30 min per section.
Skill: Beginner.
Tools & materials: Liquid rubber or silicone sealant, Dicor EPDM/TPO roof coatings, clean cloth.
Cost: Varies.
Safety: Work on a stable surface and wear gloves.
- Break your roof into small sections.
- Clean each section thoroughly.
- Apply a thin layer of liquid rubber or silicone sealant to fill small cracks and shield against UV rays and extreme temperatures.
- If your roof has EPDM or TPO membranes, use Dicor EPDM or Dicor TPO coatings to extend its life.
- Let each coating settle for a few minutes so it levels out before moving on.
These steps work in tandem with the complete cleaning, application, and curing instructions found in our detailed guide.
RV Roof Repair: Maintenance Schedule and Troubleshooting
Quick Fix:
• Outcome: Keep your RV roof leak-free
• Time: 15–30 min per session
• Skill: Beginner
• Tools & Materials: Soft-bristle brush, RV-safe detergent, putty knife, new sealant, eco-friendly disposal bags
• Cost: Parts $3–$10
• Safety: Make sure your ladder is stable and watch your step on the roof
- Clean the roof every 3–4 months. Use a soft brush and RV-safe detergent to scrub off dirt from seams, vents, and fasteners. This helps you spot early signs of wear.
- Reseal all seams every two years or whenever you see cracks. Mark any area with failed sealant and fix it right away.
- If you notice a patch failure or recurring leaks, remove all old sealant first. Use a putty knife to scrape away debris and leftover material.
- Once the area is clean, re-prime the section before applying a new sealant. If your old sealant no longer works, switch to a more suitable product.
- Dispose of old materials in an eco-friendly way to keep your working area neat and lessen waste.
Regularly inspect your roof for missing sealant, discoloration, or damage. Repair any holes immediately to stop water from getting in. Keep a simple checklist to log your cleaning, resealing, and repair dates. Consistent, small efforts will help your RV roof stay in great shape.
RV Roof Repair Cost and Professional Service Guide
Quick Fix:
• What: Stop small RV roof leaks fast
• Time: 15–60 min for a patch; longer for full replacement
• Skill: Basic DIY for patching; intermediate if replacing large sections
• Tools/Materials: Roof patch kit, sealant, cleaning supplies
• Cost: DIY fixes $100–$300; full replacement $2,000–$5,000 (about $3–7 per square foot)
• Safety: Secure your work area and make sure your ladder is stable
- Check your roof carefully. Look for little leaks or worn seams.
- For small spots, clean the area and apply a patch or sealant. This DIY fix can cost around $100–$300.
- If the damage covers a lot of the roof or your RV is over 10 years old, think about a full membrane replacement. That job can run $2,000–$5,000.
- When choosing a pro, get several quotes. A professional inspection can reveal hidden damage and often includes warranties for peace of mind.
- Compare DIY fixes with professional service to pick what fits your budget and needs best.
Final Words
In the action, this guide walked you through finding leaks fast and patching your RV roof to keep you dry. You learned to inspect, clean, and mark leak spots before applying quick fixes with quality sealants.
The guide also gave you a rundown of the essential tools and repair tips for different roof materials. Plus, it set out a clear maintenance schedule to keep future issues at bay. Keep using these steps for reliable, affordable rv roof repair and enjoy a secure shelter on the road.
FAQ
RV roof repair near me
The query “RV roof repair near me” refers to locating local professionals who inspect and fix your RV roof. Checking reviews and service history helps you choose a reliable, quick repair service.
RV roof repair kit
The term “RV roof repair kit” means a set of tools and materials needed for quick fixes. Such kits include a soft brush, RV-safe detergent, caulk gun, and approved sealants to patch leaks effectively.
RV roof repair sealant
The phrase “RV roof repair sealant” indicates specialized products like Dicor sealant and self-leveling lap sealant. These materials fill gaps and secure seams, helping to stop leaks and preserve your RV’s roof.
RV roof repair products
The term “RV roof repair products” covers various tools, tapes, and adhesives that restore roof integrity. These products include repair tapes, patch kits, and coatings designed to provide a long-lasting fix for leaks.
RV roof repair cost
The question “RV roof repair cost” typically involves expenses that range from $100–$300 for minor patches up to several thousand dollars for full roof restoration, depending on the damage extent and materials used.
RV roof repair rotted wood
The phrase “RV roof repair rotted wood” addresses the repair of damaged structural elements. Replacing rotted wood is necessary to ensure stability before applying sealants for a durable, leak-free roof finish.
RV Roof Repair Patch
The term “RV roof repair patch” refers to a repair method that uses patch materials like EternaBond RoofSeal Tape. These patches cover holes and cracks, providing immediate leak prevention until a more permanent solution is applied.
RV Roof Repair Tape
The expression “RV roof repair tape” means using a self-leveling, adhesive tape designed for RV roofs. This tape seals leaks quickly by sticking to the surface and conforming to the roof’s contours for a tight, temporary fix.
How much does it cost to repair the roof of an RV?
The question “How much does it cost to repair the roof of an RV?” involves repair budgets that start around $100 for small repairs, with full roof replacements costing from $2,000 up to $5,000 depending on the damage scope.
What is the 25% rule in roofing?
The question “What is the 25% rule in roofing?” describes a guideline suggesting that if 25% or more of a roof is damaged, it is more cost-effective to replace the entire roof rather than patch individual areas.
Will flex seal work on RV roof?
The query “Will flex seal work on RV roof?” means asking if this product provides a long-lasting RV roof repair. Although Flex Seal may offer a temporary fix, specialized sealants are recommended for durable, weather-resistant repairs.
Why not use EternaBond tape?
The question “Why not use EternaBond tape?” highlights situations where EternaBond may not perform well, such as on certain surface materials or under extreme weather conditions. In those cases, selecting a sealant approved for your specific RV roof material is advised.