
Quick Fix: DIY Wood Coasters
• What: Turn a branch into a stylish, eco-friendly coaster
• Time: 1 hr
• Skill: Beginner
• Tools & Materials: Saw, sandpaper, wood finish (oil or clear coat), branch
• Cost: About $10–$20
• Safety: Wear eye protection and work in a well-ventilated area
Steps
- Pick a clean branch about 3 in (7.5 cm) thick.
- Cut the branch into slices, around 3–4 in (7.5–10 cm) wide.
- Sand each slice until the edges and surfaces feel smooth.
- Apply your chosen finish and let it dry completely.
Now you have a homemade wood coaster that protects your furniture and adds a natural touch to your space. Enjoy the project and have fun crafting!
Quick DIY Wood Coaster Project Overview
Quick Fix:
• Outcome: Make your own pine coasters
• Time: Under 1 hour
• Skill: Beginner
• Tools & Materials: Branch (at least 4 in / 10 cm diameter), table saw, miter saw, sander, safety glasses
• Cost: Low-budget project
• Safety: Wear eye protection and use caution with power tools
- Pick a branch that is at least 4 in (10 cm) across.
- Use a table saw or miter saw to cut the branch into slices about 1/2 in (1.3 cm) to 3/4 in (1.9 cm) thick.
- Sand each slice lightly to remove rough edges and smooth out the surface.
- Optionally, add a finishing coat for better durability and a nicer look.
Here is a quick look at the materials and tools you need:
| Material/Tool | Use |
|---|---|
| Branch (4+ in / 10+ cm diameter) | Main material |
| Table saw, miter saw | Cutting precise slices |
| Sander | Smoothing the surface |
This approach gives you trendy, eco-friendly coasters that protect your furniture while adding a warm, handmade style to your space. Enjoy the project and take pride in your work!
Essential Materials and Tools for Wood Coaster DIY
Quick Fix:
- What: Build smooth, safe wood coasters.
- Time: 30–45 min
- Skill: Beginner to intermediate (basic tool handling)
- Tools & Materials: Table saw, miter saw, sander, drill with 1/8 in (3 mm) and 3/32 in (2 mm) bits, Mod Podge Hard Coat, wood (reclaimed scrap or a fresh branch)
- Cost: Parts $5–$20
- Safety: Wear eye protection and follow tool safety instructions
- Gather your supplies. Before you start, set out all your tools and materials so your work area is clear.
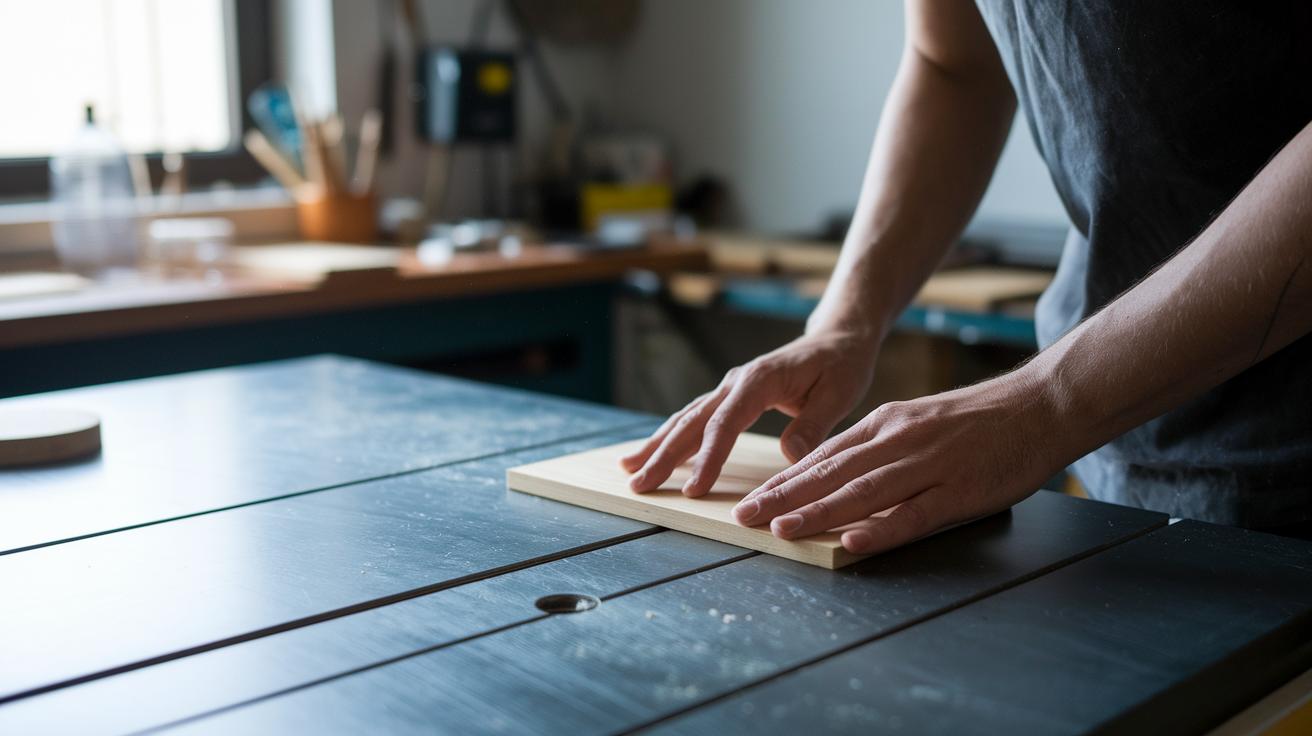
- Cut the wood. Use a table saw for straight, even slices and a miter saw to trim the edges smoothly.
- Smooth the surfaces. Run each piece through a sander until it feels clean and safe.
- Drill pilot holes. If you plan to add felt pads or extra details, use a drill with 1/8 in (3 mm) and 3/32 in (2 mm) bits to make small starter holes.
- Seal the wood. Brush on Mod Podge Hard Coat to bring out the natural grain and protect your coaster from spills.
- Choose eco-friendly wood. Pick reclaimed scrap wood or a branch from nature if you want a greener project. Make sure every tool is working well before you begin.
Enjoy your project and work confidently knowing you have the right tools for a perfect finish!
Selecting and Preparing Your Wood Branch for Coaster Crafting
-
Pick your wood.
- Select a branch or board that is at least 4 in (10 cm) thick, has a naturally round shape, and shows an even grain.
- Use a piece without big knots or deep gouges. For example, a branch that measures 4.2 in (10.7 cm) meets the size needed.
-
Cut your slices.
- Use a table or miter saw to cut the branch into slices that are 1/2 in (1.3 cm) to 3/4 in (1.9 cm) thick.
- Make your cuts even so that each slice looks the same, giving you a consistent, rustic style.
-
Inspect and prep each slice.
- Check every disc for cracks or flaws. If you see a crack or weak spot, either throw the slice away or fill small gaps with wood filler.
- Sand both sides with coarse sandpaper to remove rough edges. Keep sanding until the wood feels smooth and ready for a coat of paint or stain.
- Tip: Run your hand over each surface to catch any hidden bumps or cracks before you continue.
Step-by-Step Coaster Crafting Process
Quick Fix:
• What: Get smooth, finished wooden coasters.
• Time: 20–30 min
• Skill: Beginner (some care with sanding)
• Tools & Materials: Wood discs, clamps or bench vise, 120/150/220 grit sandpaper, drill with 1/8 in (3.2 mm) bit (optional), tack cloth
• Cost Estimate: Parts $5–$15
• Safety: Clamp securely and work in a dust-free area
- Clamp your wood disc firmly with clamps or a bench vise so it won’t move during your work.
- Start sanding the edges with 120 grit sandpaper using gentle circular motions to smooth out rough spots. Then switch to 150 grit and finish with 220 grit for a polished edge. For a quick demo, check this link: how to sand wood crafts smoothly.
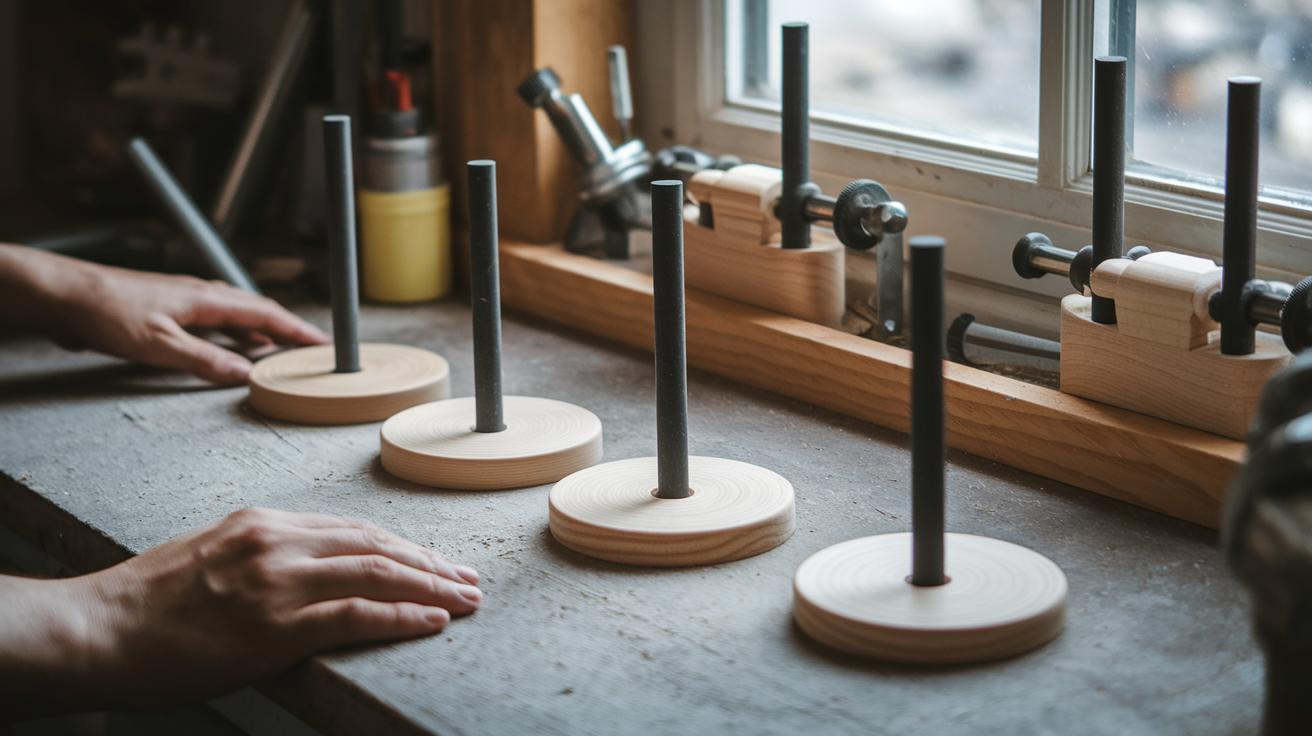
- If you plan to add felt pads or hanging hardware later, mark the spots and drill small pilot holes using a 1/8 in (3.2 mm) bit. This helps attach accessories without splitting the wood.
- Wipe the whole disc clean with a tack cloth to remove dust before you apply any sealant.
- Run your hand over the coaster. It should feel flat and smooth. If any spots are rough, clamp it again and lightly re-sand those areas.
- Place your coasters in a clean area where they can rest undisturbed until you apply your finish.
- Do a final check of your tools and workspace to be sure everything is set before you start the finishing process.
Finishing Techniques for Durable Wood Coasters
Quick Fix:
• Outcome: Durable, polished wood coasters
• Time: 1–2 hrs plus curing time
• Skill: Beginner
• Tools & Materials: Finish (Mod Podge Hard Coat, tung oil, or Danish oil), wood stain, brushes, masking tape, decoupage glue (optional)
• Cost: $10–$20
• Safety: Work in a well-ventilated area; follow all product safety labels
-
Seal the coaster faces. Start by brushing on a thin layer of your finish, either Mod Podge Hard Coat or natural oils like tung or Danish oil. Let it set so you get a smooth, protective sheen.
-
Build color and depth. Once the first coat of stain cures for 24 hours, mask off parts of the coaster and apply a new layer of wood stain. This gives your coaster extra depth and brings out the natural wood grain.
-
Add a creative touch. Try decoupage or photo-transfer techniques by placing a favorite image or pattern onto the surface before you seal it. This turns a simple coaster into a unique piece of art.
-
Don’t miss the hidden spots. Use a small brush to seal the edges and bottom of the coaster. Cover every spot to protect the wood from moisture and everyday wear.
-
Let it cure completely. Wait until all layers have dried fully before using your coaster. This extra curing time makes your piece more durable and long-lasting.
Experiment with different finishes and methods to design coasters that match your style, every sip becomes a little celebration of your handiwork!
Creative Customization Ideas for Wood Coasters
Quick Fix: Turn plain wood coasters into mini works of art.
Time: About 30 min Skill: Beginner Tools: Carved wood coaster, resin (colored, e.g., red/ crimson), stencils, dried leaves, ribbon Cost: $5–$20 Safety: Work in a clean, well-ventilated area; wear gloves when handling resin
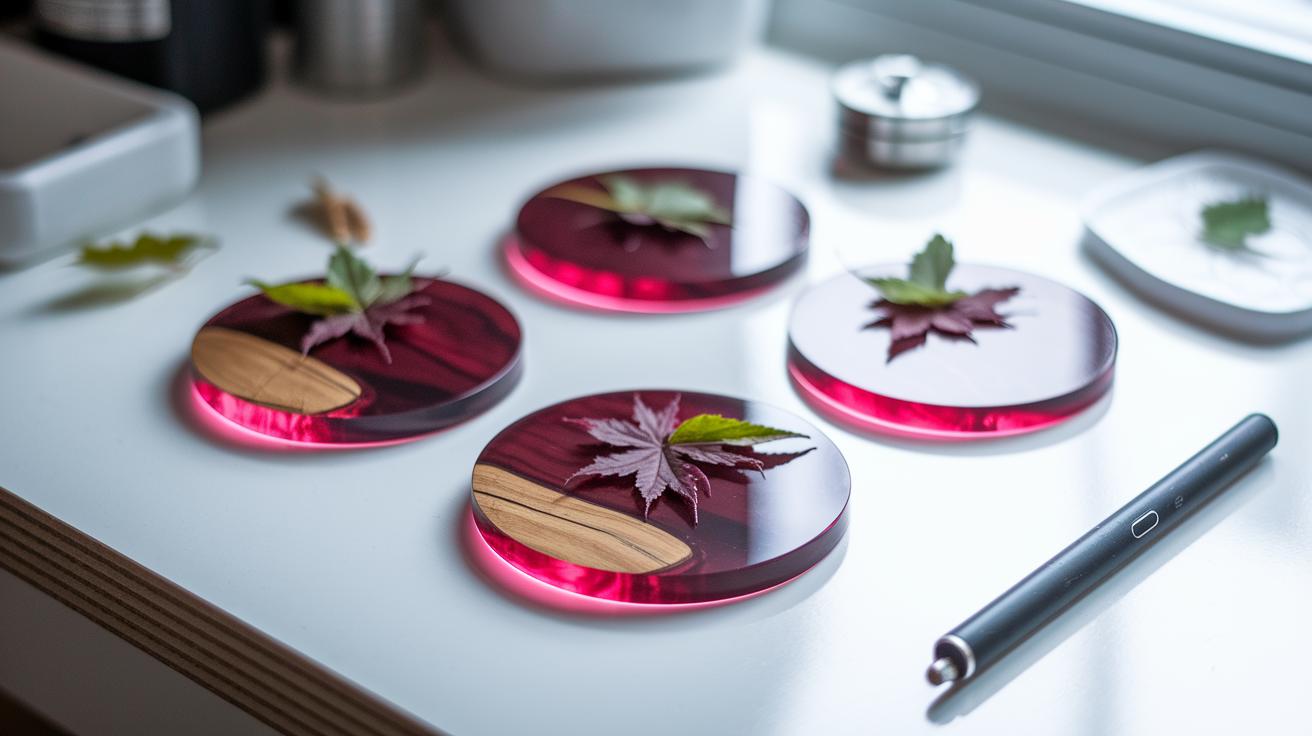
- Carve small grooves in the wood. Fill them with colored resin (for example, crimson) for a vibrant, modern twist.
- Lay down a hand-stenciled pattern. Use simple stencils to stamp letters or shapes that match your style. You or even the kids can add freehand touches with paint or stickers.
- Place a dried leaf gently on the wood to transfer a natural design. Secure it with a thin layer of finish for durability.
- Dress up your finished coasters. Tie them with a bright ribbon or add a custom tag when gifting. Pair with matching photo frames or resin accents for a complete look.
| Idea | Effect |
|---|---|
| Resin Inlays | Modern flair with a pop of color |
| Hand-Stenciled Designs | Personal and creative touch |
| Leaf Transfers | Natural charm and unique texture |
| Gift Packaging | Extra-special presentation for gifting |
Enjoy these simple steps to transform your wood coasters into one-of-a-kind pieces that reflect your personal style.
Final Words
In the action, this guide showed you how to turn a scrap branch into a stylish wood coaster DIY (small wood craft) project. You learned to select the right wood, cut it to size, and smooth the edges using a few common tools.
You also got tips on finishing and adding creative touches that make each coaster unique. Enjoy your new project and tackle future DIY fixes with the same hands-on spirit and confidence.
FAQ
How can I use paper in my wood coaster DIY project?
The wood coaster DIY small wood craft with paper incorporates paper by applying decoupage on the wood surface. This adds a decorative design that you then seal for a lasting finish.
How do I get a free PDF guide for a wood coaster DIY project?
The wood coaster DIY small wood craft PDF is available as a free downloadable guide on many DIY websites. Look for trusted craft blogs and resource pages that offer step-by-step instructions.
Who can tackle a wood coaster DIY project?
The wood coaster DIY small wood craft for beginners is designed for anyone, including adults. It uses basic tools and simple steps so you can enjoy creating personalized coasters.
How can I waterproof my wood coasters?
The wood coaster DIY small wood craft waterproof process involves sanding the surfaces and applying a sealant like Mod Podge Hard Coat to protect against moisture damage.
What should I do to make wooden coasters for selling?
The wood coaster DIY small wood craft for selling looks professional when you cut, sand, and finish each coaster meticulously. Adding custom designs can boost their appeal for buyers.
What makes an easy wood coaster DIY project work well?
The easy wood coaster DIY small wood craft project starts with selecting quality wood, cutting it into even discs, sanding for smooth edges, and finishing with a protective sealant for a neat result.