
Quick Fix
• What: Make a custom wood pen
• Time: 2+ hours
• Skill: Beginner
• Tools & Materials: Wood turning kit, safety gear (eye protection, dust mask)
• Cost: Varies, roughly $20–$50
• Safety: Wear eye protection and a dust mask while working
- Start by gathering your wood turning kit and safety gear.
- Follow the kit’s simple steps to shape the wood into a smooth pen blank.
- Sand and finish the pen surface until it feels just right.
- Assemble the pen parts and enjoy the tool you made by hand.
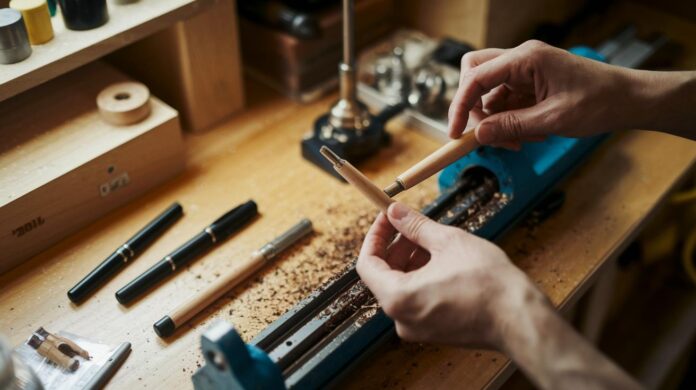
Ever think that turning a piece of wood into a smooth pen could be fun? With a wood turning pen kit, you can make a stylish pen from raw wood using basic steps. Even if you have never worked with wood before, the kit makes it easy to learn a cool new skill. Get ready to roll up your sleeves, follow the steps, and create a pen you can use every day!
Step-by-Step Wood Turning Pen Kit Assembly Guide
Quick Fix:
• What: Build a custom wood-turned pen
• Time: About 1–2 hours
• Skill: Beginner to Intermediate; steady hands and basic lathe know-how
• Tools & Materials: Wood blank, lathe, drill with the right bit for a brass tube, epoxy glue, pen kit (brass tube, bushings, press-fit parts)
• Cost: Approximately $10–$50
• Safety: Wear eye protection and secure your workpiece before starting
- Mark your wood blank. Leave an extra 1/8 in (3 mm) on each end to allow for adjustments.
- Line up the brass tube on the blank. Mark its center and drill a small pilot hole where needed.
- Apply epoxy glue over the brass tube. Press it into position and let the glue fully cure according to the instructions.
- Secure the blank on your lathe and rough turn it into a round shape. Work slowly to keep it even.
- Sand the turned blank step-by-step until the surface feels smooth and looks neat.
- Press the tube and other pen parts together using even pressure. Use a bench vise or pen press for best results.
- Tip: If you have a pen mandrel, use it to line up the parts more easily. It is optional but can speed up the process.
Following these steps will give you a well-crafted and smooth-finished pen. Enjoy the process and don’t hesitate to repeat a step if things don’t line up the first time.
Essential Tools and Materials for Wood Pen Turning Kits
Quick Fix:
What: Set up your pen turning tools and get ready to craft
Time: 5 min to gather and check your tools
Skill: Basic woodworking
Tools: Wood lathe, roughing gouge, detail gouge, pen kit, matching drill bit, optional pen mandrel
Cost: Varies
Safety: Wear eye protection and a dust mask
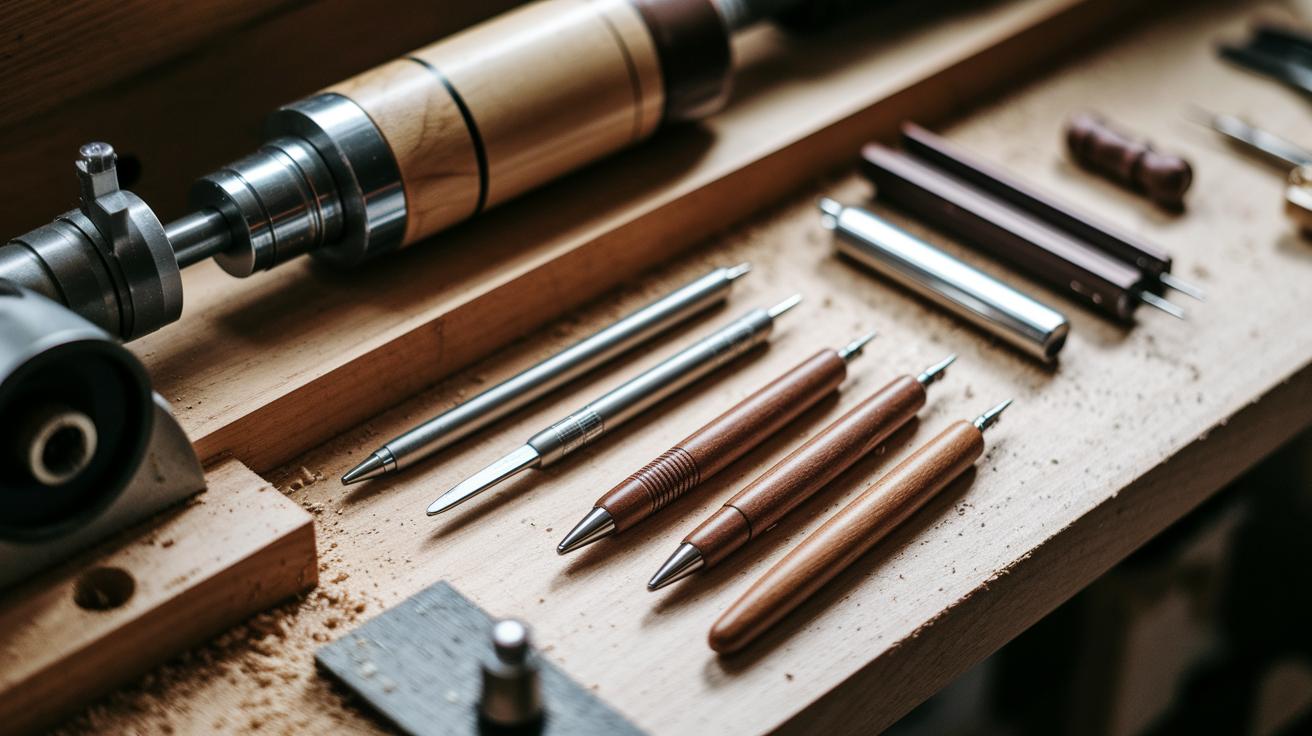
A solid tool setup makes your pen turning project smooth and precise. With the right equipment, you cut cleaner and finish with less hassle. Use this checklist to ensure you have every must-have item before you start.
| Tool | Purpose | Notes |
|---|---|---|
| Wood Lathe | Turns wood blanks | Change speeds for different cuts |
| Roughing Gouge | Removes bulk wood | Start shaping quickly |
| Detail Gouge | Smooths the profile | Creates clean edges |
| Pen Kit (Brass Tubes & Bushings) | Forms the pen structure | Ensure parts press together snugly |
| Drill Bit Sized to Tube ID | Makes pilot holes | Choose a bit that fits the tube exactly |
| Optional Pen Mandrel | Keeps parts aligned | Pick direct-mount or #2 MT options |
By checking off this list, you'll work confidently and get a pro-level finish every time. Enjoy turning your wood pen while knowing you have the right tools to succeed!
Preparing and Squaring the Pen Blank for Turning
Quick Fix:
• What: Secure a brass tube in a wood blank and square it for smooth pen turning.
• Time: About 5–10 min prep, plus a 5-min epoxy cure.
• Skill: Beginner with a steady hand.
• Tools & Materials: Brass tube, wood blank, tape, fine-grit sandpaper, 5-min epoxy, drill with pen mill, trimming tool.
• Safety: Wear gloves and eye protection.
Steps:
- Center the brass tube in your wood blank. Mark a line at least 1/8 in (3 mm) past each end. This added space keeps enough wood around the tube for a strong hold.
- Use fine-grit sandpaper to lightly scuff the brass tube. This roughens the surface for better epoxy bonding.
- Brush on a thin layer of 5-min epoxy and secure the tube’s ends with tape. This helps control any extra glue. Let the epoxy set for about 5 min or as the label says.
- Once the epoxy hardens, put the wood blank in a drill fitted with a pen mill. This will square the piece.
- Trim off the extra wood from both ends. Work slowly and carefully so you don’t damage the brass tube.
Follow these steps, and your pen blank will be ready for a smooth turning project.
Mounting and Rough Turning on the Lathe
Quick Fix:
• What: Secure a wood blank and rough turn it on a lathe.
• Time: 15 min
• Skill: Beginner
• Tools & Materials: lathe, mandrel with bushings, tailstock live center, roughing gouge, tool rest
• Cost: Low if you already have the tools
• Safety: Make sure the wood is firmly attached and follow safe lathe practices
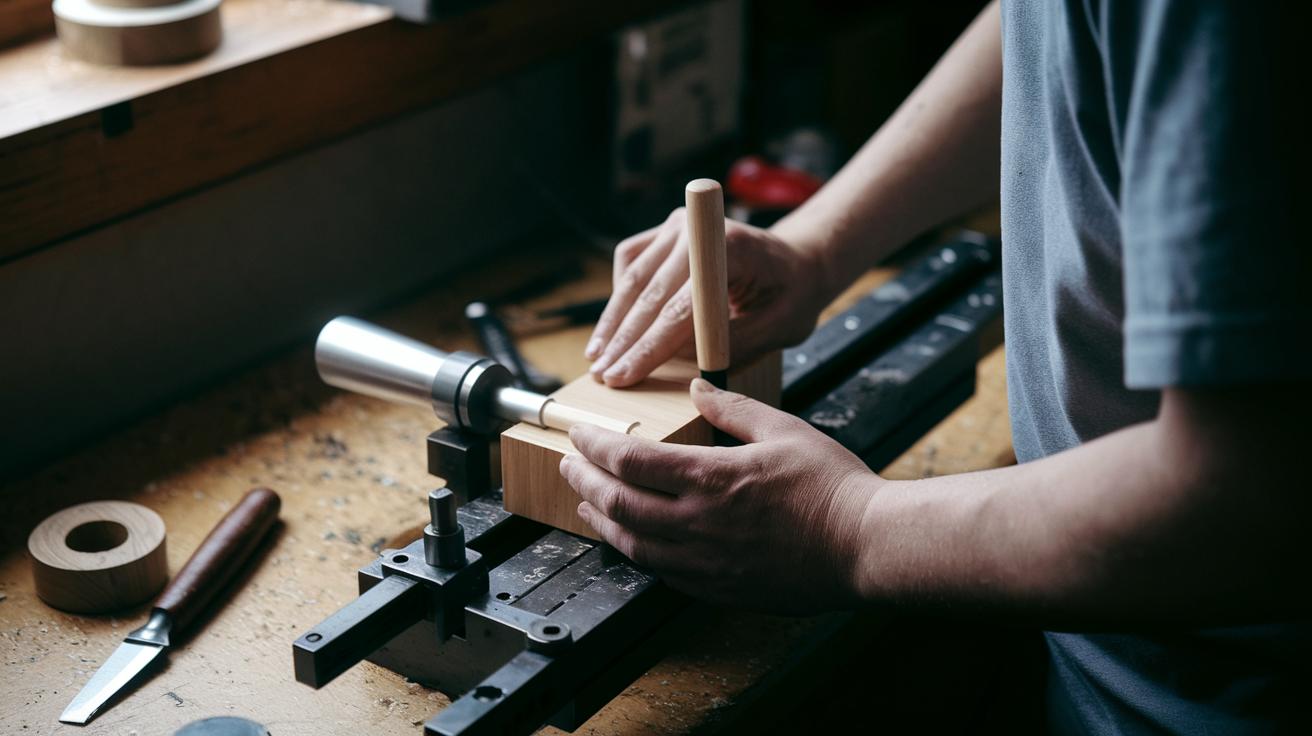
- Mount the wood blank by placing it between the bushings on the mandrel. Secure it in the headstock using the tailstock live center to stop any movement.
- Set the lathe to about 1,000 RPM. Adjust the tool rest so it stands about 1/4 in (6 mm) from the workpiece. This gap lets you control cuts without interference.
- Hold the roughing gouge with its flute lined up along the cut path. Take light, steady cuts and remove only thin layers of wood at a time.
- Check the profile of the blank often as you work. Keep your design in mind so every cut shapes a smooth and unique round piece.
Remember, a firm setup and careful cuts are key to safe and accurate turning.
Sanding and Finishing Techniques for Wood Turning Pens
Quick Fix:
• What: Get a smooth, polished pen finish
• Time: About 20–30 min
• Skill: Basic wood turning and sanding
• Tools & Materials: Lathe, sandpapers (100, 150, 320, 400, 600 grit), cloth, polish or CA-coat, micromesh pads
• Safety: Slow your lathe and keep your hands clear of the spinning wood
- After rough turning, slow your lathe to 500 RPM. This keeps you safe by reducing the risk of cuts and helps tear-outs come off easier.
- Start sanding with 100–220 grit to quickly remove any rough spots or tear-outs.
- Switch to 150 grit for a light, even sanding that smooths the surface.
- Use 320 grit next to reduce any visible sanding marks.
- Move on to 400 grit to pre-polish the pen, preparing it for the final finish.
- Finish with 600 grit for a nearly flawless and smooth surface.
Finish Options:
a. Rub on polish with a clean cloth. Then run the lathe at 1,000 RPM so the polish spreads evenly.
b. Alternatively, apply several thin CA-coat layers and then buff with a micromesh pad for a glossy shine.
This step-by-step method makes your pen look professional and feel smooth in your hand.
Final Assembly and Troubleshooting Wood Turning Pen Kits
Quick Fix:
• What: Assemble your wood-turning pen kit correctly and avoid common mistakes.
• Time: 15–20 min
• Skill: Beginner to Intermediate (basic hand skills)
• Tools & Materials: Brass tubes, clip, center band, end cap, bench vise or pen press, mandrel
• Cost: Kit parts only; no extra cost
• Safety: Work slowly and use even pressure
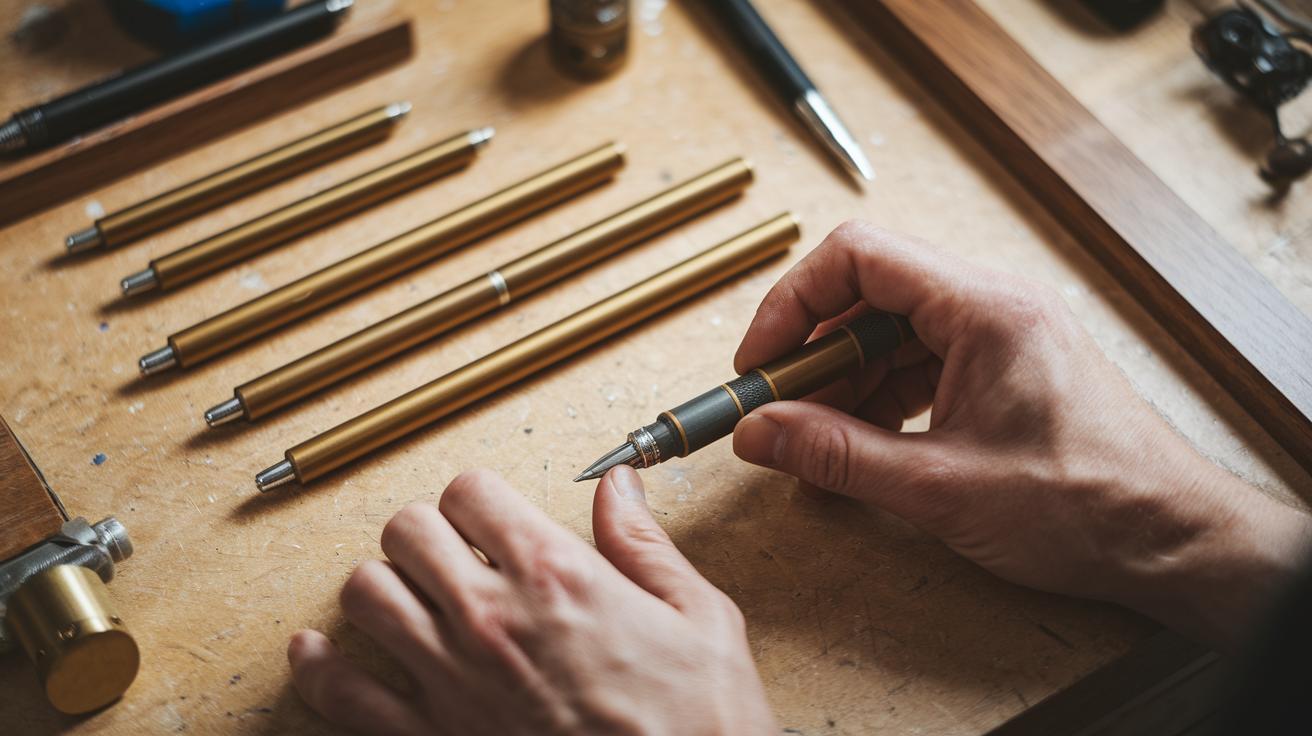
- Inspect all parts. Look at each brass tube carefully for any epoxy drips or dirt.
- Arrange your parts. Lay the clip, center band, and end cap in the order listed in your kit.
- Press the pieces together. Use a bench vise or pen press and apply steady pressure for a strong press-fit.
- Check the alignment. Make sure the bushings line up correctly to avoid poor fits.
- Remove the blank slowly from the mandrel. This step prevents finish marks and uneven surfaces.
- Troubleshoot if needed. If bushings are off, blanks cracked, or tubes split, adjust pressure and reposition parts with care. Reassemble any problematic pieces carefully.
| Tool/Material | Use |
|---|---|
| Brass tubes | Form the pen body |
| Clip, center band, end cap | Finish assembly |
| Bench vise/pen press | Apply even pressure |
| Mandrel | Shape and support the blank |
Take your time with each step. Doing so ensures your finished pen looks neat and works reliably for a long time.
Creative Customization and Design Ideas for Wood Turned Pens
Start your wood-turning pen project by picking a blank. Options include wood, laminated, or acrylic. Each offers a different grain or smooth finish that shapes your pen's look. Try adding resin inlays or simple carvings to give your project extra style.
Customize further with slim barrels, contoured grips, or stepped profiles to catch the eye. For finishing touches, use paste wax for a soft shine, antique patina for a vintage feel, or colored CA layers for a bold look. A hybrid polish can mix modern shine with classic warmth. These ideas help you build a pen that is both practical and uniquely yours.
Final Words
In the action, you worked through every step from prep to final press-fit. You learned how to use basic tools and safe techniques for turning a wood pen while giving room for creative design. The guide shows you how to measure, drill, rough turn, sand, and finish your piece. With clear wood turning pen kit instructions at hand, you now have a practical plan that saves time and money. Enjoy applying these methods and making unique, handcrafted pens that look great and work well!
FAQ
What does a pen turning kit include?
A pen turning kit includes all the parts you need to build a wood pen. It comes with a wood blank, a brass tube, bushings, end caps, and sometimes a clip for easy assembly.
How do you turn a pen on a lathe?
Turning a pen on a lathe means mounting the blank, using a mandrel or bushings for support, roughing out the shape with a gouge, sanding, and then applying a finish.
What parts are commonly found in a wood pen kit?
A wood pen kit usually provides a wooden blank, brass tubes, bushings, and end caps. These parts are arranged and assembled with basic tools to create the pen.
How can a pen making kit be used for different pen styles?
A pen making kit is built to be flexible. It can be used to create wood turning pens, mechanical pencils, or fountain pens by swapping pieces and adjusting the assembly method.
What is involved in assembling a wood turning mechanical pencil kit?
Assembling a wood turning mechanical pencil kit means aligning the brass components with the wood blank, turning the wood to shape, sanding it smooth, and pressing the parts together firmly.
How do I address common issues when assembling a wood turning fountain pen kit?
Assembling a wood turning fountain pen kit calls for checking that brass tubes are free of epoxy or debris, aligning the parts correctly, and using steady pressure during the press-fit process.
Why is selecting the right tools important for wood turning pens?
Picking the right tools, like a wood lathe, gouges, and a mandrel, makes the turning process smoother. It helps you work safely and get a cleaner, professional-looking finish.